Here's a quick overview of what you need to know when you're just getting started with your first project on Gridly.
Hierarchy structure in Gridly

- Company: A company is a collection of multiple projects. A company connects all the members that work on the projects.
- Project: Within a company is a Project. A project is a collection of databases.
- Databases: A database belongs to a project. A database act as a container for Grids.
- Grid: Each database is made up of one or more Grids. A Grid is similar to a sheet within a spreadsheet or a table within a database, it contains a list of items of the same type.
What's a company?
A company is a collection of multiple projects. A company connects all the members that work on the projects.
You can be the Owner of your company or be invited to other companies.
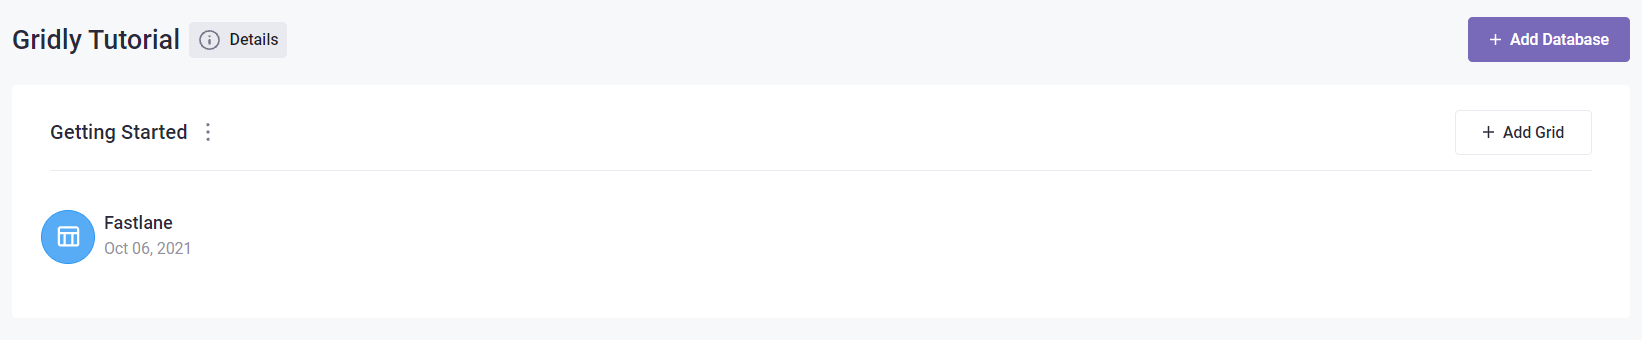
When opening up your homepage, you can see the company name and picture at the top-left corner of the project page.
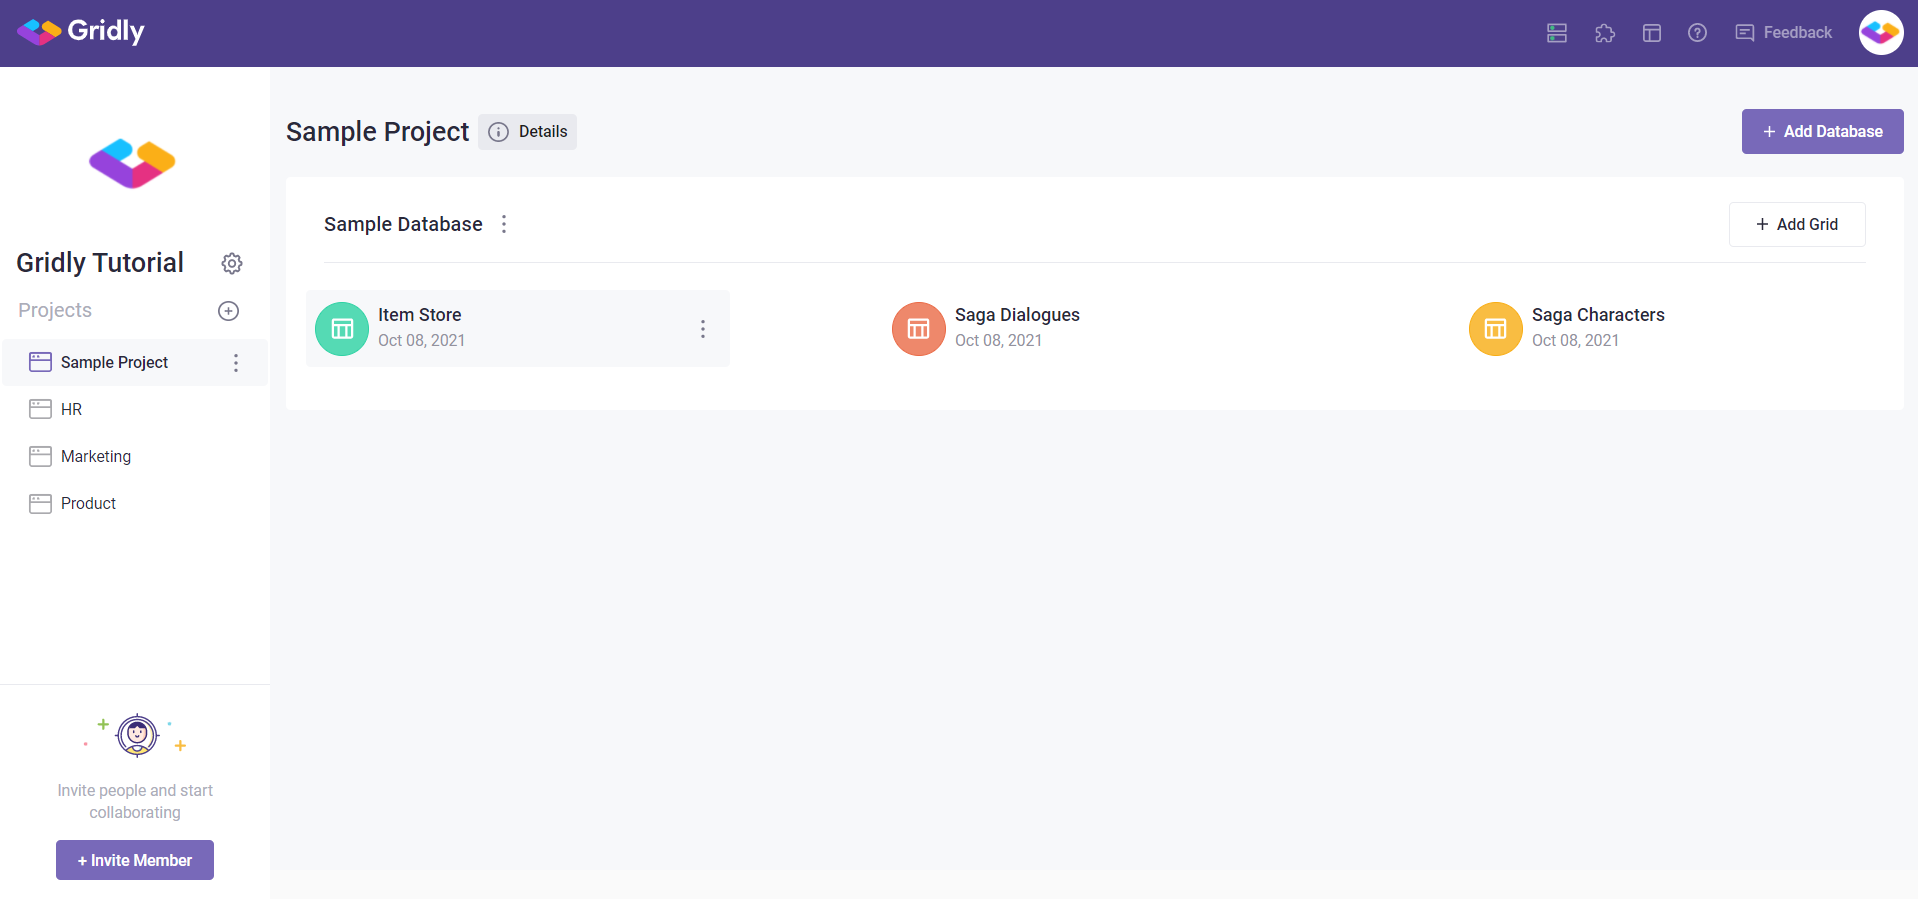
An example Project page, the company name "Gridly Tutorial" and the profile picture are on the left side.
What's a Project?
Within a company is a Project. A project is a collection of databases. A project can be a team, a department, or a game depends on your needs.
Create a project
You can create as many projects as you can to organize different groups in your company by clicking ![]() .
.
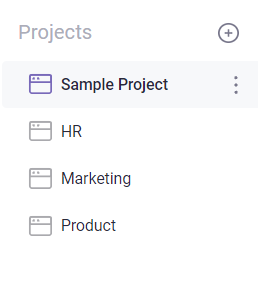
Create separate projects to manage your teams.
What's a Database?
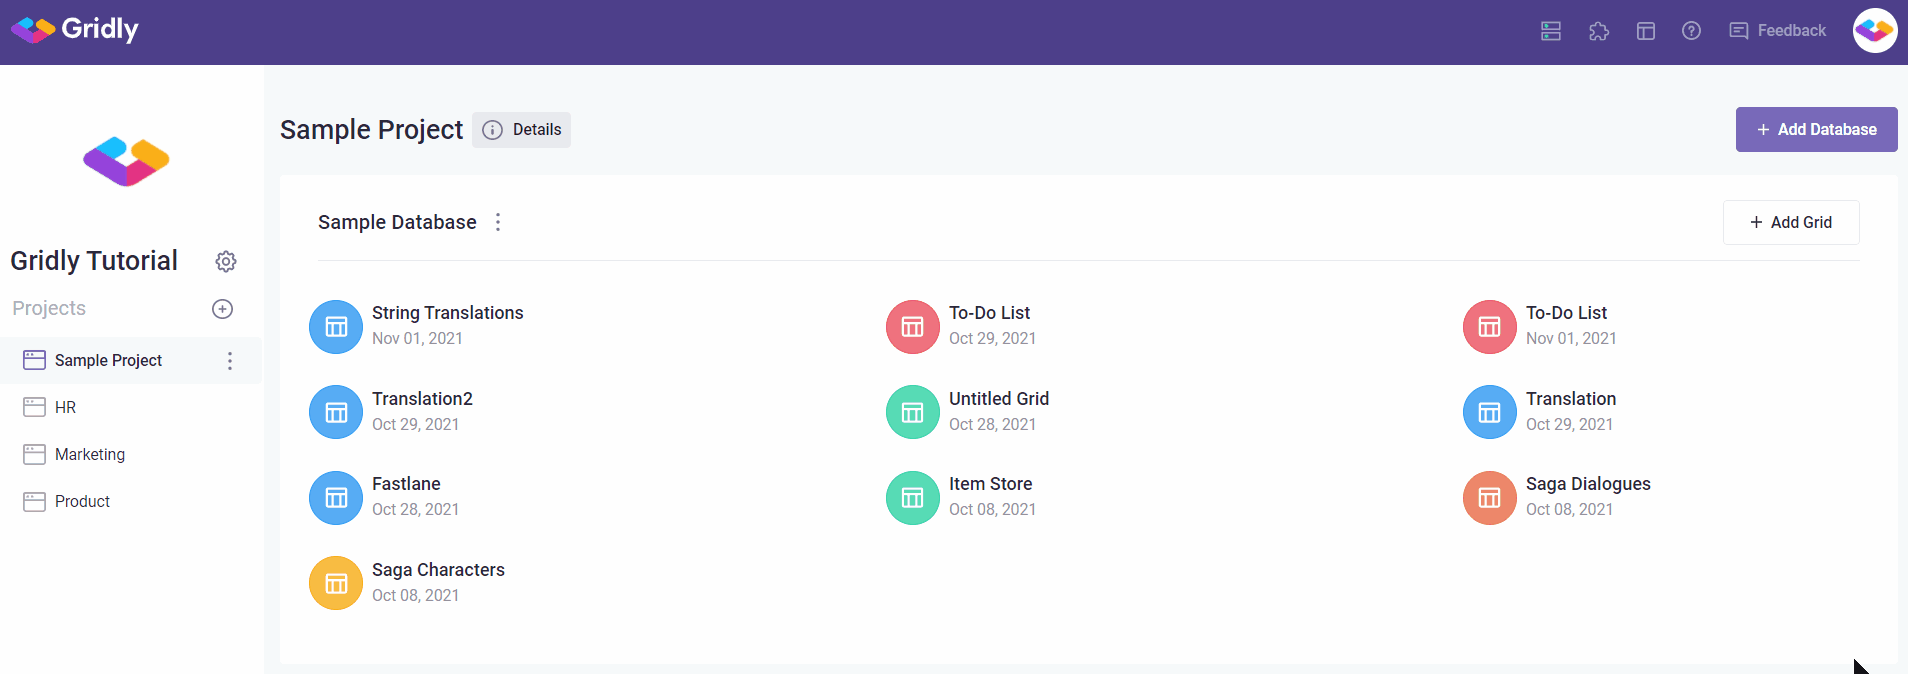
A database belongs to a project. A database acts as a container for Grids, so you can switch between Grids within a database easily.
Create different databases in a project to manage your data efficiently.

A sample project and database are created when you first open your company so you can get the hang of Gridly.
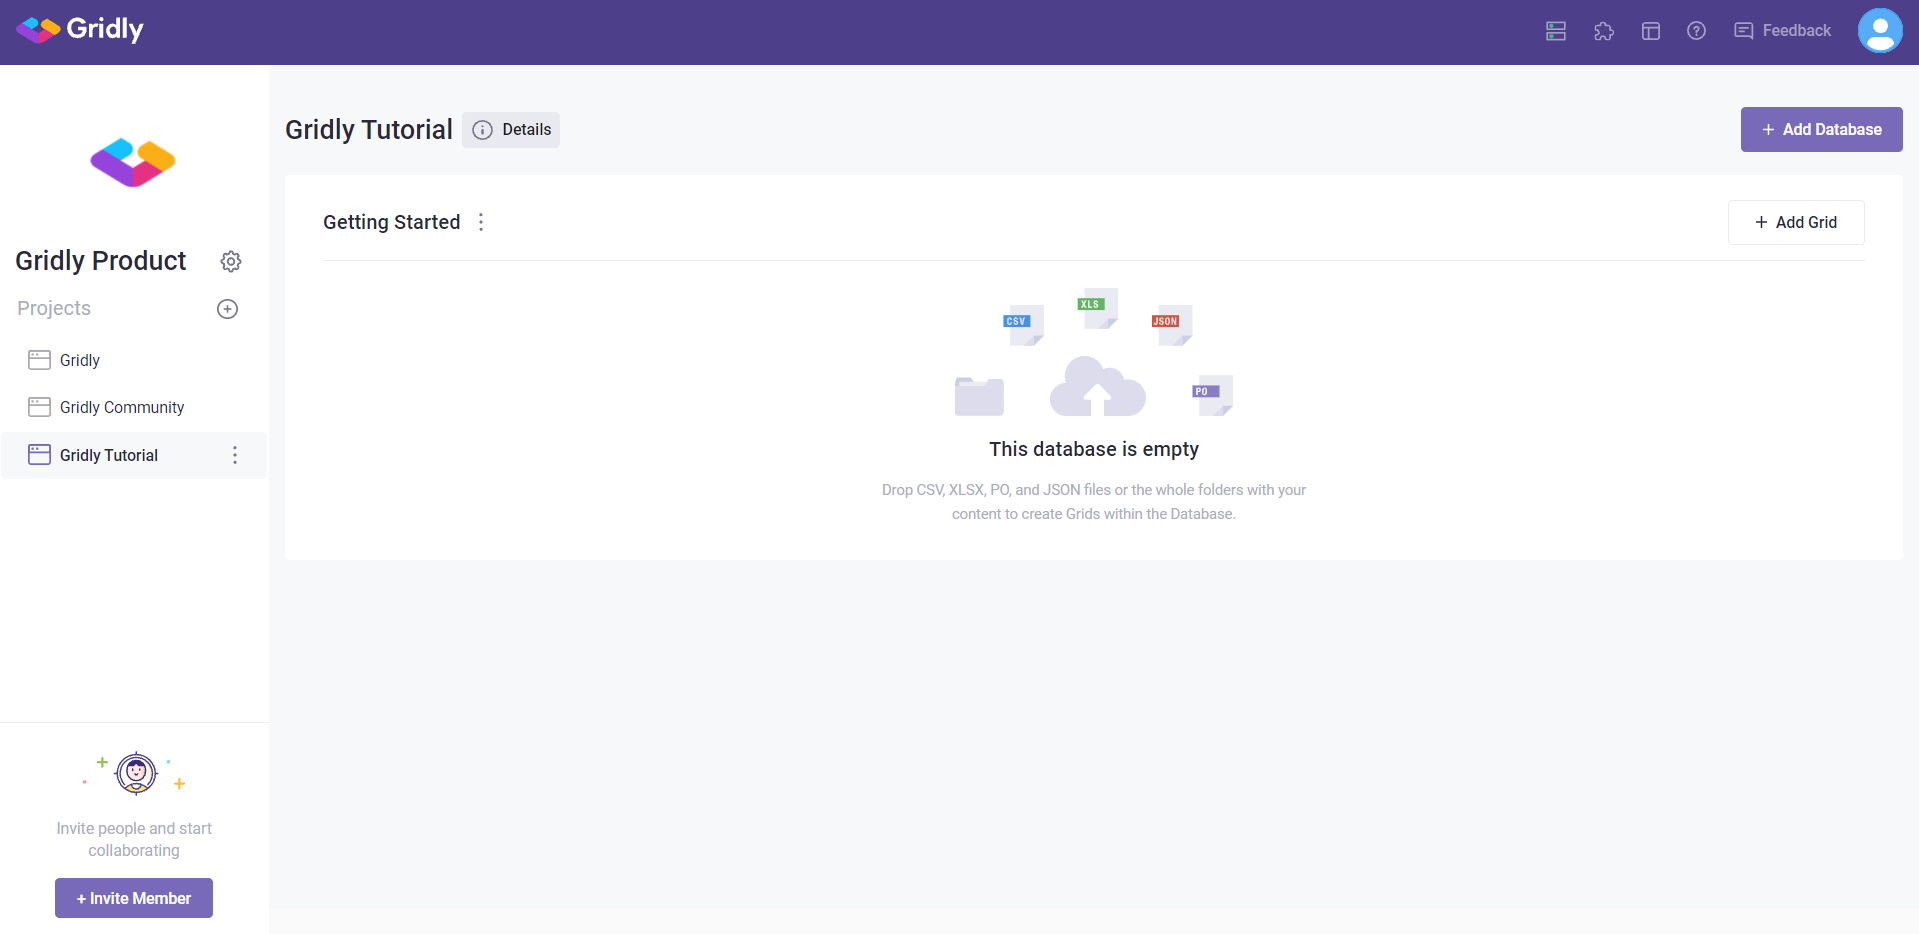
Create a database
Add a new database simply by clicking Add database at the top left of the project page
What's a Grid?
Each database is made up of one or more Grids. A Grid is similar to a sheet within a spreadsheet or a table within a database, it contains a list of items of the same type.


3 ways to add a new Grid
On your home page, click the + Add Grid icon on the right-hand side of the Database you want to create the Grid in.
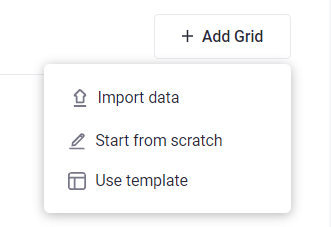
There are 3 ways to create your first Grid. Choose how do you want to add your Grid by clicking:
- Import data if you have already had an existing file (CSV, XLSX, PO, JSON).
- Start from scratch if you want to customize your own grid.
- Use template if you want to use available templates.
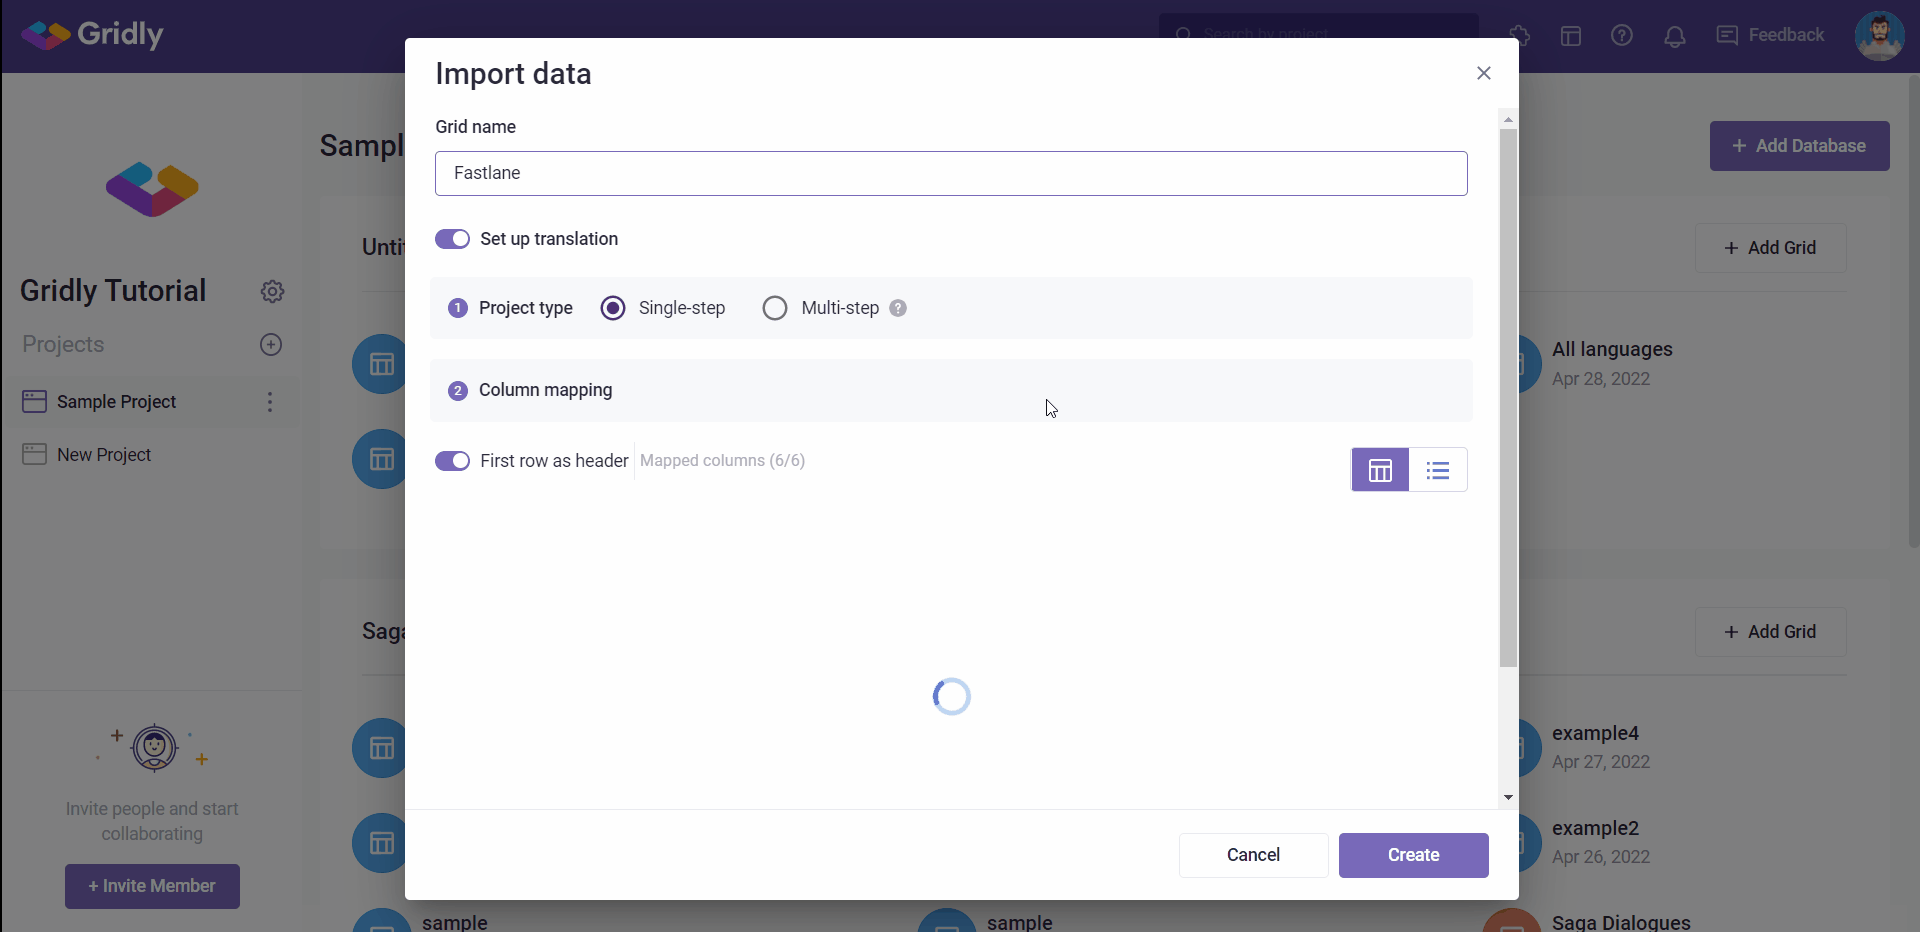
1. Import data
To import data, click Import data option under the Add Grid dropdown menu, select the file you want to import, and click Open. Then the import window will be brought up:
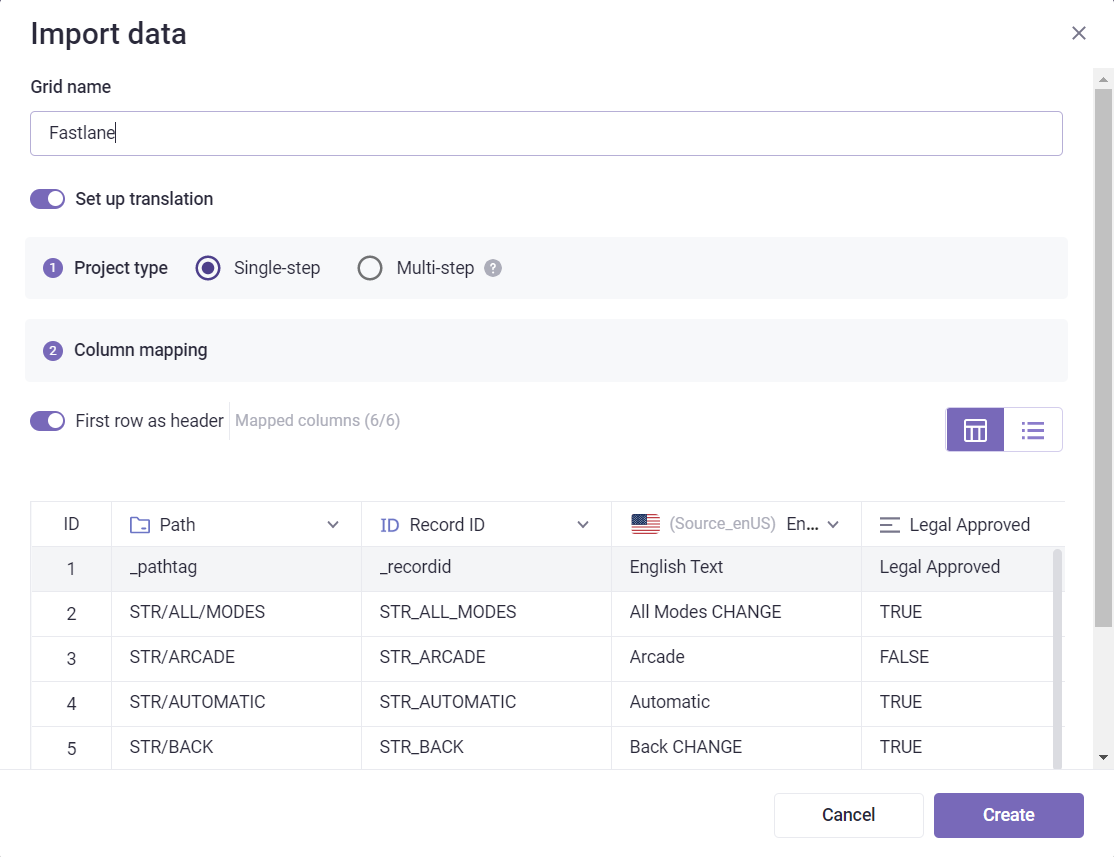

- Deselect Set up translation if you do not want to.
- By default, the first row is a “heading row” (does not contain data). Deselect this option if the first row contains data.

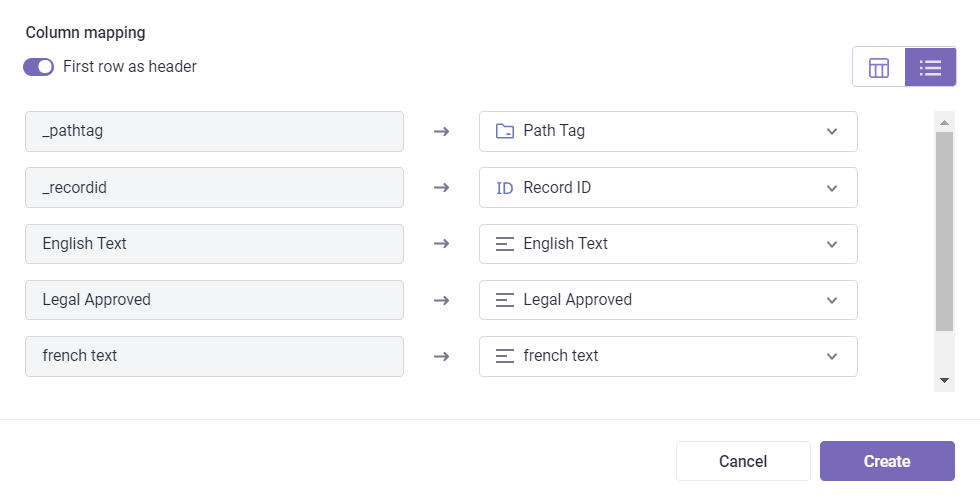
- Click on the column to change the data type if needed, or rename the column.
- For a simplified view, select the list view icon on the right-hand side.
- Click Create and the Grid is now in your selected database.
2. Start from scratch
After selecting the Start from scratch option under the Add Grid dropdown menu, a window will be brought up:
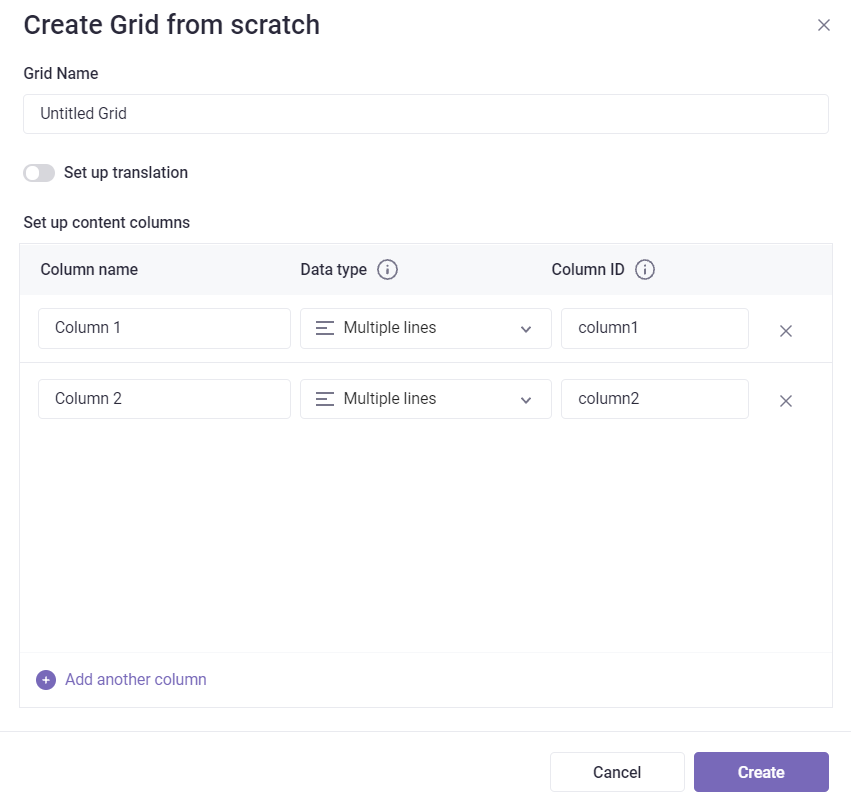
- Deselect Set up translation if you do not want to.
- Enter Grid Name & Column name.
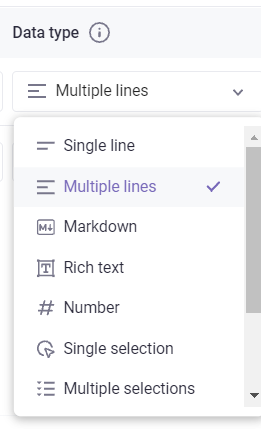
- Select the data type for each column.
- Add columns by clicking
 on the left-bottom of the window
 - Select Create and the Grid is now in the selected database.
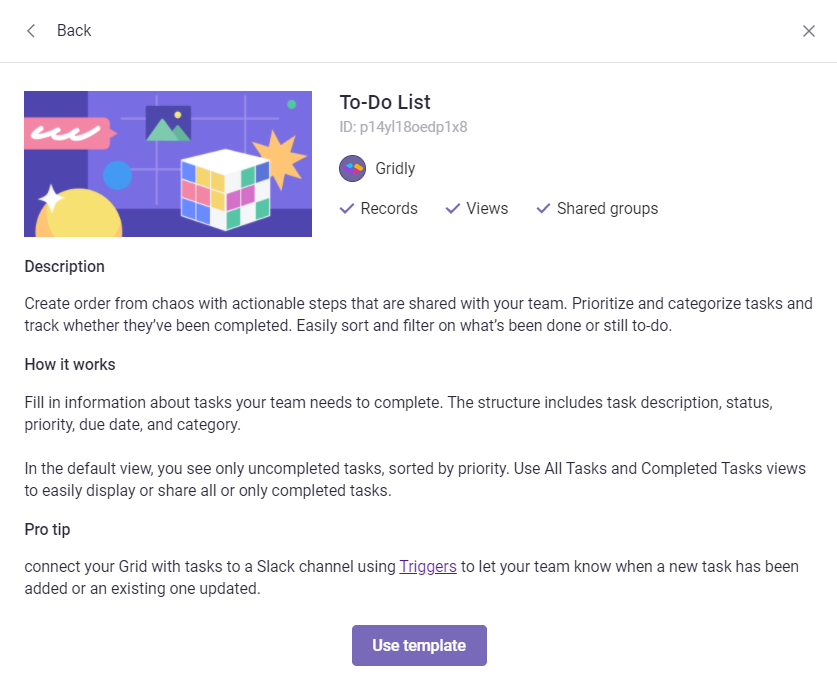
3. Use template
You can kick start the project by using one of our templates:
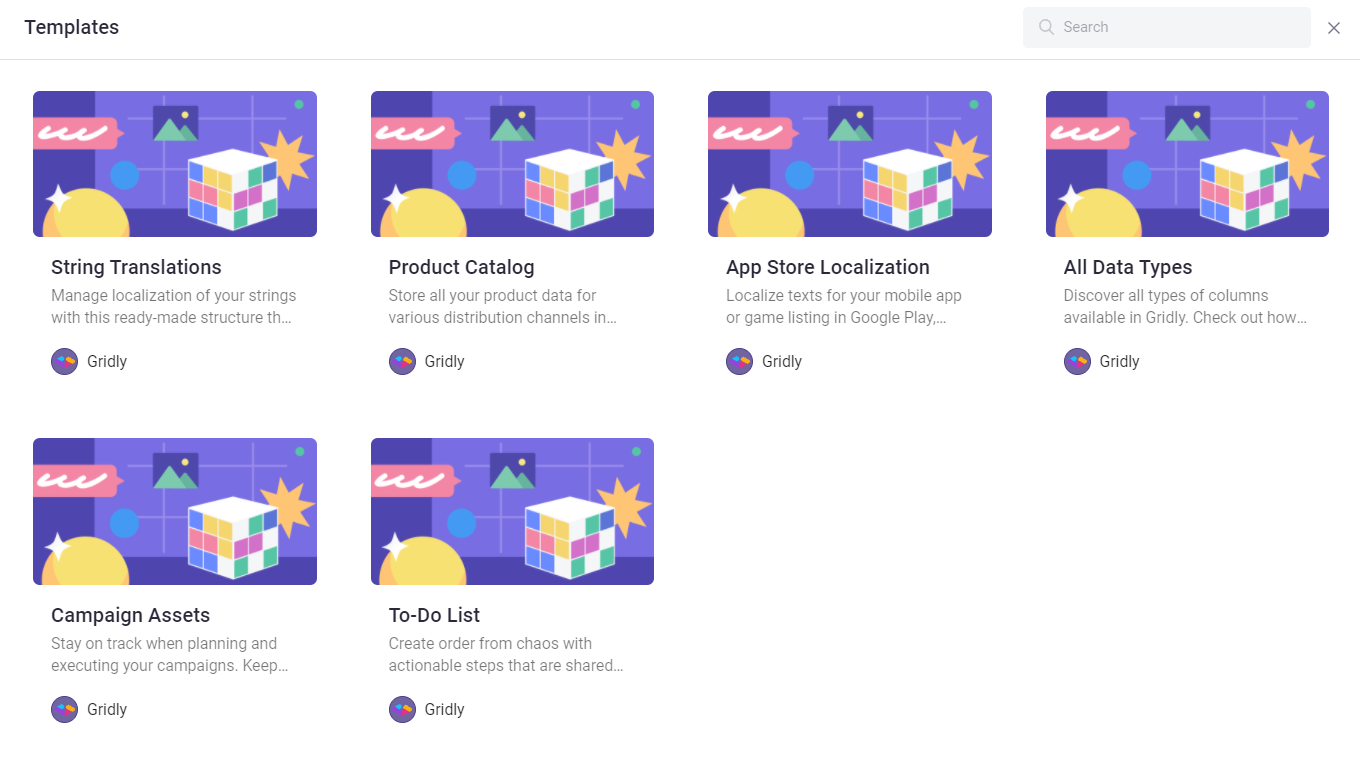
- Select a template to see more information about how it works and some tips. Click Use template to add it to your selected database.
Tips
- You can always edit Column name, type and ID after creating the Grid.
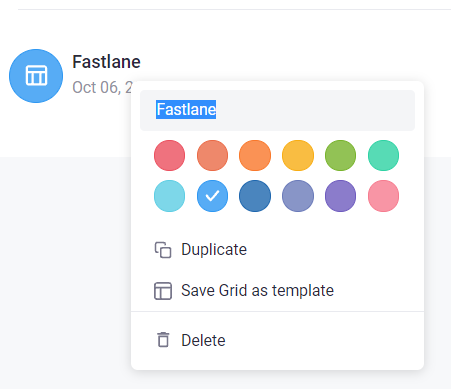
- Rename your Grids and select a color by clicking the icon on the right-hand side of the Grid.
You have learned about the main components of Gridly and how to create a Grid. The next step is to learn about what is inside a Grid and how to work on a Grid here: Grid overview