What's the basic components of a Grid?
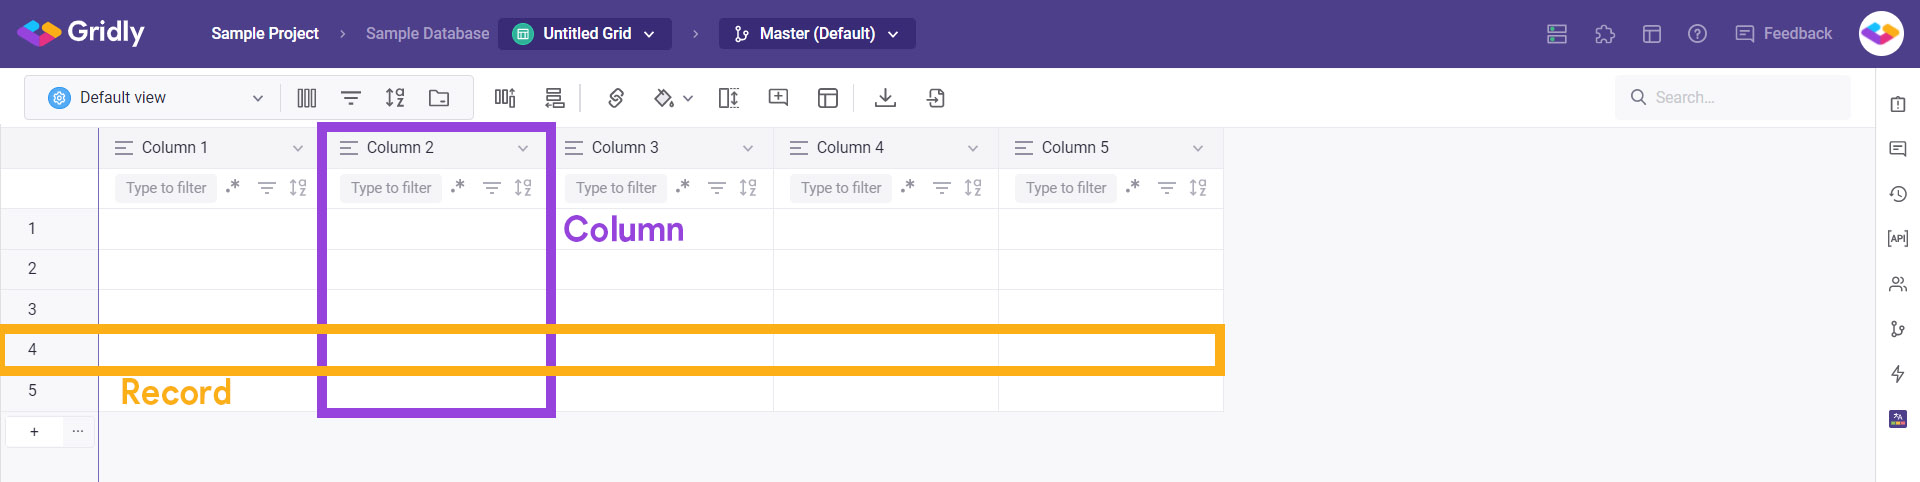
A Grid in Gridly adapts the user interface of a spreadsheet, which means there will be columns and rows. A column in Gridly is also called Column, while a row is called a Record.
If you create a Grid from scratch, you'll see that there are 5 empty rows (which is records) and columns
Records
What's a record?
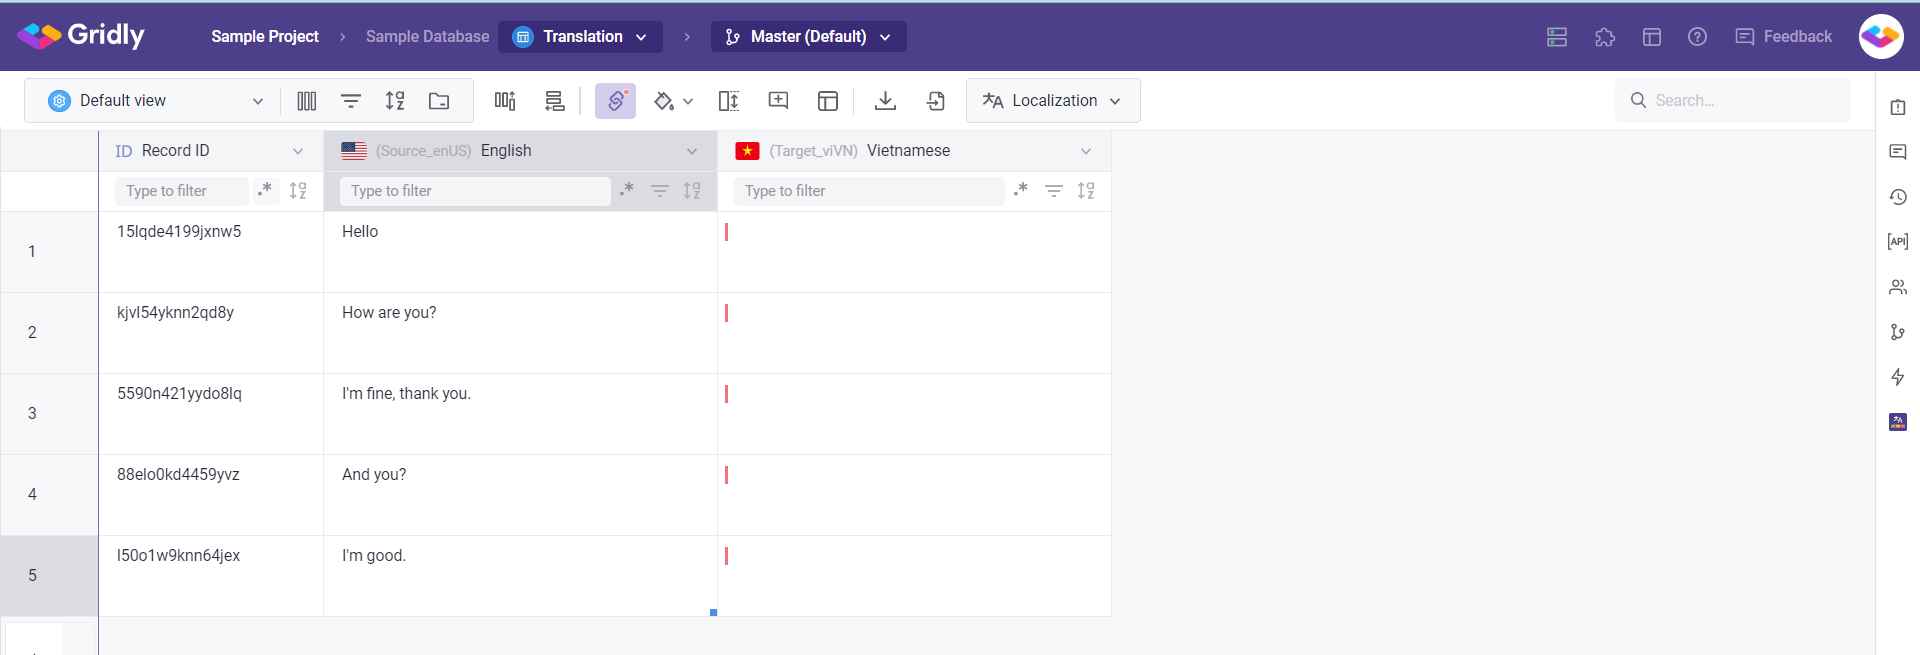
A row in a Grid is called a record. A record can be everything, depends on what your Grid is about: It can be a line that is translated to other languages in a translation Grid, information about a character in a character Grid, or a task in a Grid of tasks.
For example, if you want to created a Grid for translation, each record will be a word or a line that need to be translated.
Open record panel
You can see the details information of a record vertically by opening the record panel.
To open record panel, hover over a record and click the expand button next to the number of the record.
Or you can right click at any cell of the record and select Open record panel.
You can add or edit any properties.
Click the ![]() to close the record panel.
to close the record panel.
How to make new records?
You can create new records in many ways:
- Click on the plus icon under the last record
- Click the
 on the toolbar
 - Right-click on a record to select the menu option to insert a new record above or below the currently selected record
- To add many records at once, click on the three dots next to plus icon
 to make 5, 10 or 15 new records
Columns
What's a column?
Now you know what a record is and how to make new record. Next, you may want to add more information about what your record is about. Then you need to add and define columns.
A column gives you the structure of the data that you want for your records. Each column has column properties
- Column name: show what your column is about.
- Data type: defines what value the column can hold.
- Default value (optional): the value that a new record starts out with.
- Column ID: to uniquely identify each column
For example, if you want to create a grid of tasks, your record should show details about what is the task about, the deadline, the priority etc.
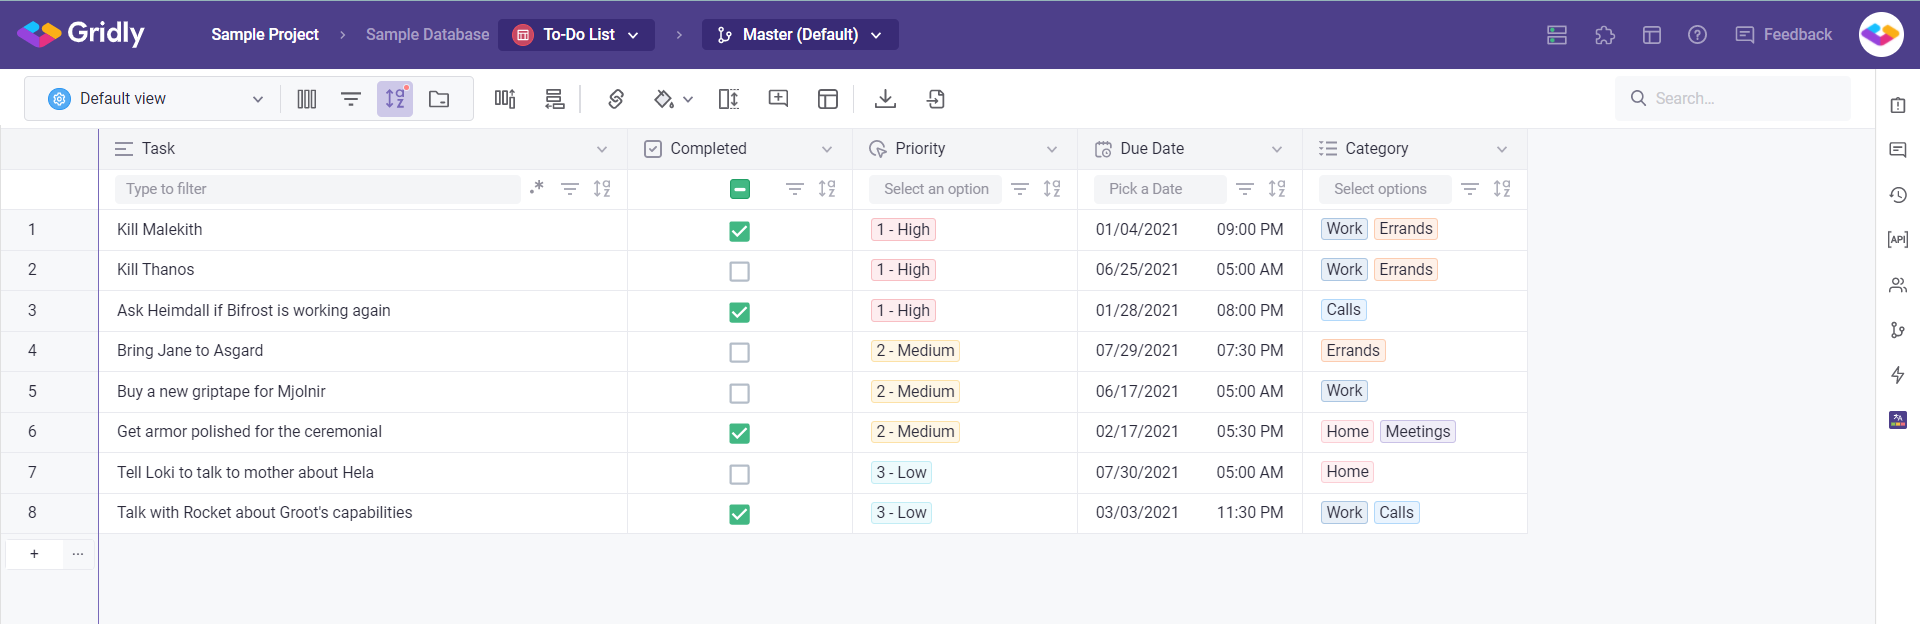
An example task list. (you can create this Grid by using our templates)
How to add and customize new column?
- Click the
 on the toolbar.
 - Or click the
 next to a column name to
  or
or  .
. - Give your column a name, ID, default value (option), column ID, select the data type and click Save.
- Click the to hide, delete columns or edit the properties.
Tips: You can make each column more narrow or wide by clicking and dragging on the dividers between the columns in the header row. You can also rearrange the order of fields by clicking and dragging the column headers.
Column data types
There are three main types of data for defining columns: Special, Basic, and Code Formatting.
Special data types are:
- Reference
- Localization
- Formula
Basic data types are:
- Single line
- Multiple lines
- Markdown
- Rich text
- Number
- Single selection
- Multiple selections
- Date
- Files
- Boolean
Code Formatting data types are
- JSON
- HTML
- YAML
Views
What's a view?
Having a Grid full of records and columns can sometimes be difficult for you to find the information you needed. For example, here is a Grid that used for manage translation from English to French and Italian:
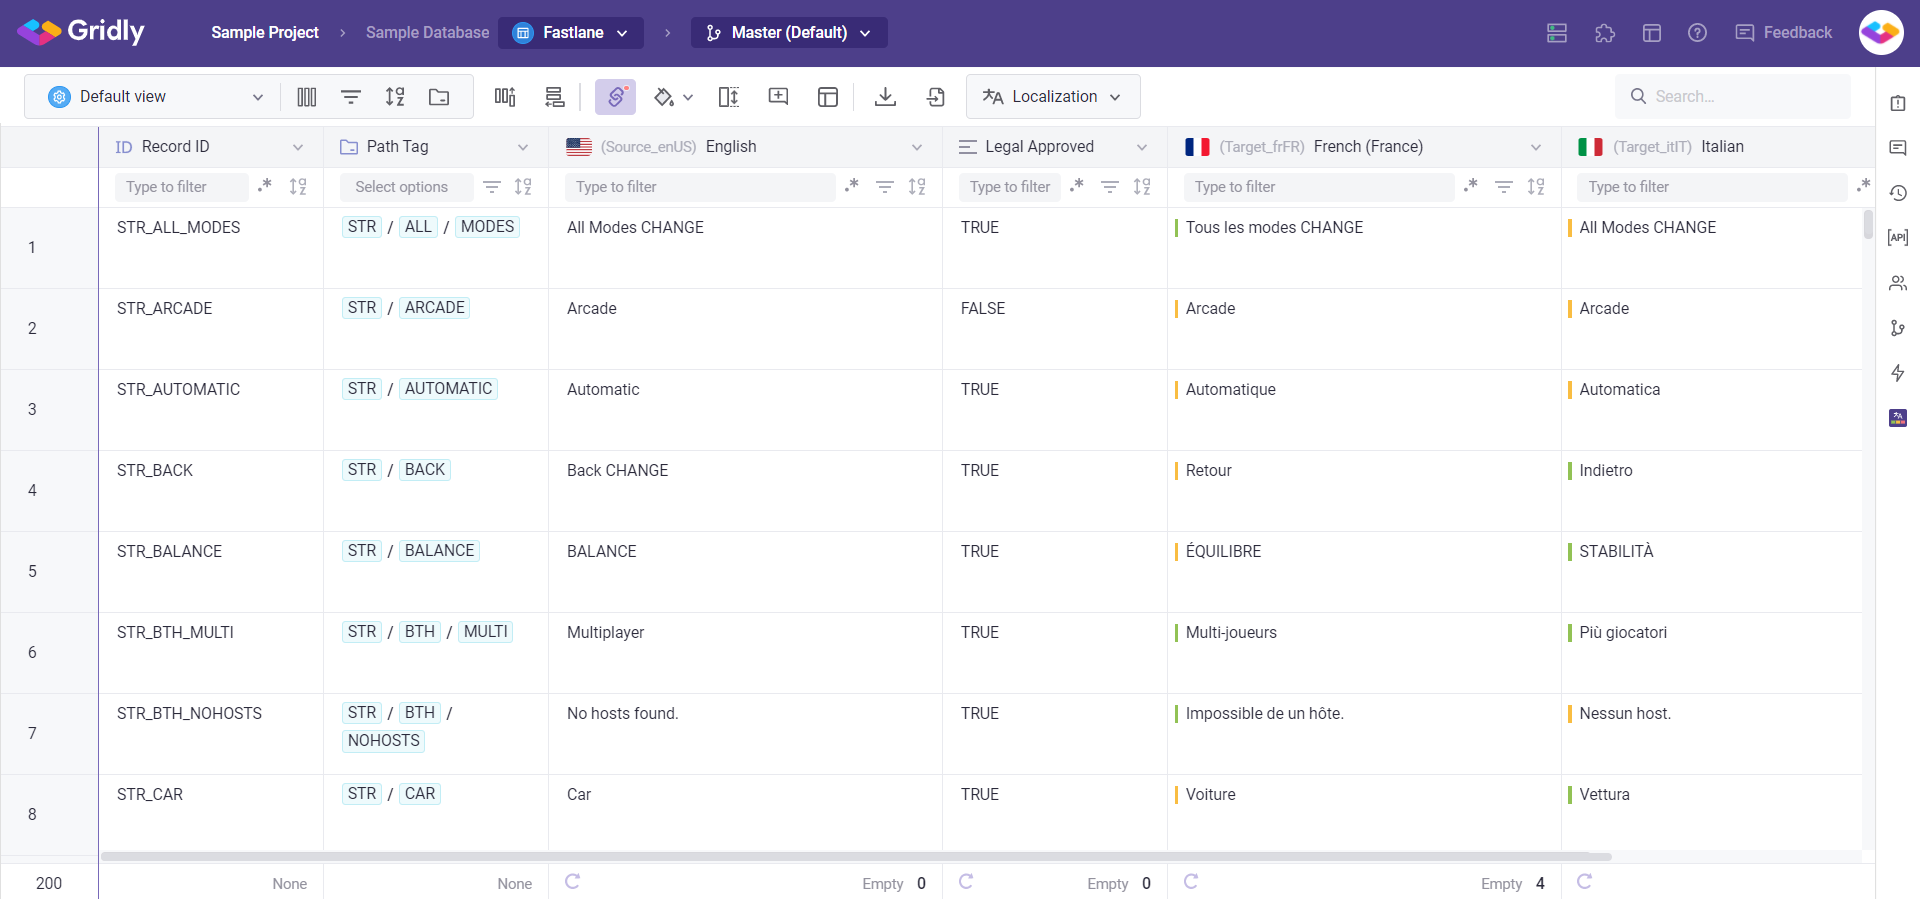
The French translators may do not need to see the Italian columns and other information that keep them distracted and vice versa.
That's when you need to create Views. Views are the way you decide how to see your Grid: hiding unnecessary columns, applying filters and sort data to bump the most relevant information to the top of the table.
As views are just what you select to see from a Grid, editing records or changing the column properties will apply to all views, while hiding, filtering columns or sort data will only apply to the current view.
Create new views
- When you open any Grids, the current view will always be Default View.
- Click on the Default View on the left of the toolbar.
- Click on "Access View" to add a view.
- Give your view a new name and click
 to save the new name
 - You can delete views by hovering over the View item and click on the trash icon.
Notes:
- Default View is a system View that can not be deleted.
- Deleting views is available only with appropriate rights
- You cannot delete the current view. Switch to another view if you want to delete the current view.
Manage columns
- Click the
 next to the View on the toolbar
 - Click the first toggles next to the column name to hide the columns
- Click the second toggles if you want to change the column to "read only" mode.
For example, to create a view for French translation only, let's hide irrelevant columns and set the source language to read only, so the translators cannot make any changes to the content.
Filter and sort data
Set up filter conditions to focus on specific parts of your data
- Click the
 on the toolbar, then click Add filter.
- Choose the property you want to filter by and the criteria that needs to be met.
The middle dropdown will give you different options depending on the column.
- In this case, let's choose French (France) as the column and say it's must be Out-of-date.
Add sorts to reorder your Grid depending on column values. Sorts are helpful for quickly ordering your data by priority, date, tags, etc.
- Click the
 on the toolbar, then click Add Sort.
- Choose the column you want to sort your Grid by. For example, choose Legal Approved and choose A ->Z. This reorders the records in an alphabetical order.
You'll see your Grid change in real time based on your filter and sort criteria. You can add as many filters and sorts as you want, and each view has its own filter and sorts.