The GPT-4o Text Translate feature enables you to automatically translate content based on events you define. Built on OpenAI's GPT-4o model, this automation action offers fast, high-quality translations while taking your input context and glossary terms into account.

If you are unfamiliar with creating an Automation, please refer to the following article: Creating an Automation.
Differences between GPT- 4o Text Translate & OpenAI Chat with GPT-4o
- GPT-4o Text Translate: Made for translating texts, it offers a straightforward setup—simply subscribe in the Integrations tab without the need for your own OpenAI API key. Alternatively, if you wanted to use your own API key, you can still enable the OpenAI Chat with GPT-4o action below and enter your Key. This action will use your OpenAI API key.
- OpenAI Chat with GPT-4o: This option allows for easy prompt customization and can be used for various purposes, not limited to translation. You must input your own OpenAI API key to use this automation action.
Prerequisites
Setup
After creating the Automation, you need to configure the trigger and action. In this example, we’ll create an Automation that translates the source strings (English) to French, when a record in the source language column (English) is edited.
Add trigger
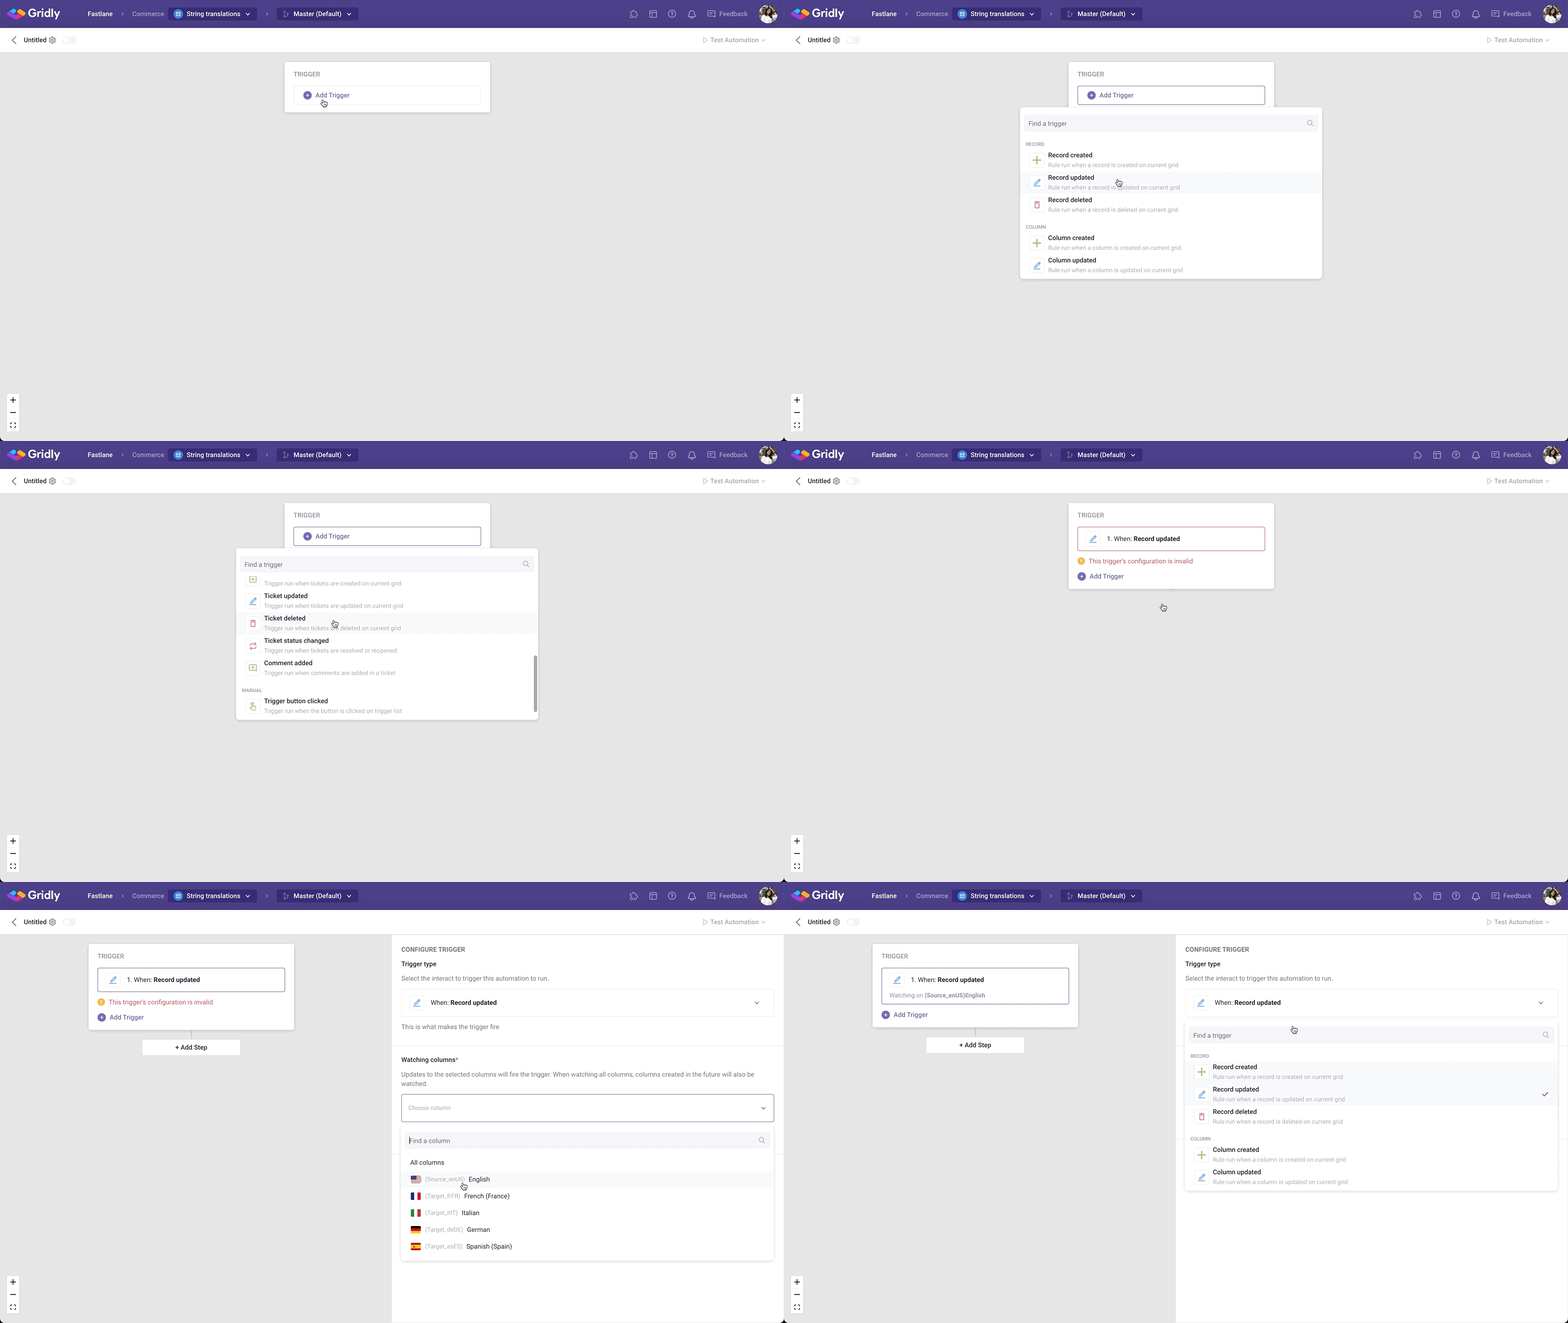
- Click Add Trigger, then select Record updated from the dropdown list. This means the automation will be triggered every time a record is updated.
- In the “Watching columns” section, select the Source language column (Source_enUS)
Alternatively, you can select Manual Record Trigger as the trigger. With this, you can manually trigger this automation for one or multiple records.

Add “GPT-4o Text Translate” action
Click Add Step and select GPT-4o Text Translate from the list of actions.

Use Gridly's built-in prompt
The GPT-4o Text Translate automation action includes a built-in prompt that is optimized by Gridly for efficient and natural translation. This is recommended if you are uncertain about engineering your own.
To use Gridly's built-in prompt, leave the Use my custom prompt checbox unselected. Fill in the required fields:
- Select original text language
- Select language to translate to
- Select Output column to hold the result (optional): Choose an Output column where the translation will be stored.
-
Context (optional): Provide additional context to improve translation quality. You can also use values from your Grid for context. Toggle Show all raw Parameters for a detailed view.
- As you are using Gridly's built-in prompt, this field only serves as additional information about voice, tone, writing style, etc. for Chat GPT. If you want to instruct Chat GPT in more details, use a custom prompt.
- Glossary (optional): Select this to send the glossaries assigned to this Grid in Localization Settings to Chat GPT.

Use a custom prompt
If you want more control over the results from GPT, you can use your own prompt. To customize your own prompt, select the Use my custom prompt checkbox and fill in the required fields:
- Input your custom prompt: Enter your prompt.
- Select Output column to hold the result (optional): Choose an Output column where the translation will be stored.
- Custom Options: Click Custom Options to adjust options related to Chat GPT-4o, including Temperature, Presence penalty, and Frequency penalty.

You can also include a glossary in your prompt to enhance translation consistency. Select the Use Glossary checkbox and configure the additional Glossary Settings:
- Select glossary source language: Select a column as the source language for your glossary.
- Select glossary target language: Select the target language for your glossary.
-
Glossary Item Delimiter (optional): Enter the separator for glossary items. Defaults to
;if left empty. - Glossary Item Structure: Enter the format for each glossary item. Make sure to include both Source segment and Target segment.

Custom prompt example
Let's say you have these 2 entries in your Gridly glossary.

You can configure your custom prompt and Glossary settings like this.

When trigger this Automation for a record whose English source text is I love Cat and Dog, Gridly will send the following prompt to GPT-4o.
Translate this text from English to German, glossary list: ["Dog" must be translated as "Doggo", "Cat" must be translated as "Catto"], capitalize all texts, for this text: I love Cat and Dog- The source text parameter
 is replaced with the actual value from the Grid. Since there are no quotation marks around the parameter,
 I love Cat and Dogappear without quotes in the final prompt. You can add punctuation around your parameters as needed. - The glossary items in the final prompt maintain the same formatting and punctuation (such as square brackets and quotation marks) as defined in the Glossary Settings.
Here is the result from the Automation, translated with Glossary terms and capitalized as instructed by the prompt.

With custom prompts, you can instruct GPT-4o to perform various tasks beyond translation, such as rephrasing source texts into different tones of voice and formatting.
Best practices for custom prompts
- Put the source text at the end of your prompt after all other instructions. Placing it in the middle of your prompt might confuse Chat GPT.

- Use square brackets
[ ]to mark the beginning and the end of glossary. There might be more than one glossaries in the source text, so in general it's best to quoting with brackets, telling OpenAI to treat glossary as an array.
- In Glossary Item Structure field, use quotation marks
“ ”to separate glossary Source segment and Target segment. If there are quotation marks in your glossary entries, use single quotation marks‘ ’or backticks` `instead.
Test Automation
- Switch the toggle on to turn on the Automation.
- Click Test Automation. If your Automation is not turned on, Gridly will require that you turn on the Automation in the resulting pop-up message. Click on the toggle to turn on and select Test again.
Invoke records to apply the Automations to existing records
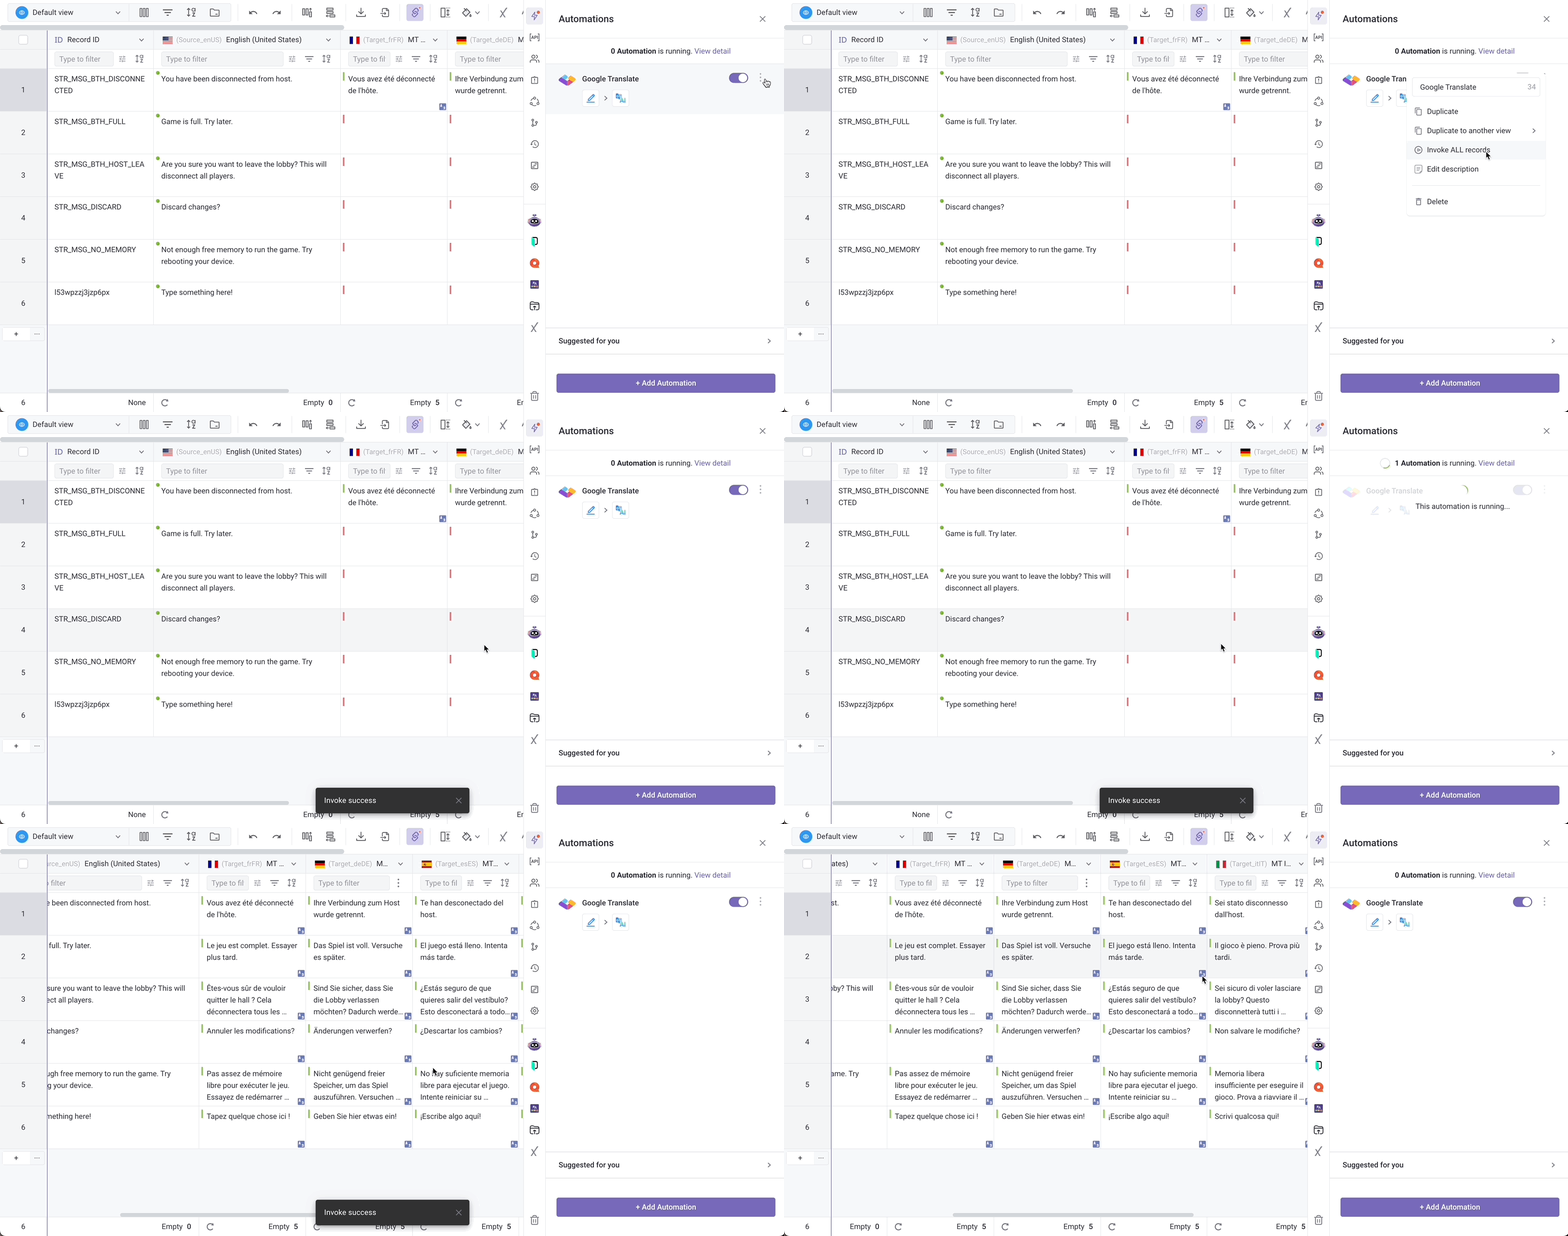
If you want to run the Automation on all records without the Trigger, select Invoke records.

To view all the related articles to Automations, click here.
