
Table of contents:
Add files column
You can upload different types of assets to your Grids including Images, videos, and audio files:
- Add a new column
- Select Files from the Data type dropdown list and click Save
Upload files
- Click
 , or click anywhere in the cell to upload files
 - You can also drag and drop files onto a cell.
View files
A cell can store many file formats and you can preview the videos, audios, and images without switching between a Grid and a folder. To view a file, simply click on it.
Batch upload files
- Create a column of which data type is "Files".
- Click
 on the column header.
 - Select Upload folder.
- Click Browse to select the folder and Upload.
- Select a column to match with the filename (usually an ID column) and click Upload.
The filenames of the assets need to be matched to an existing column to be successfully uploaded.
As you can see from the example below, only 2 files that have the filenames match the column "Product ID" (GPIMW1 and GPIMW5) are uploaded.
The "Sample path/filename" box shows which filenames are matched/ not matched:
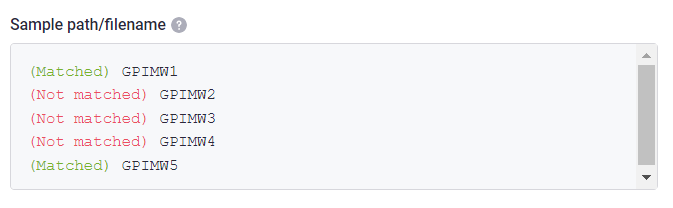
Now you need to rename the files that aren't matched to the "Product ID".
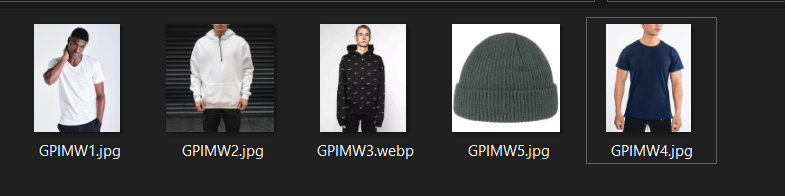
And when you try again, all the assets are now successfully uploaded.
- Click on the image.
- Click Download at the top right corner.
Additionally, you can bulk download all files in a column:
- Click on the column header.
- Select Download files. Files will be downloaded as a zip file.

Delete files
- Click on the image.
- Click Delete at the top right corner.