Enable SSO and submit your signin URL, following the steps in this article: Configuring SSO in Gridly.
Create SAML Integration
To get started, you’ll need to set up a connection (or connector) for Gridly with your IDP (for example, G Suite (SAML), Okta, and others).
Below are the instructions for setting up Gridly SAML SSO with Okta. If you use a different identity provider and need assistance with configuration, please contact our support team.
Setting up SSO with Okta
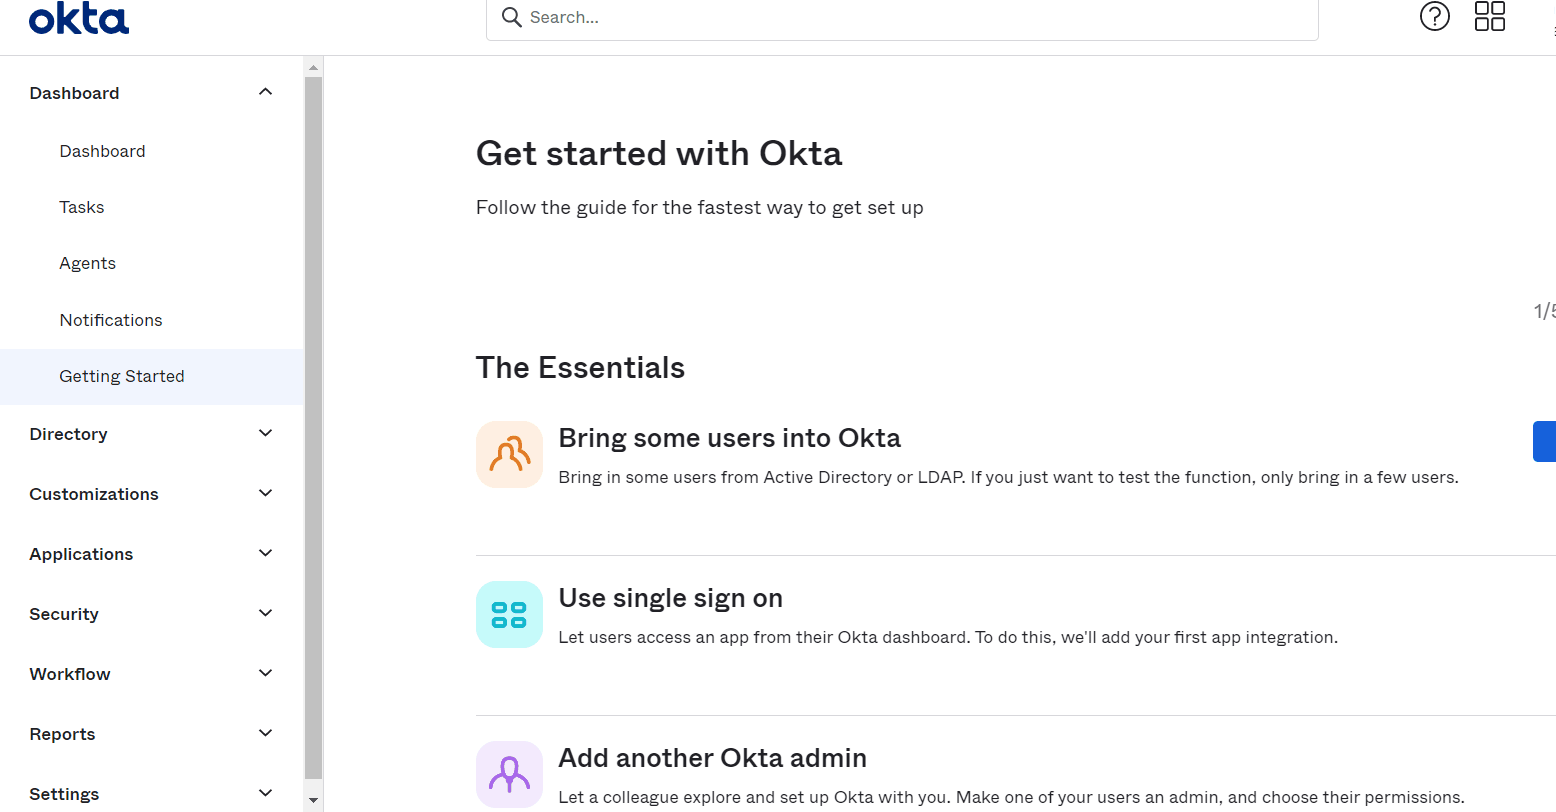
- Sign in to your Okta account as a user with administrative privileges.
- Click the Admin button in the top right corner.
- Go to Applications > Applications.
- Click Create App Integration.
- Select SAML 2.0 in the Sign-in method section and click Next.
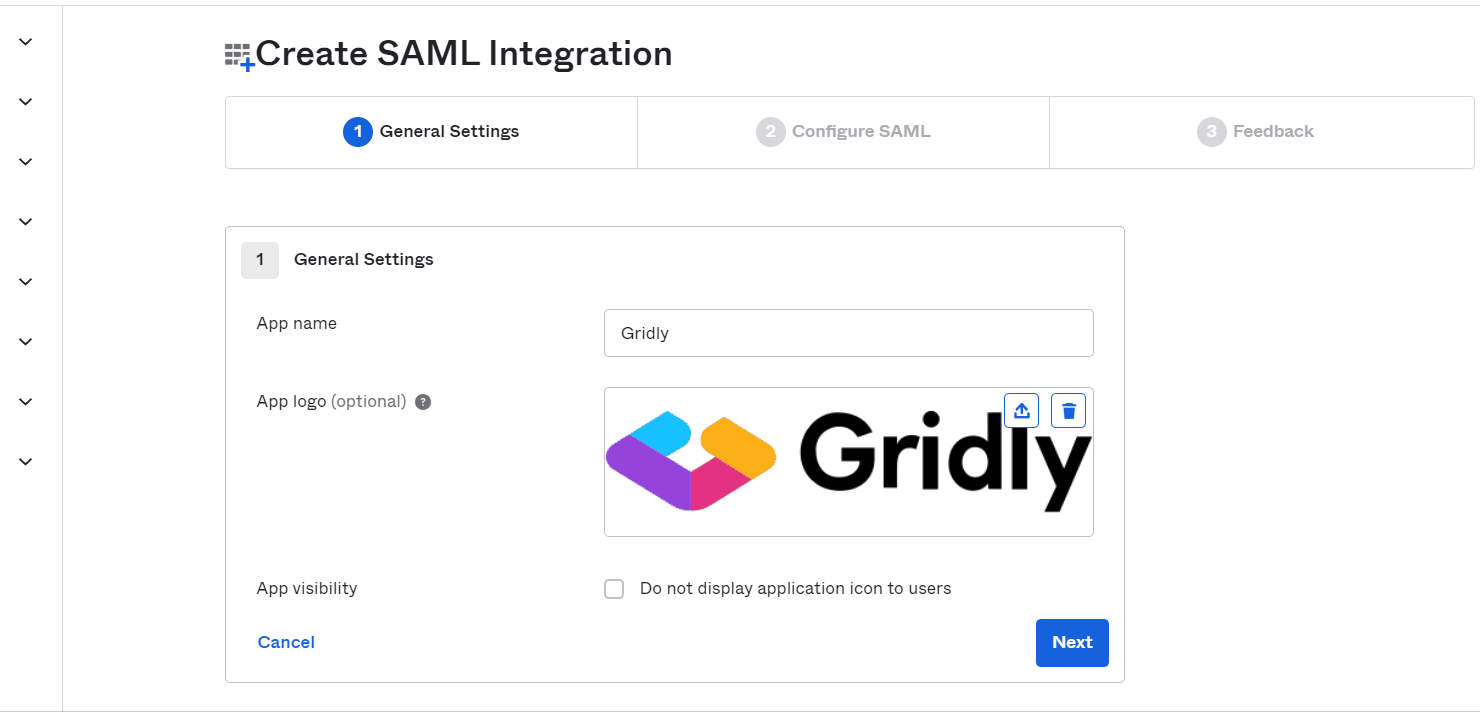
- On the General Settings tab, enter Gridly as the App Name and optionally upload a Gridly logo.
- Click Next.
-
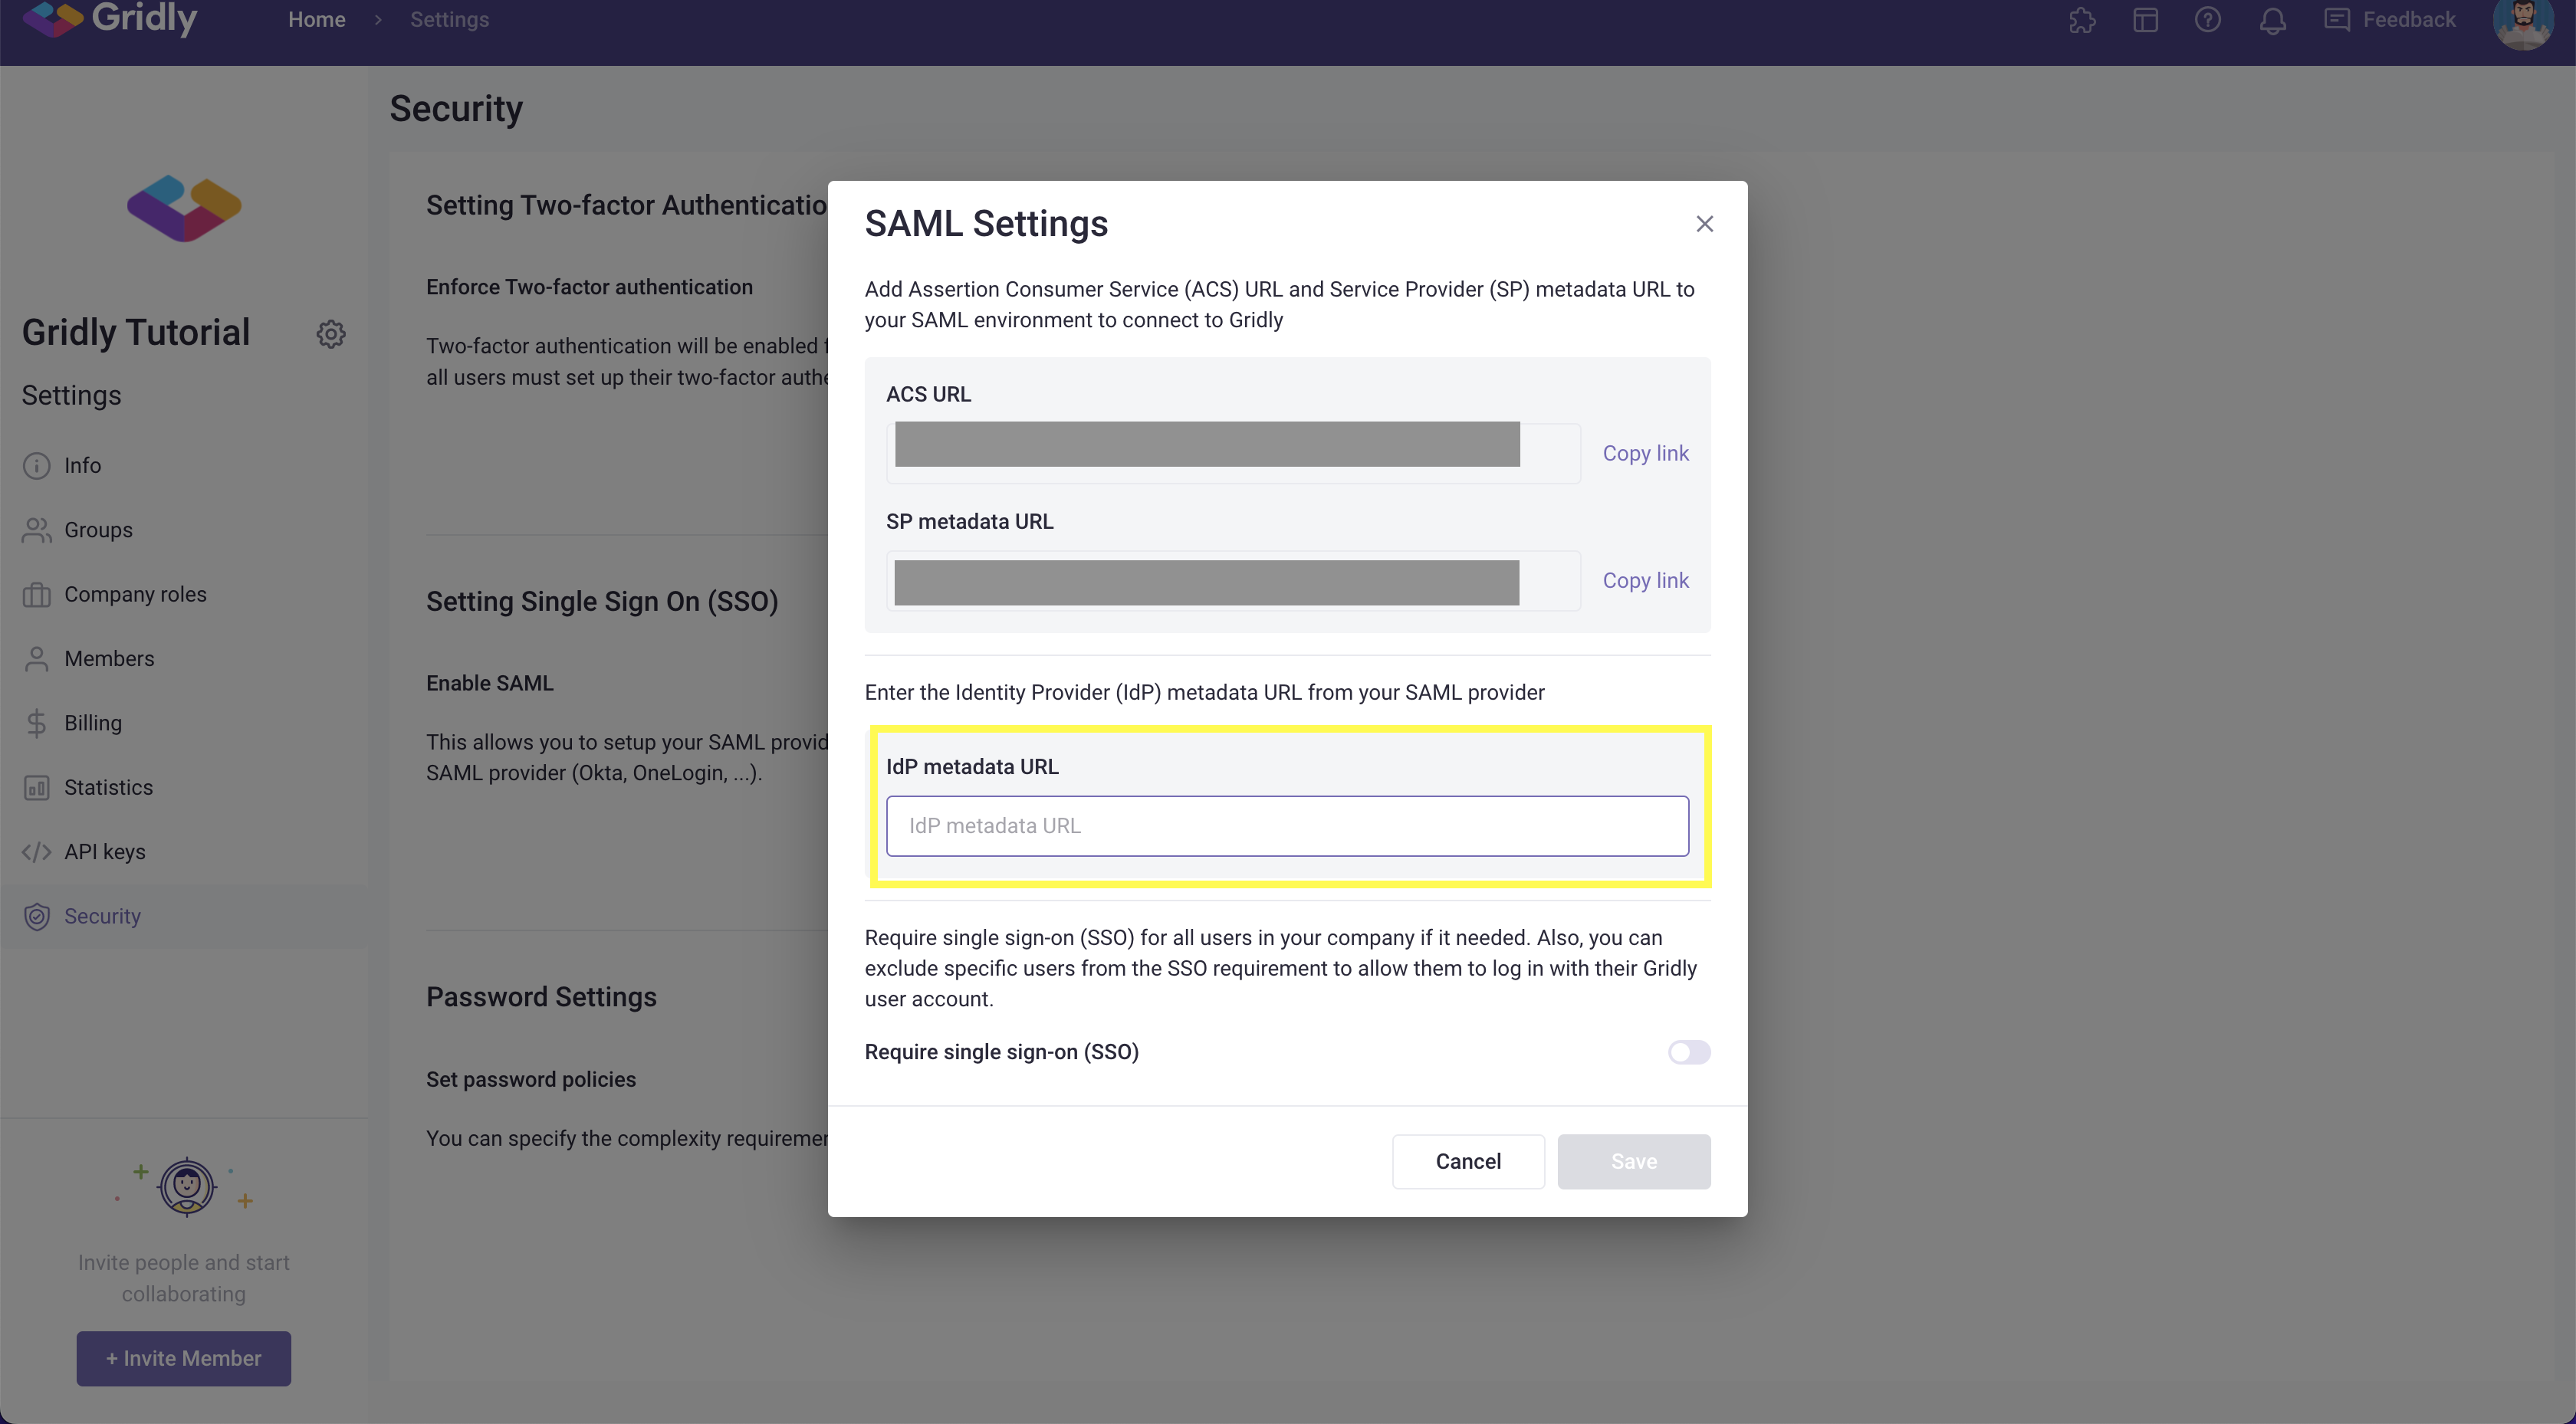
On the Configure SAML tab, use the SAML information that you've gathered in the Configuring SSO in Gridly step to configure the settings of your integration.
- In the Single Sign-on URL field, enter the Add Assertion Consumer Service (ACS) URL from Gridly.
- Enter the Service Provider metadata URL from Gridly into the Audience URI (SP Entity ID) field
- Choose the Name ID format and Application username that must be sent to Gridly in the SAML response (for example, EmailAddress and Email) or leave the defaults.
- Complete information in the Feedback tabs and click Finish
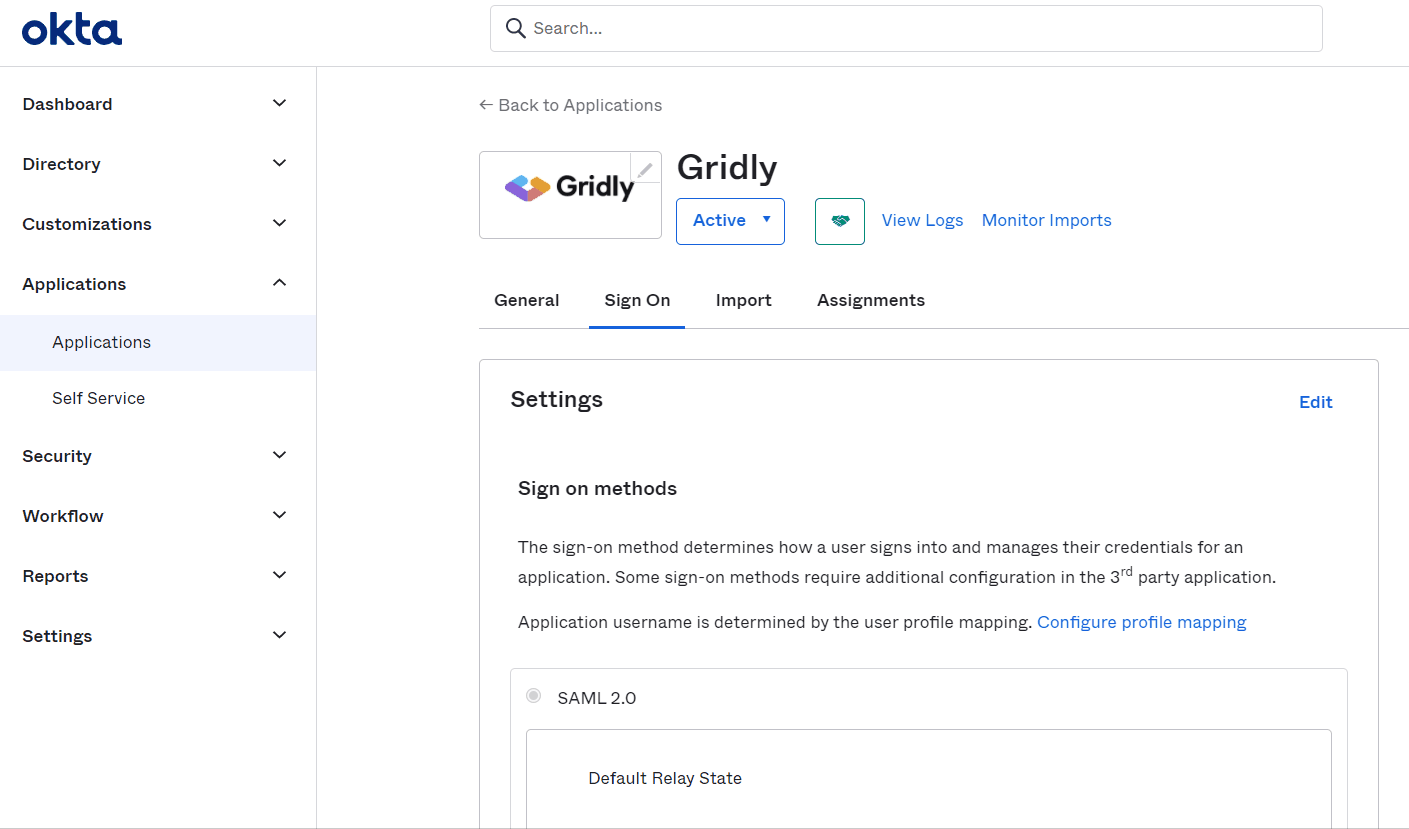
SAML Configuration for Gridly
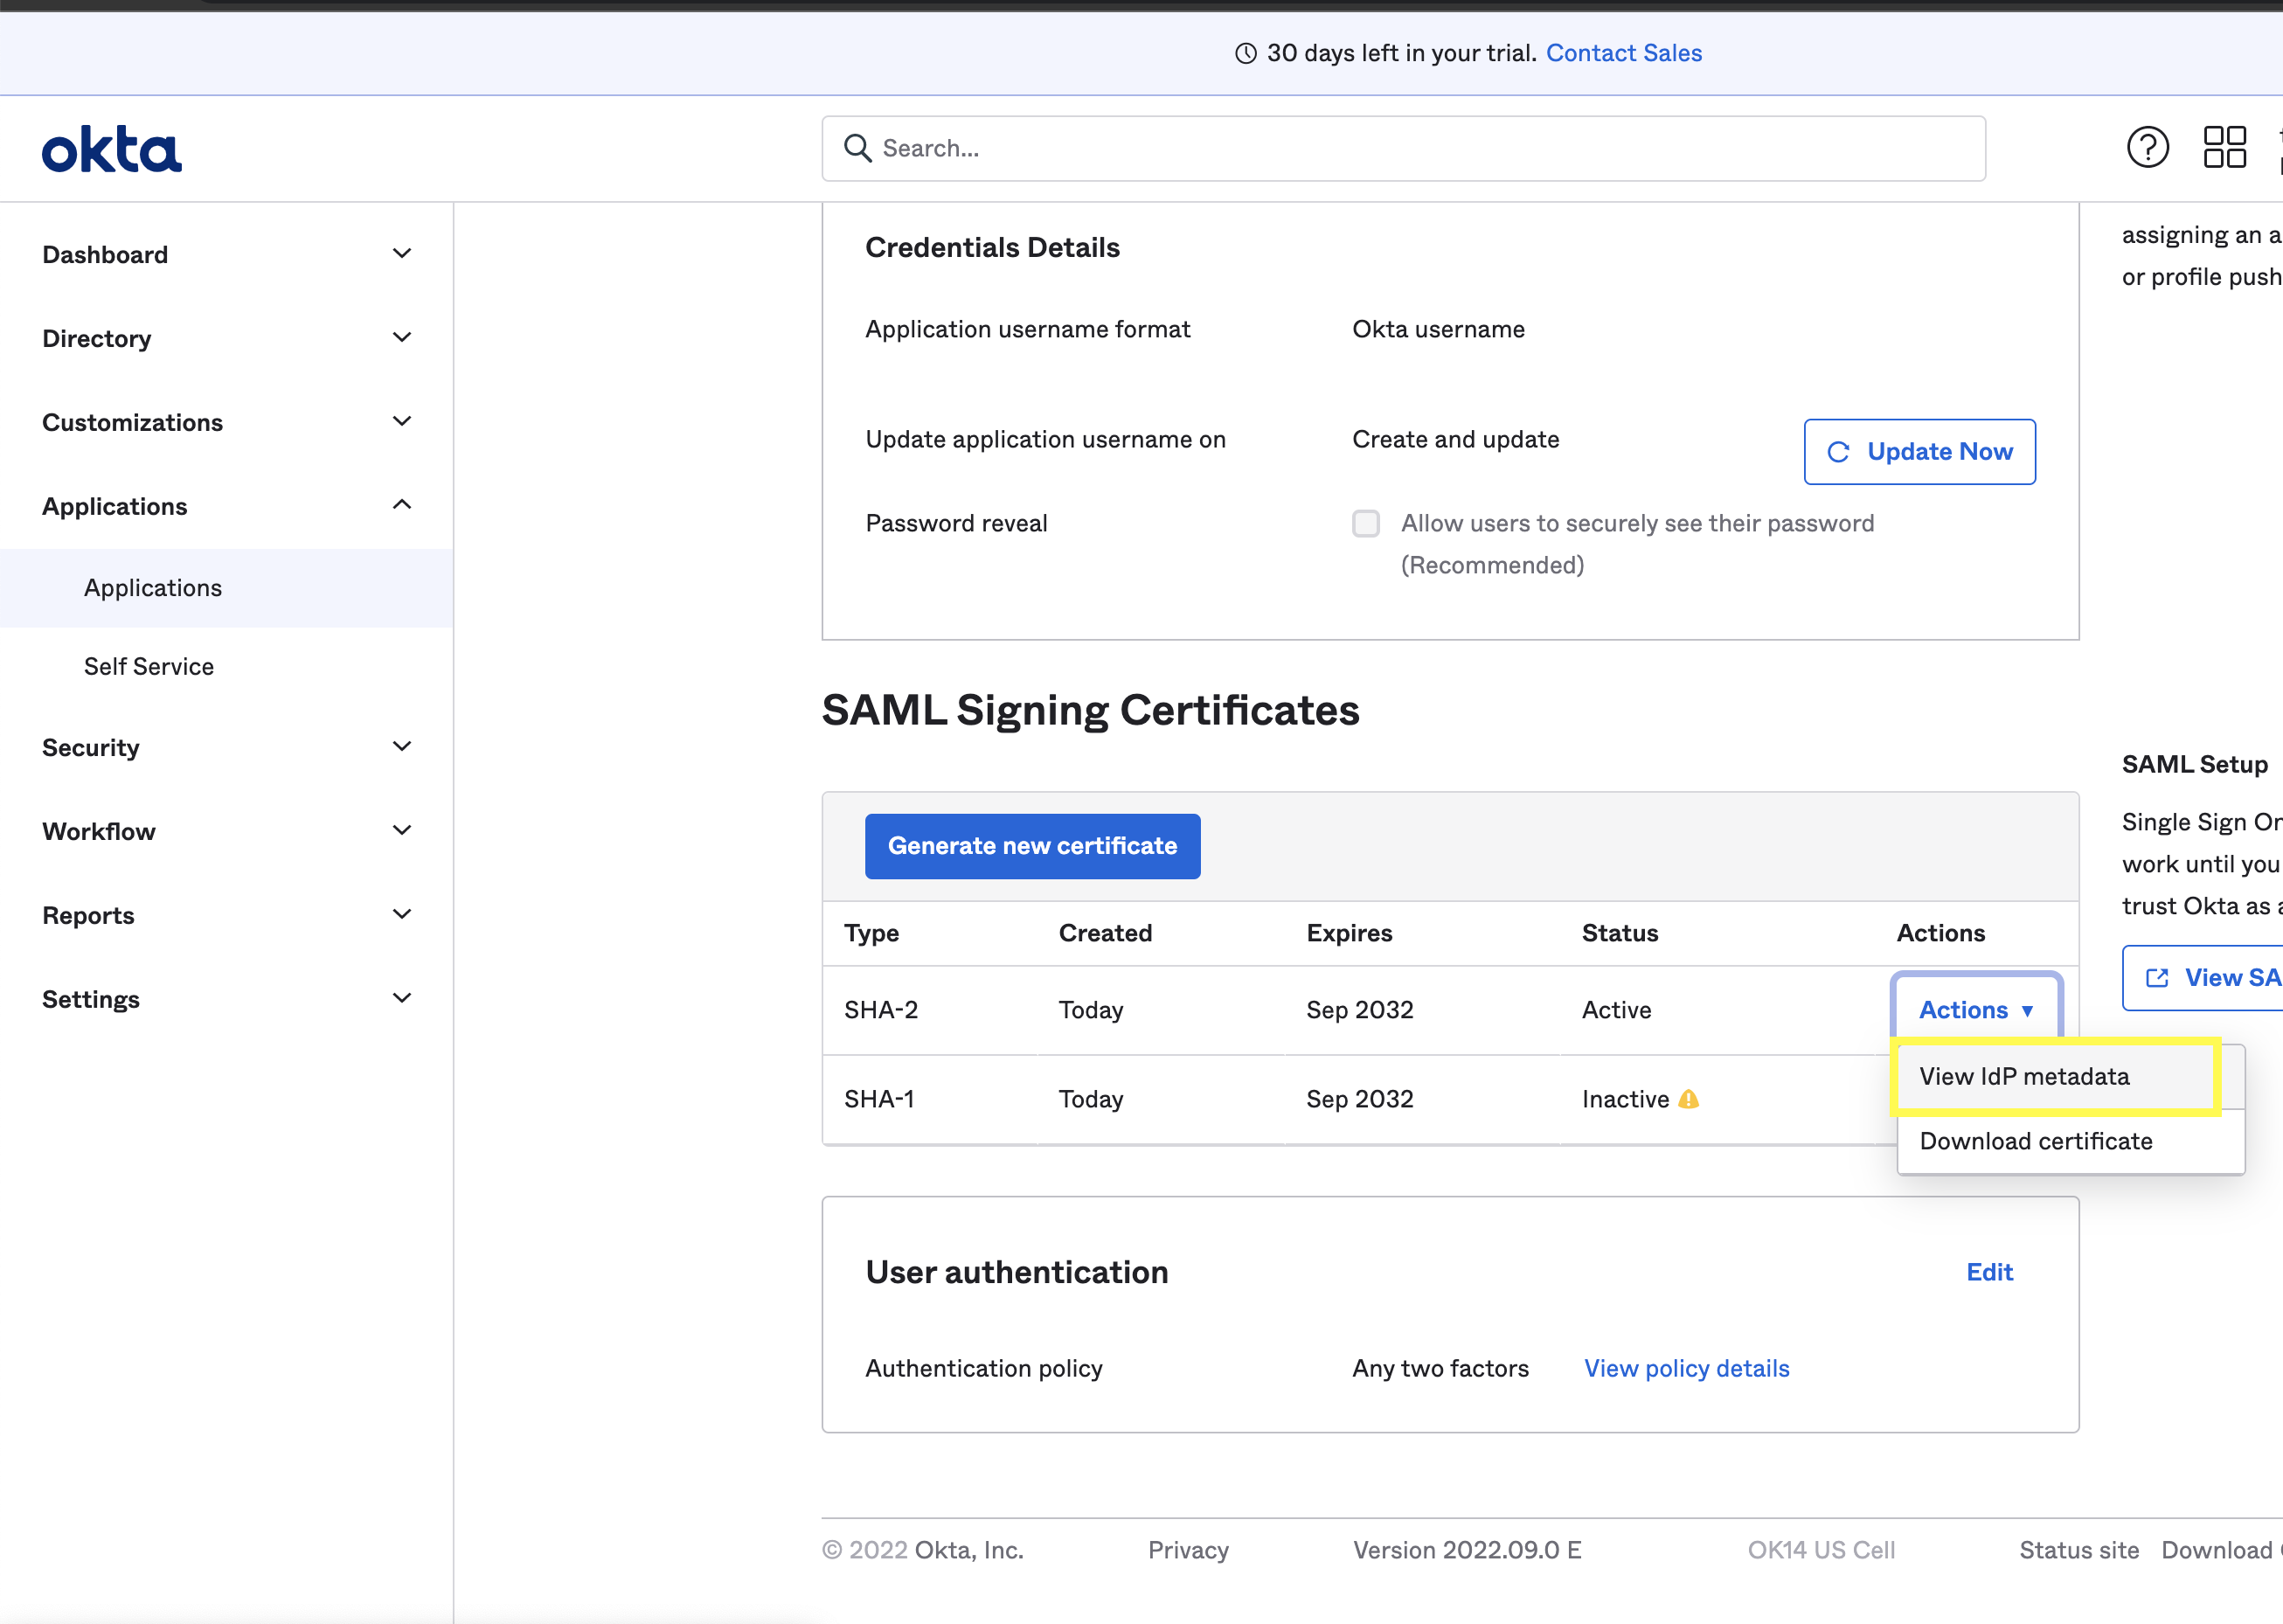
- In Okta, on the SAML Signing Certificates section, click View IdP metadata and copy the URL
- In Gridly, select Company Settings > Security. Select Enable in the Single Sign-on section.
- Paste the IdP metadata URL from Okta in the IdP metadata URL field.
Assign users to Gridly
You must assign Gridly integration to users in your organization for them to access Gridly through your identity provider:
- Click the Assignments tab.
- Click Assign and then select either Assign to People or Assign to Groups.
- Enter the appropriate people or groups that you want to have Single Sign-On for Gridly, and then click Assign for each.
- For any people that you add, verify the user-specific attributes, and then select Save and Go Back.
- Click Done.
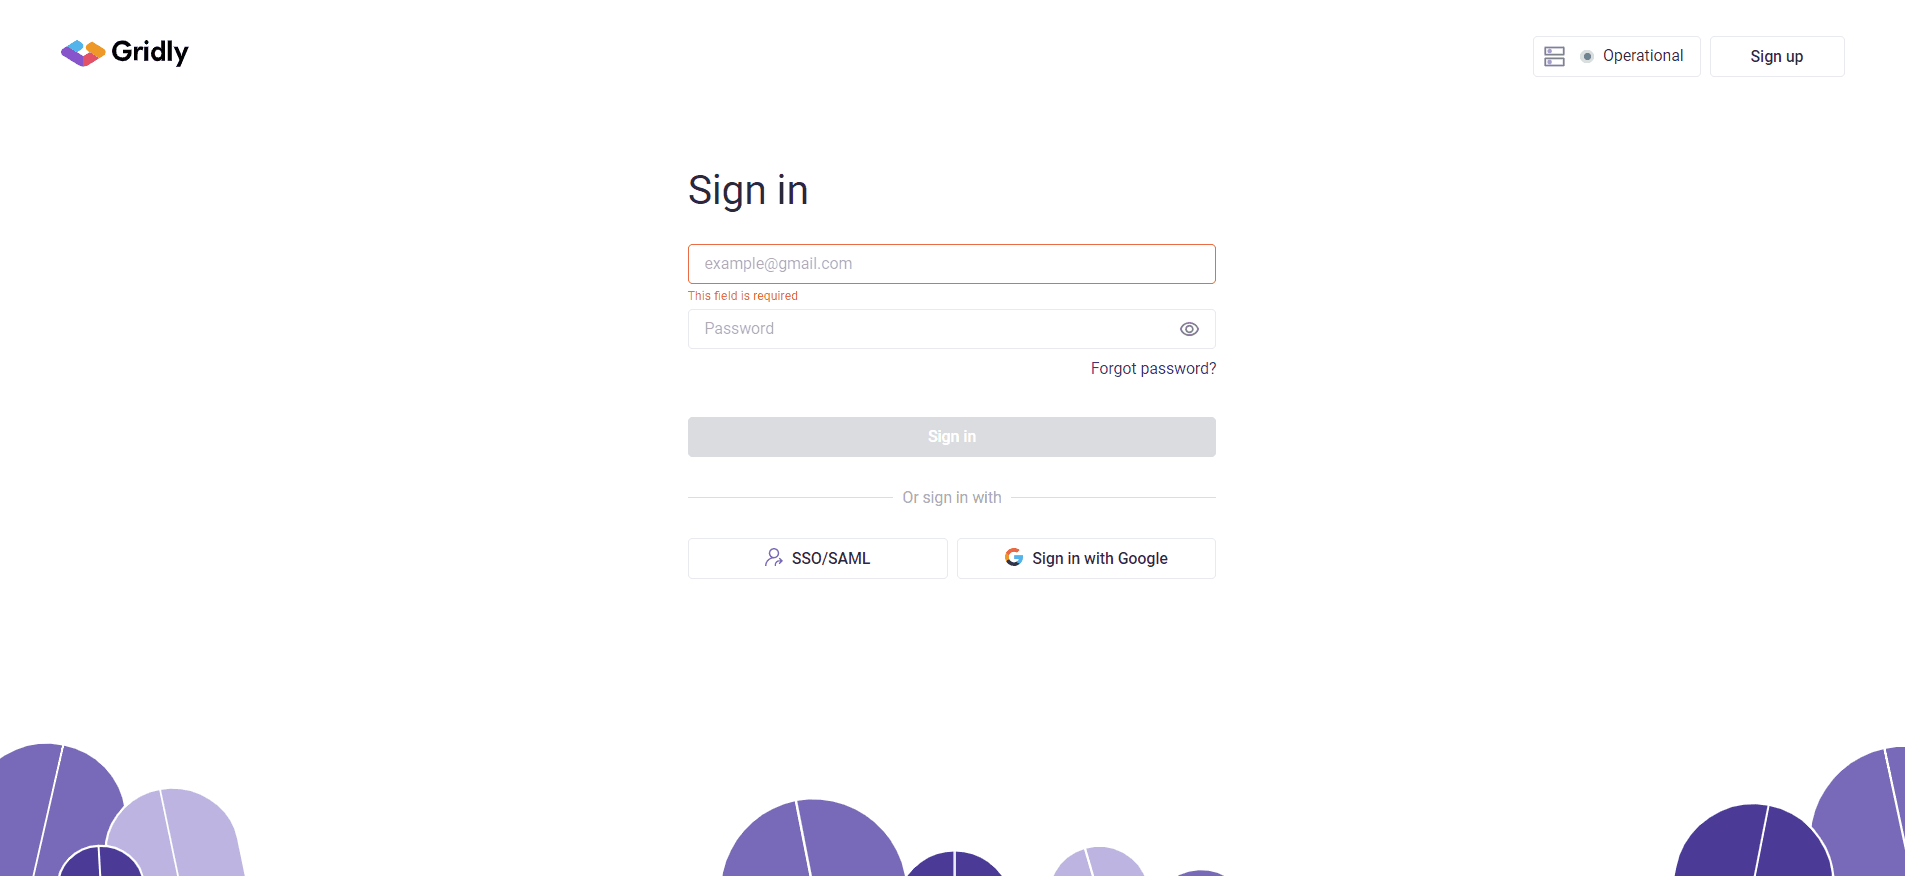
Now assigned users can log in to Gridly with SSO/SAML. You can log in to Gridly through your identity provider, or access: https://app.gridly.com/signin and select Sign in with SSO/SAML.