Gridly provides the power to fully customize your members' access and rights. You can invite members, set up their rights according to your needs.
Add team members to Gridly
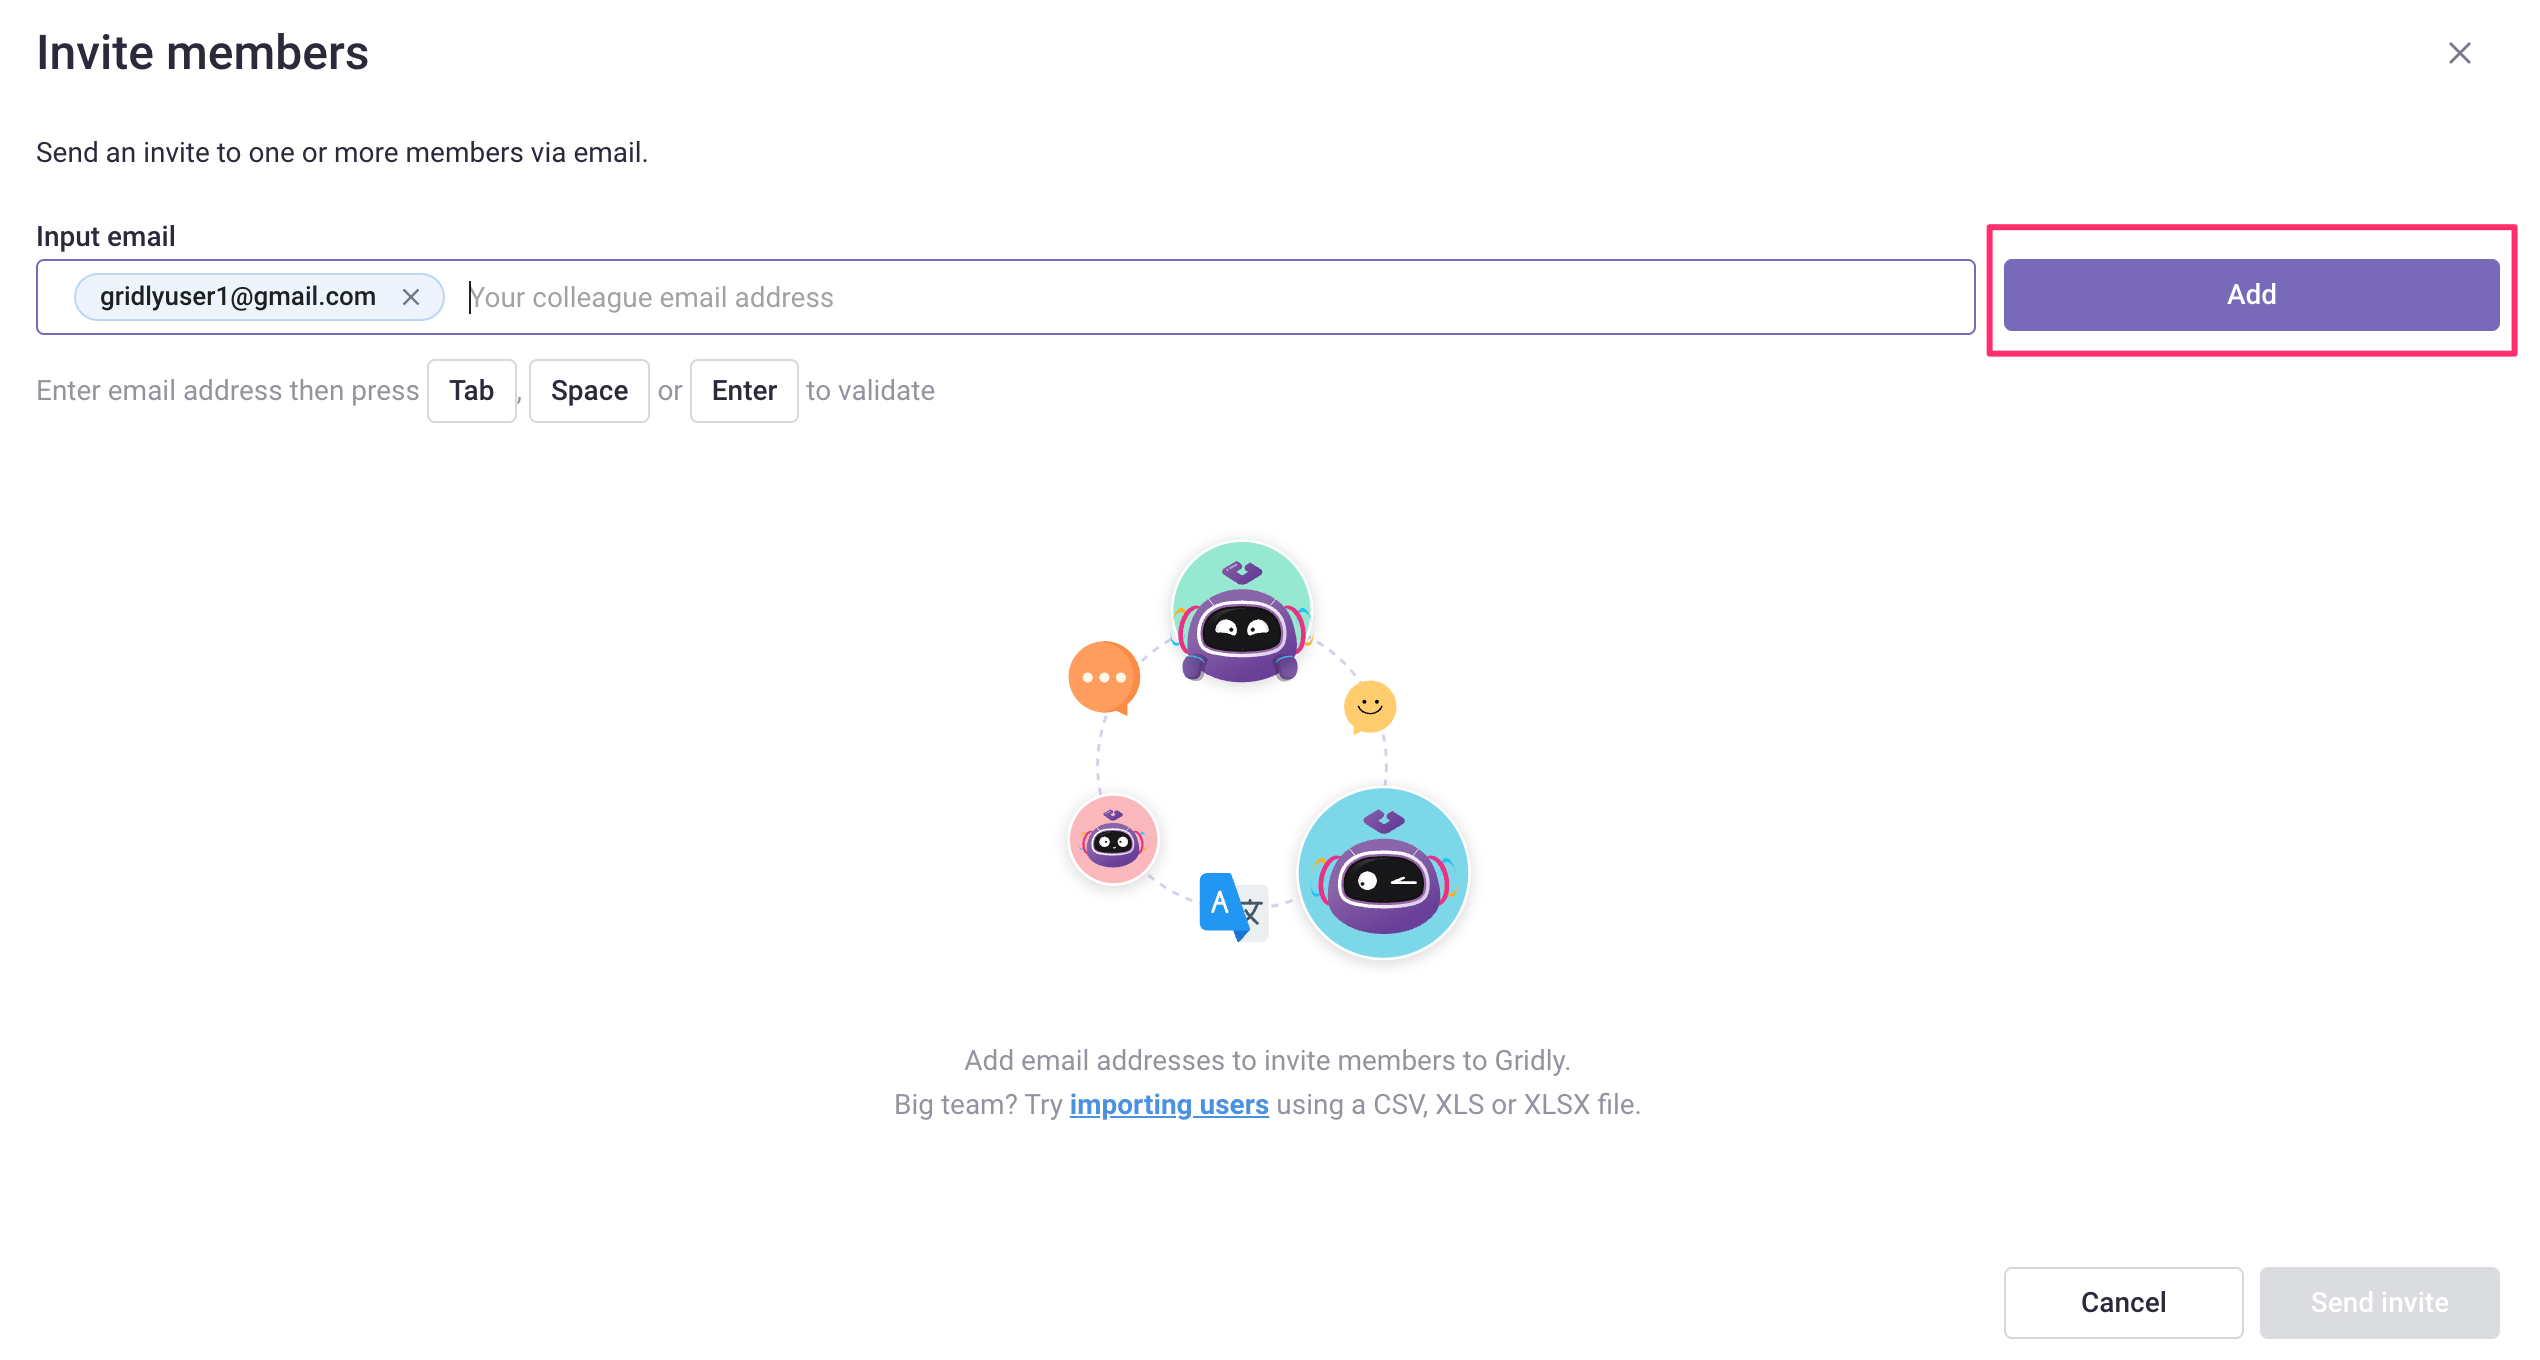
- Click the Invite Member button.

- Enter the email address, then press Tab, Space, or Enter to validate.
- Once done, click Add.

Set up roles and permissions
Before sending out the invitations to your team members, you need to set up their roles and permissions:
-
Seat type: Select a seat type for this team member
- Platform seat: Grants full access to all subscribed Gridly modules.
- Translator seat: Grants access to the CAT module only (if you subscribed ).
-
Role: Select a Company role for this team member
- Admin: Grants permission to manage company settings, invite other members, etc.
- User (default): If this team member is a Translator, select the Translator checkbox to assign language pairs.
- User group: Select a user group for this team member. You can change the access for Groups in the company settings. Learn how to set up Groups.
- Default project role: Select a project role which will be automatically assigned to this team member when they join new projects.
Learn more about Company Roles, Project Roles and Company Group.
Click Send invite when you're done with setting up all the roles and permissions.

Ask your team member to accept the invitation
Your invitation has been sent successfully. Your team members will receive the invitation email. Ask your members to click Join now to start onboarding.

Once your user accepted the invitation, you'll also receive a notification email indicating that the new user has joined the team on Gridly.
Example: Inviting a Translator (English - French) to Gridly
In this example, we'll show you how to invite a Translator who translates from English to French in the Fastlane project in the CMS module.
After adding the email, you'll be asked to set the Seat, Role, User groups and Default project role.
The Fastlane project is in the CMS module, so the translator will need access to this module. We will select Platform here.

Since he is a Translator, you don't want him to access the company settings, let's set him as User in the Role section.

He's responsible to translate from English to French, so he should not be able to view and edit other language pairs in the project, let's set him as a Translator and assign the language pairs:

As he only works on a project called Fastlane, let's add him to a Group where he can only access the Grids in Fastlane project, which is Translators group.

Since you want the translator to only work in the assigned languages in shared views, let's also make him a Translator as the default project role. Then click Send invite.

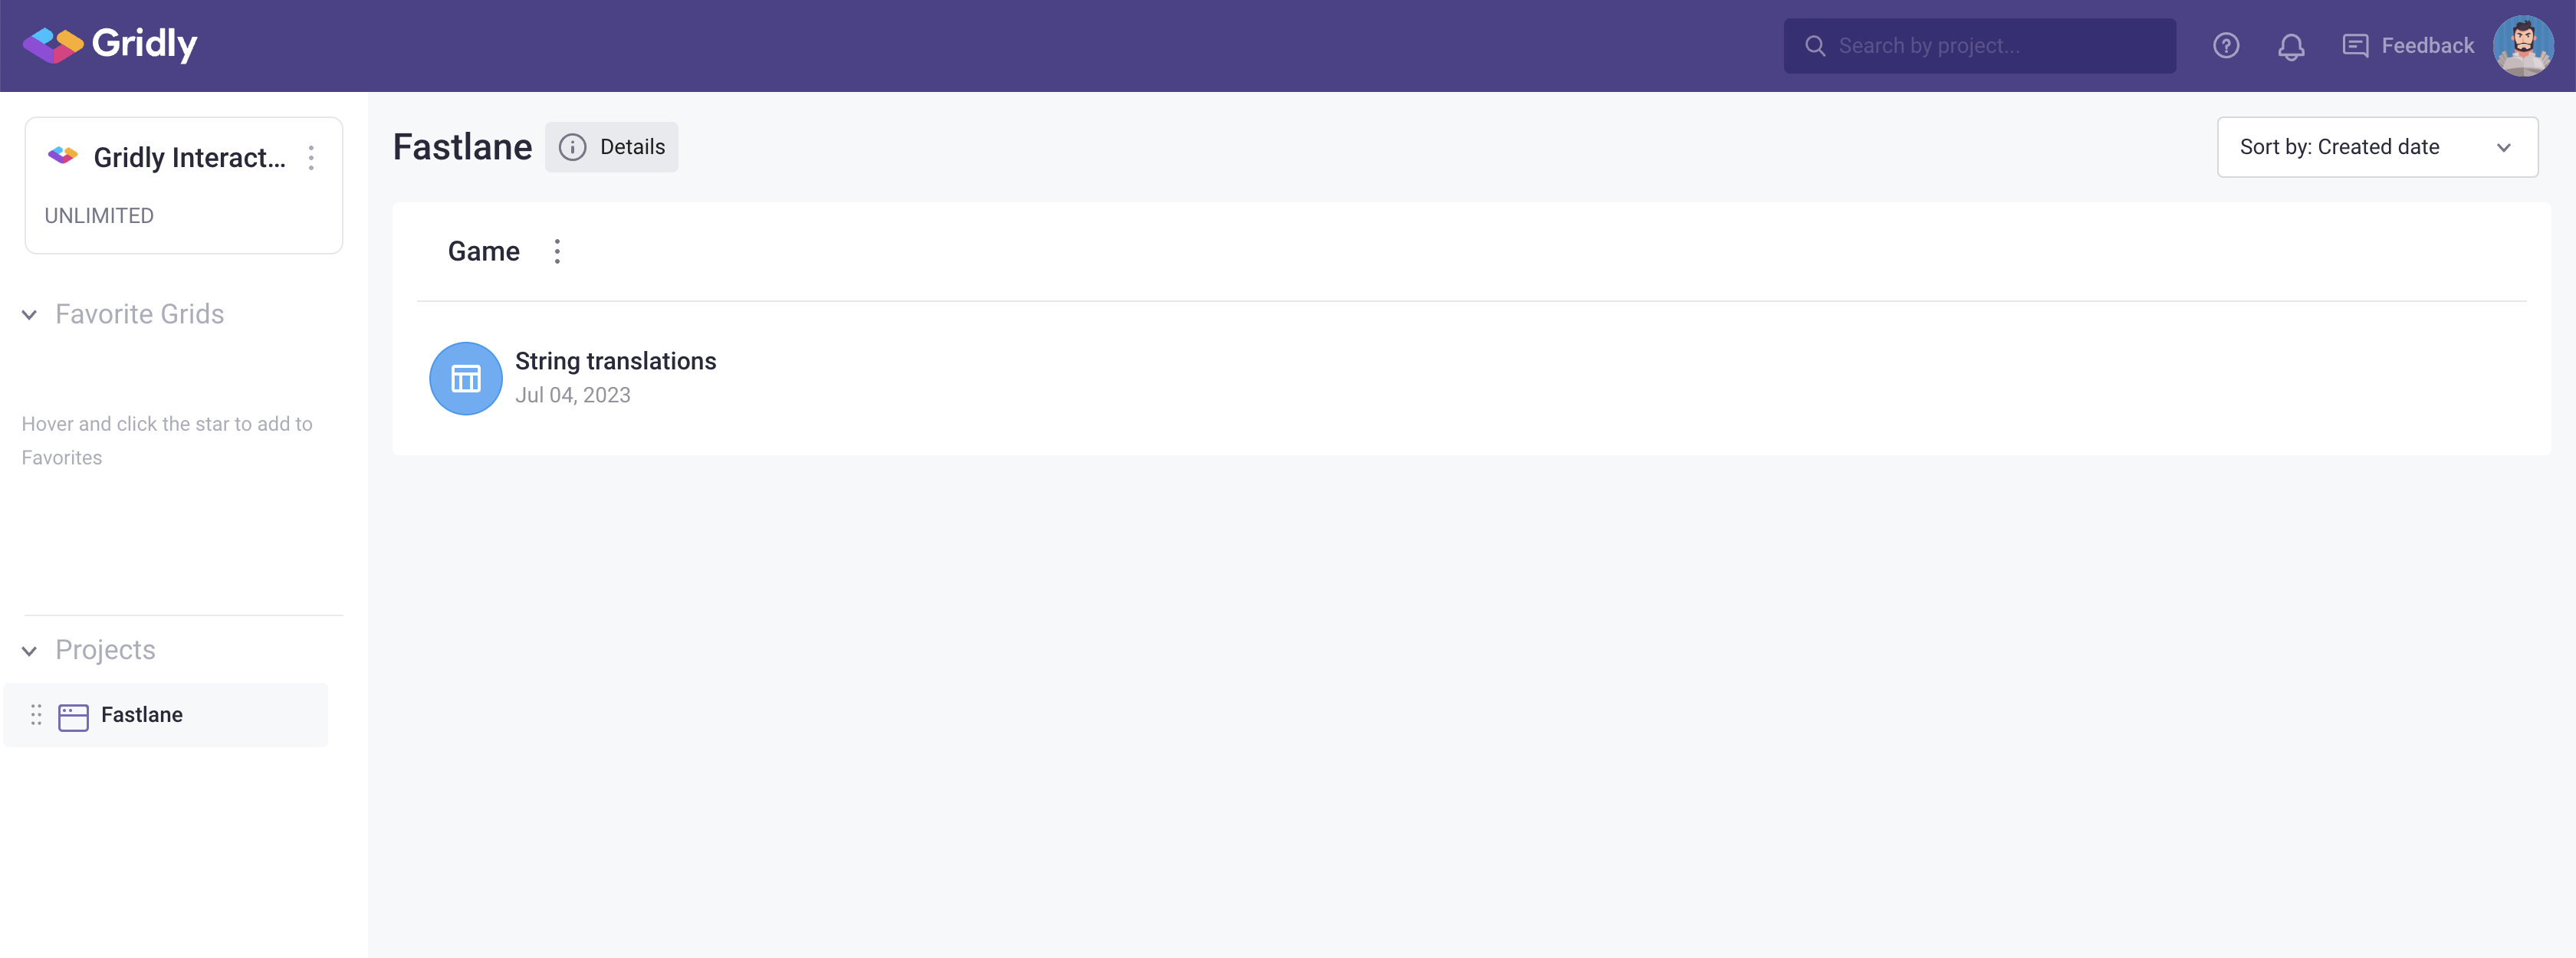
When the translator joined the company, he can only view the Grids that he has been given access to.

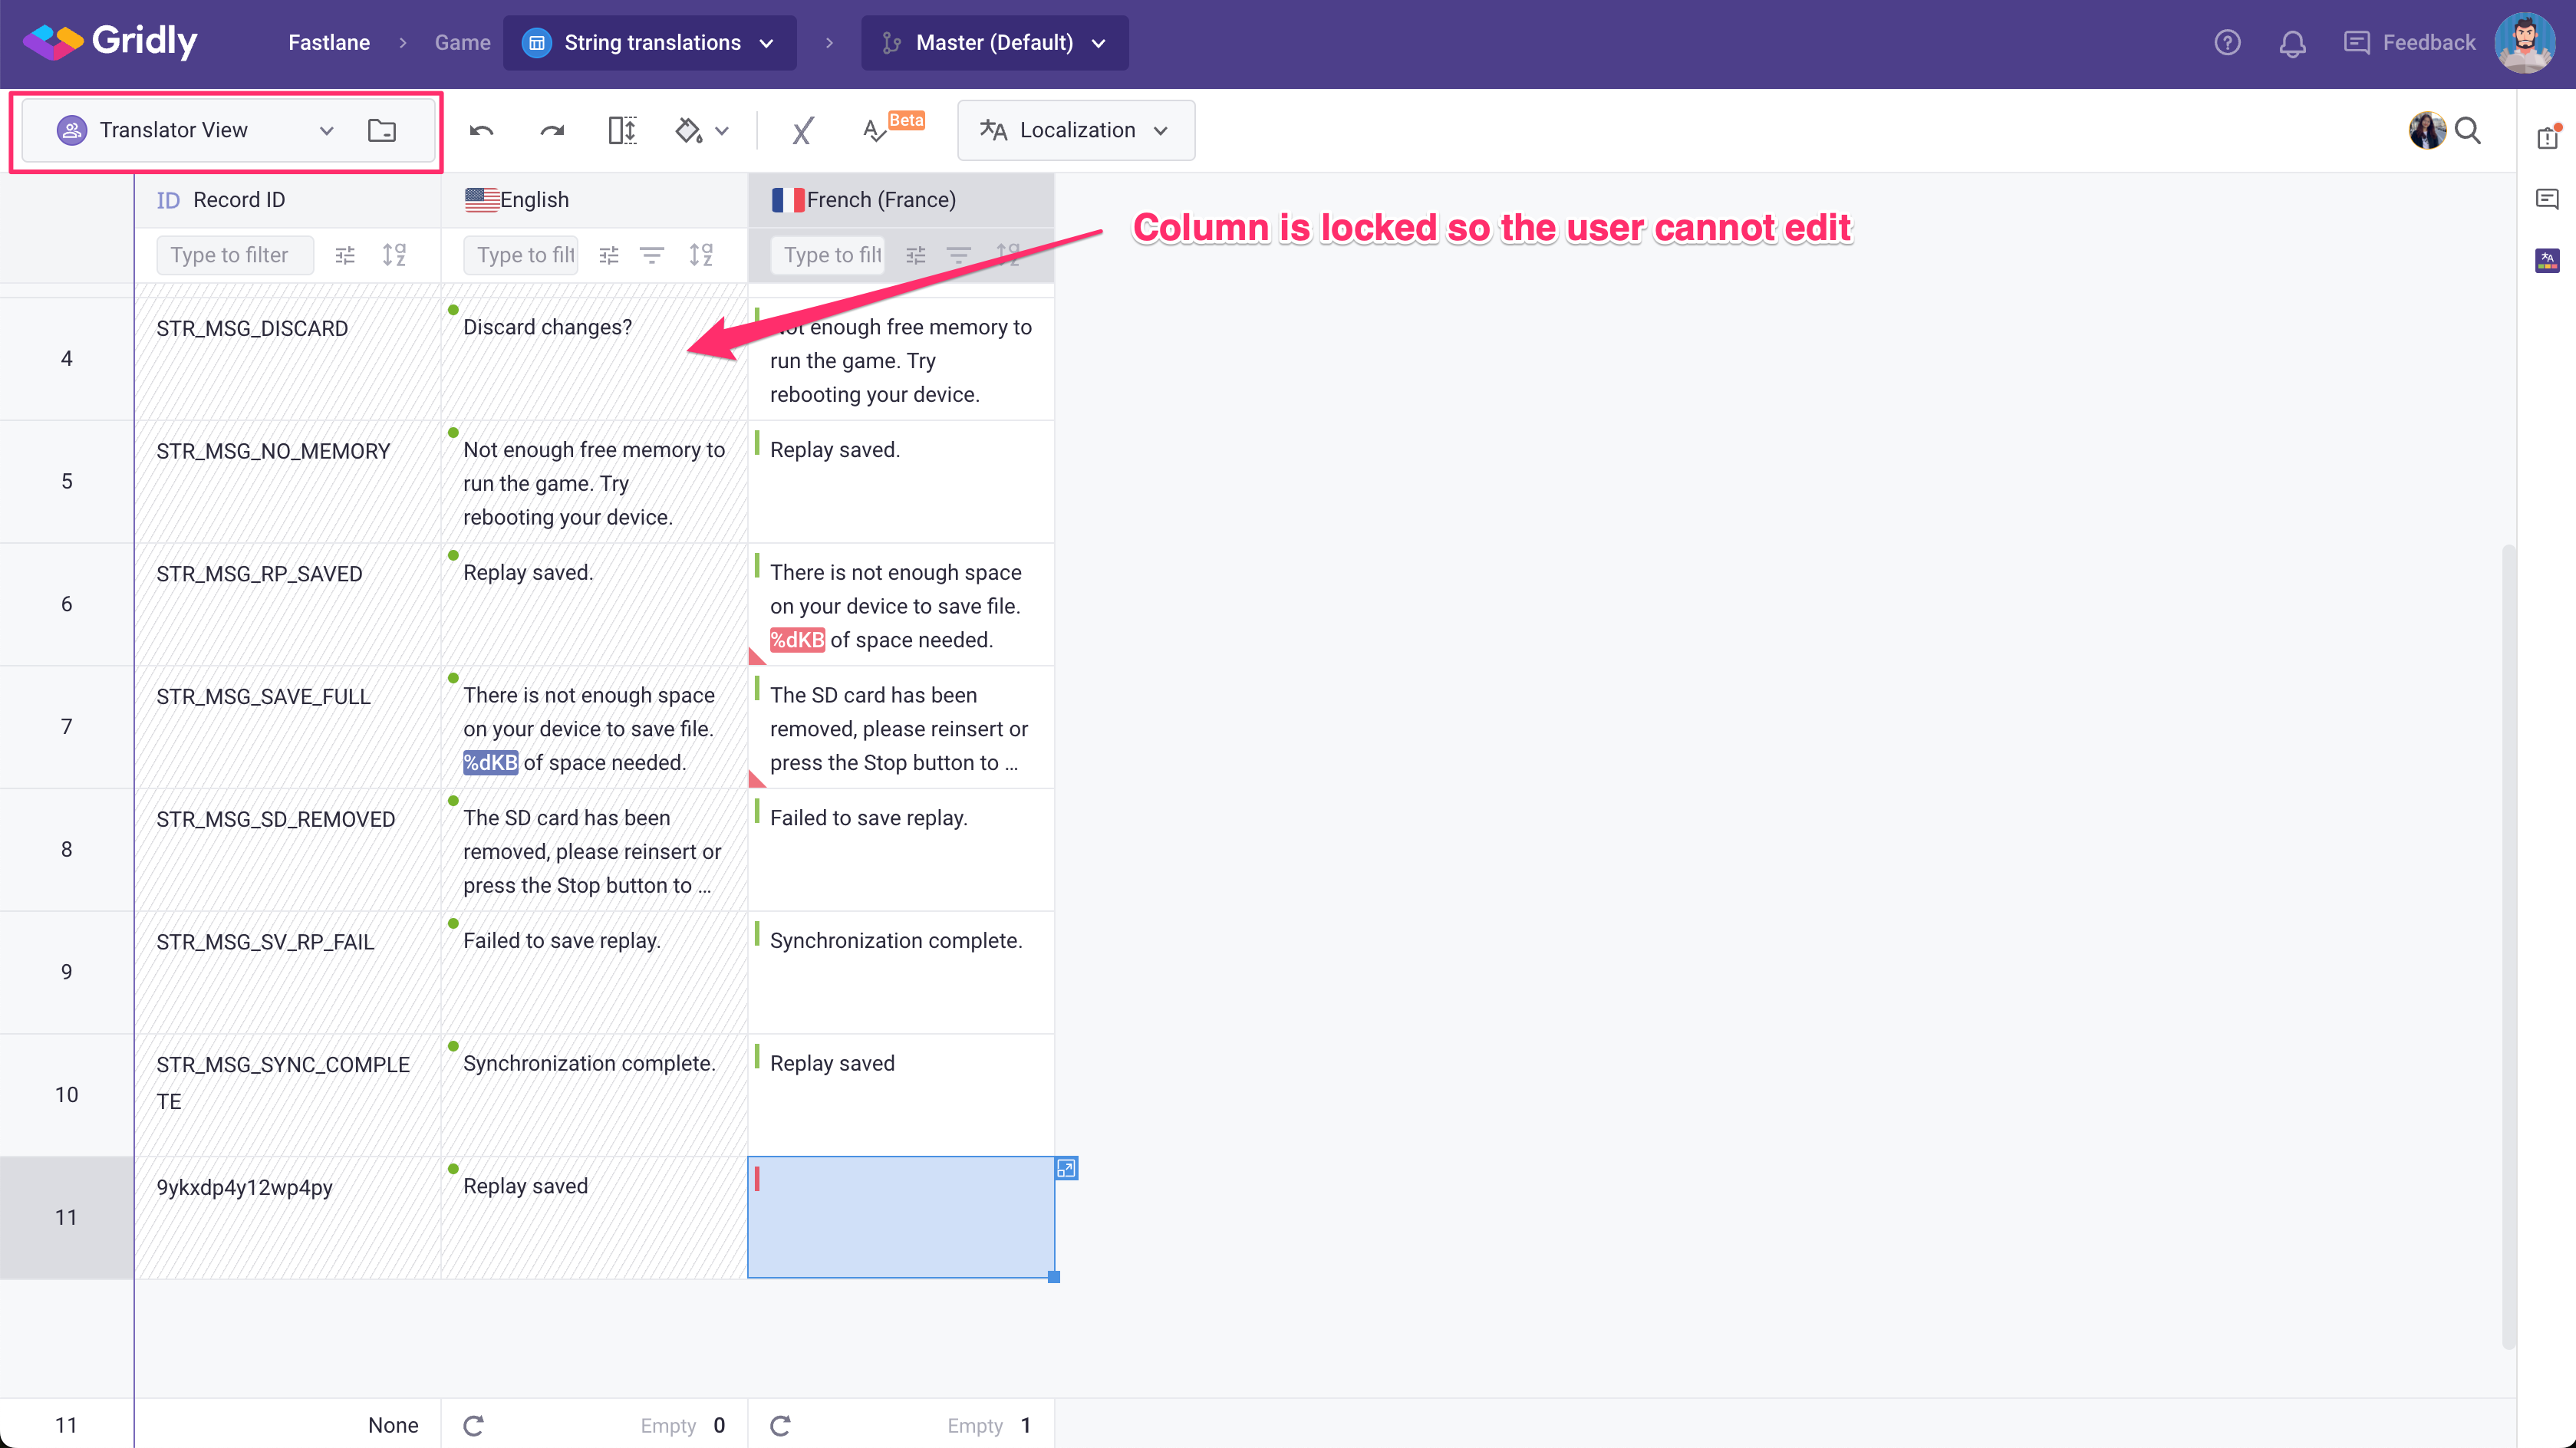
When he opens the Grid, he can only see the Translator view and his assigned language pair. In addition, he can only edit his assigned target language, assuring that the source language strings won't be changed accidentally.
