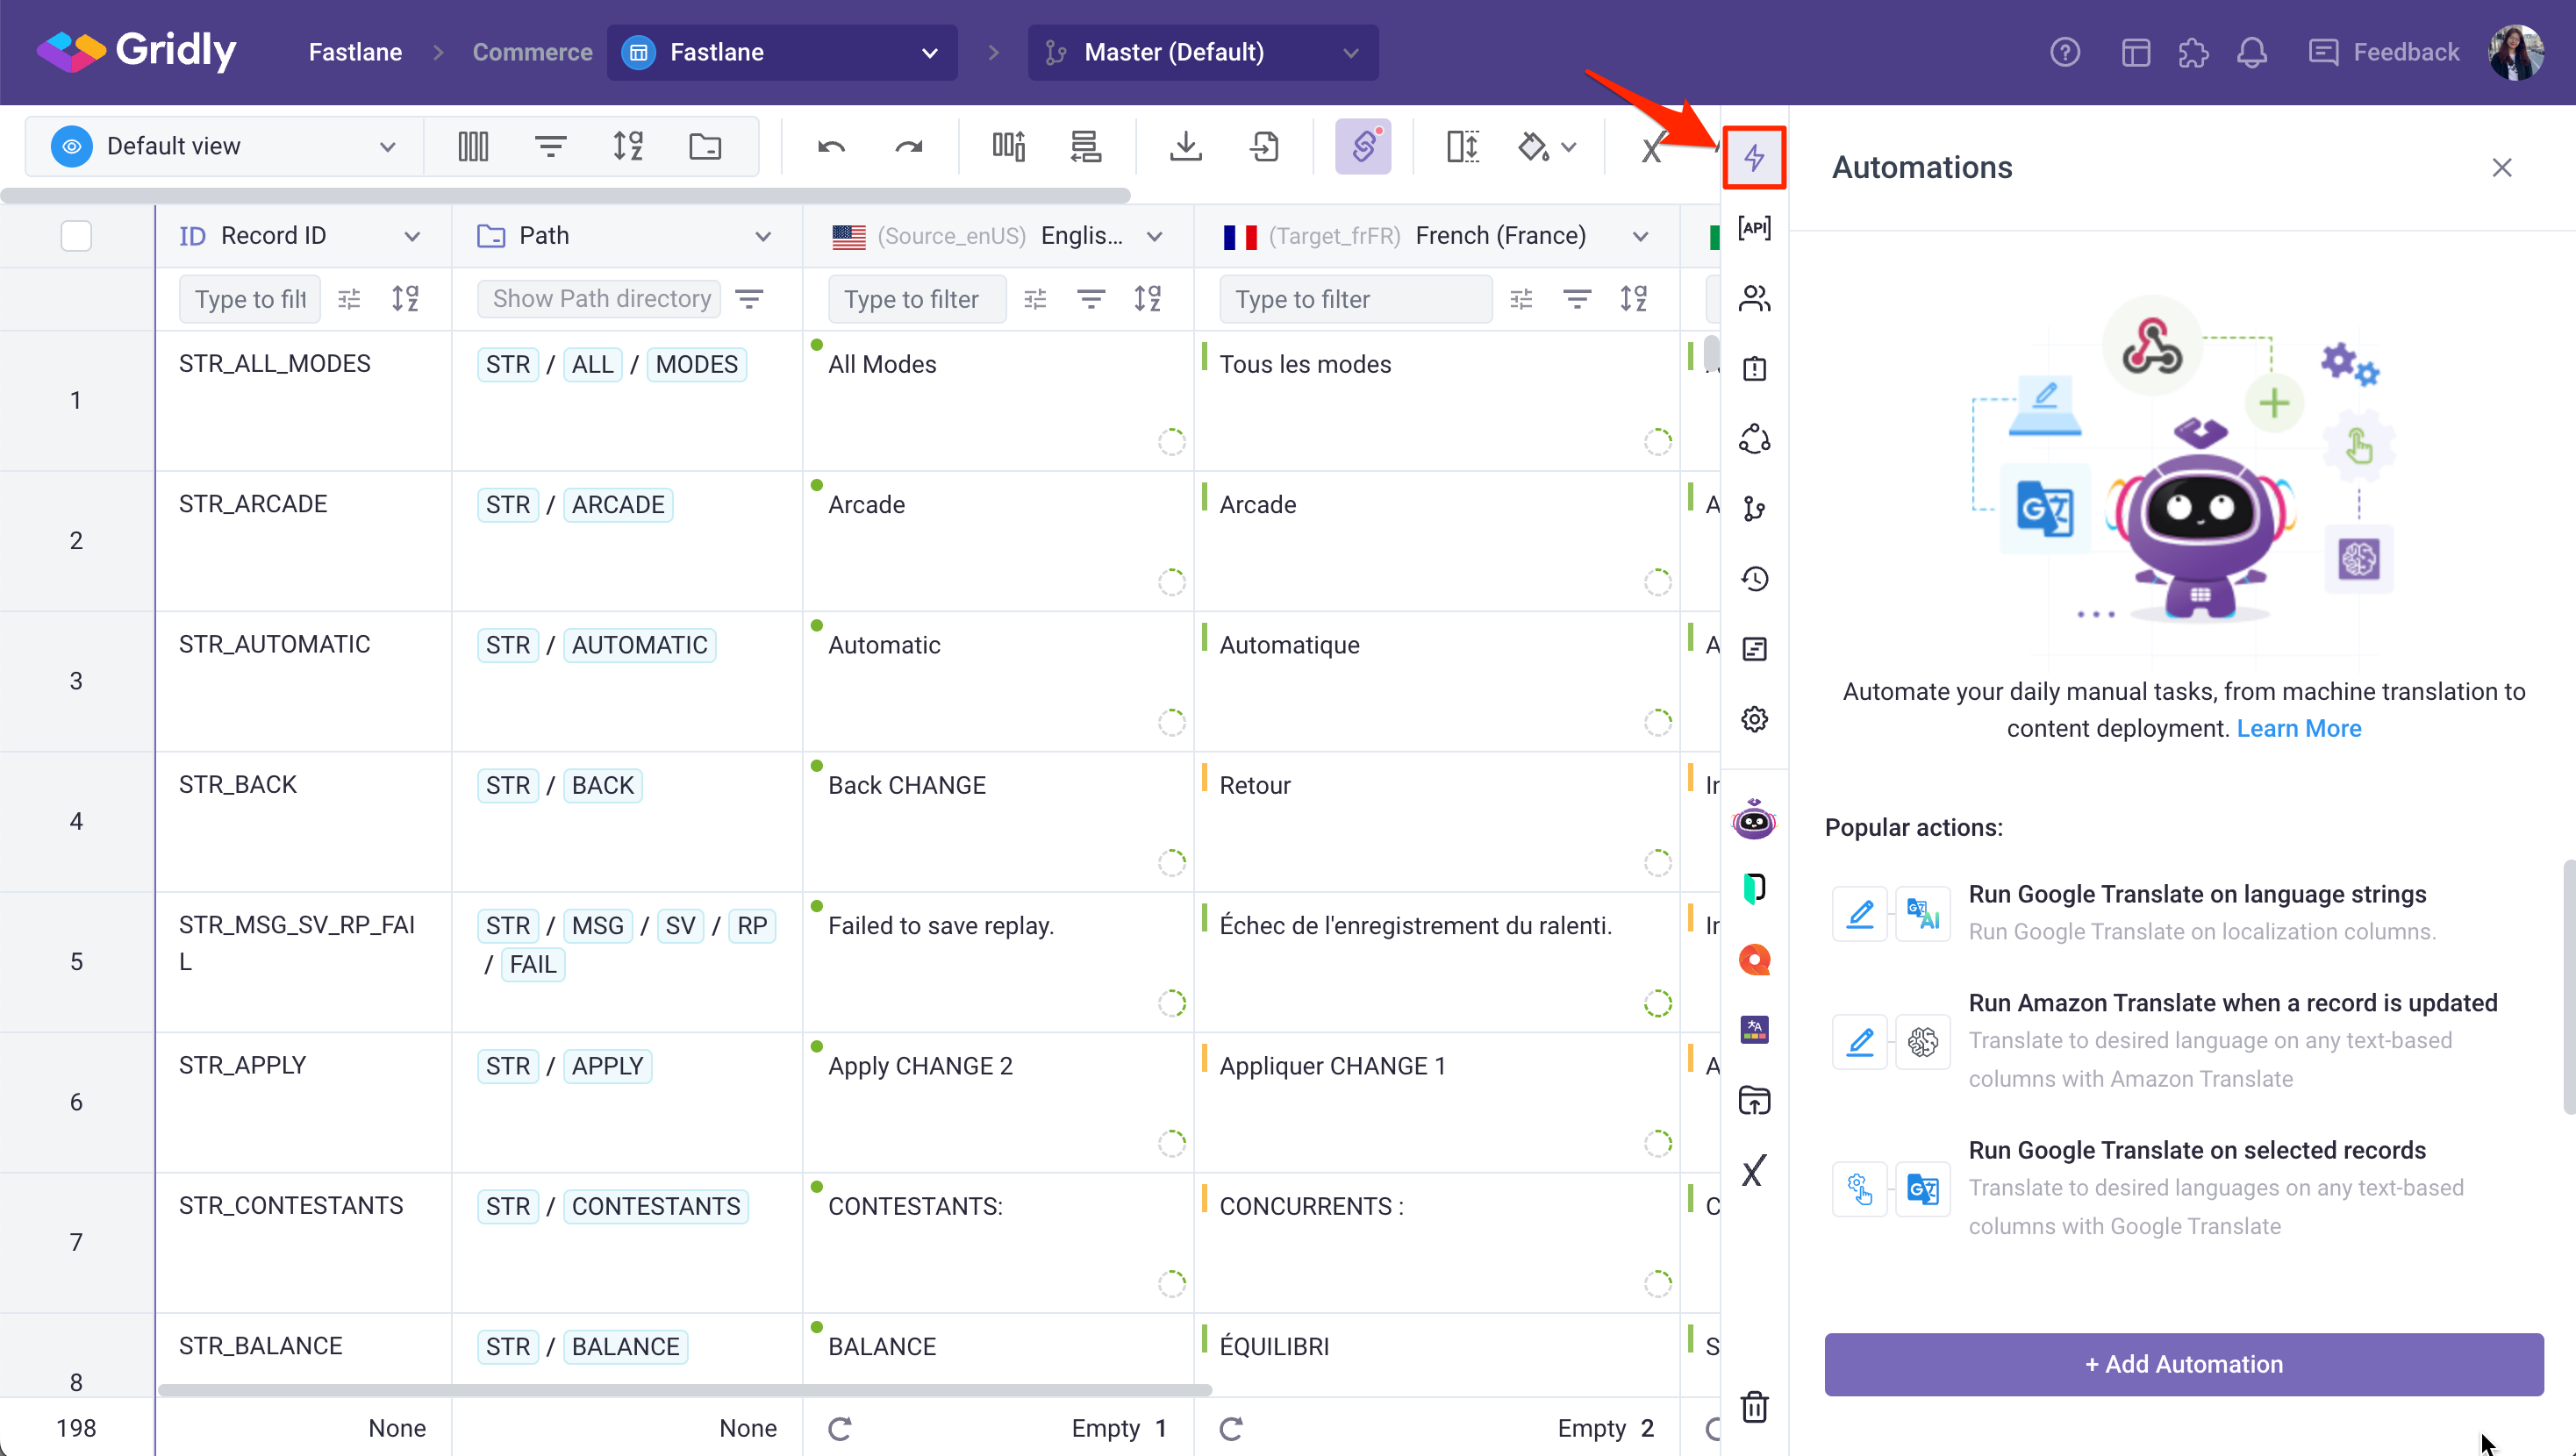
Setting up the automations
- Open a Grid, click
on the sidebar to open the Automation setup.
-
Select Automation templates to use pre-made Automations, or click Add Automation to create an automation from scratch.
Add a Trigger
- Click Add Trigger and select from the list of available Trigger types. For example, if you select Record updated, it means that the trigger will run when a record is updated on the current Grid.
- Select Watching columns: when you select a column as the watching column, any updates to this column (e.g edit a cell in this column) will fire the trigger.
Tip
Not all triggers offer specific configuration. If that's the case, move on to the next step. If you picked the wrong trigger by accident, or would like to try another trigger type for your automations, you can change your trigger type by choosing another option from the "Trigger type" dropdown.
Add an Action
- Select Add Step.
- Select an Action from the Action list. In this example, we will choose “Google Text translate”. After choosing an action, you will be required to fill in some fields depends on which action you selected.
Test the Automation
Now you’re done setting up, you need to test the Automations to check it works.
- Click the toggle button on the top left corner to turn on the Automation.
- Click Test Automation to run the test.
If an Automation is tested successfully, you can now start using your Automation in the Grid.
Using automation templates
- In the Automations tab, select Automation templates.

- Click + Add next to the Automation you want to create.

- If required, select the corresponding columns in your Grid for the automation's required columns.
- Once done, click Add new automation.
Manage Automation
Edit Automation details
In the Automation settings, click to edit Automation name, description, avatar, and whether you want to apply the Automation to all Views. By default, new Automation is only applied to the current View.
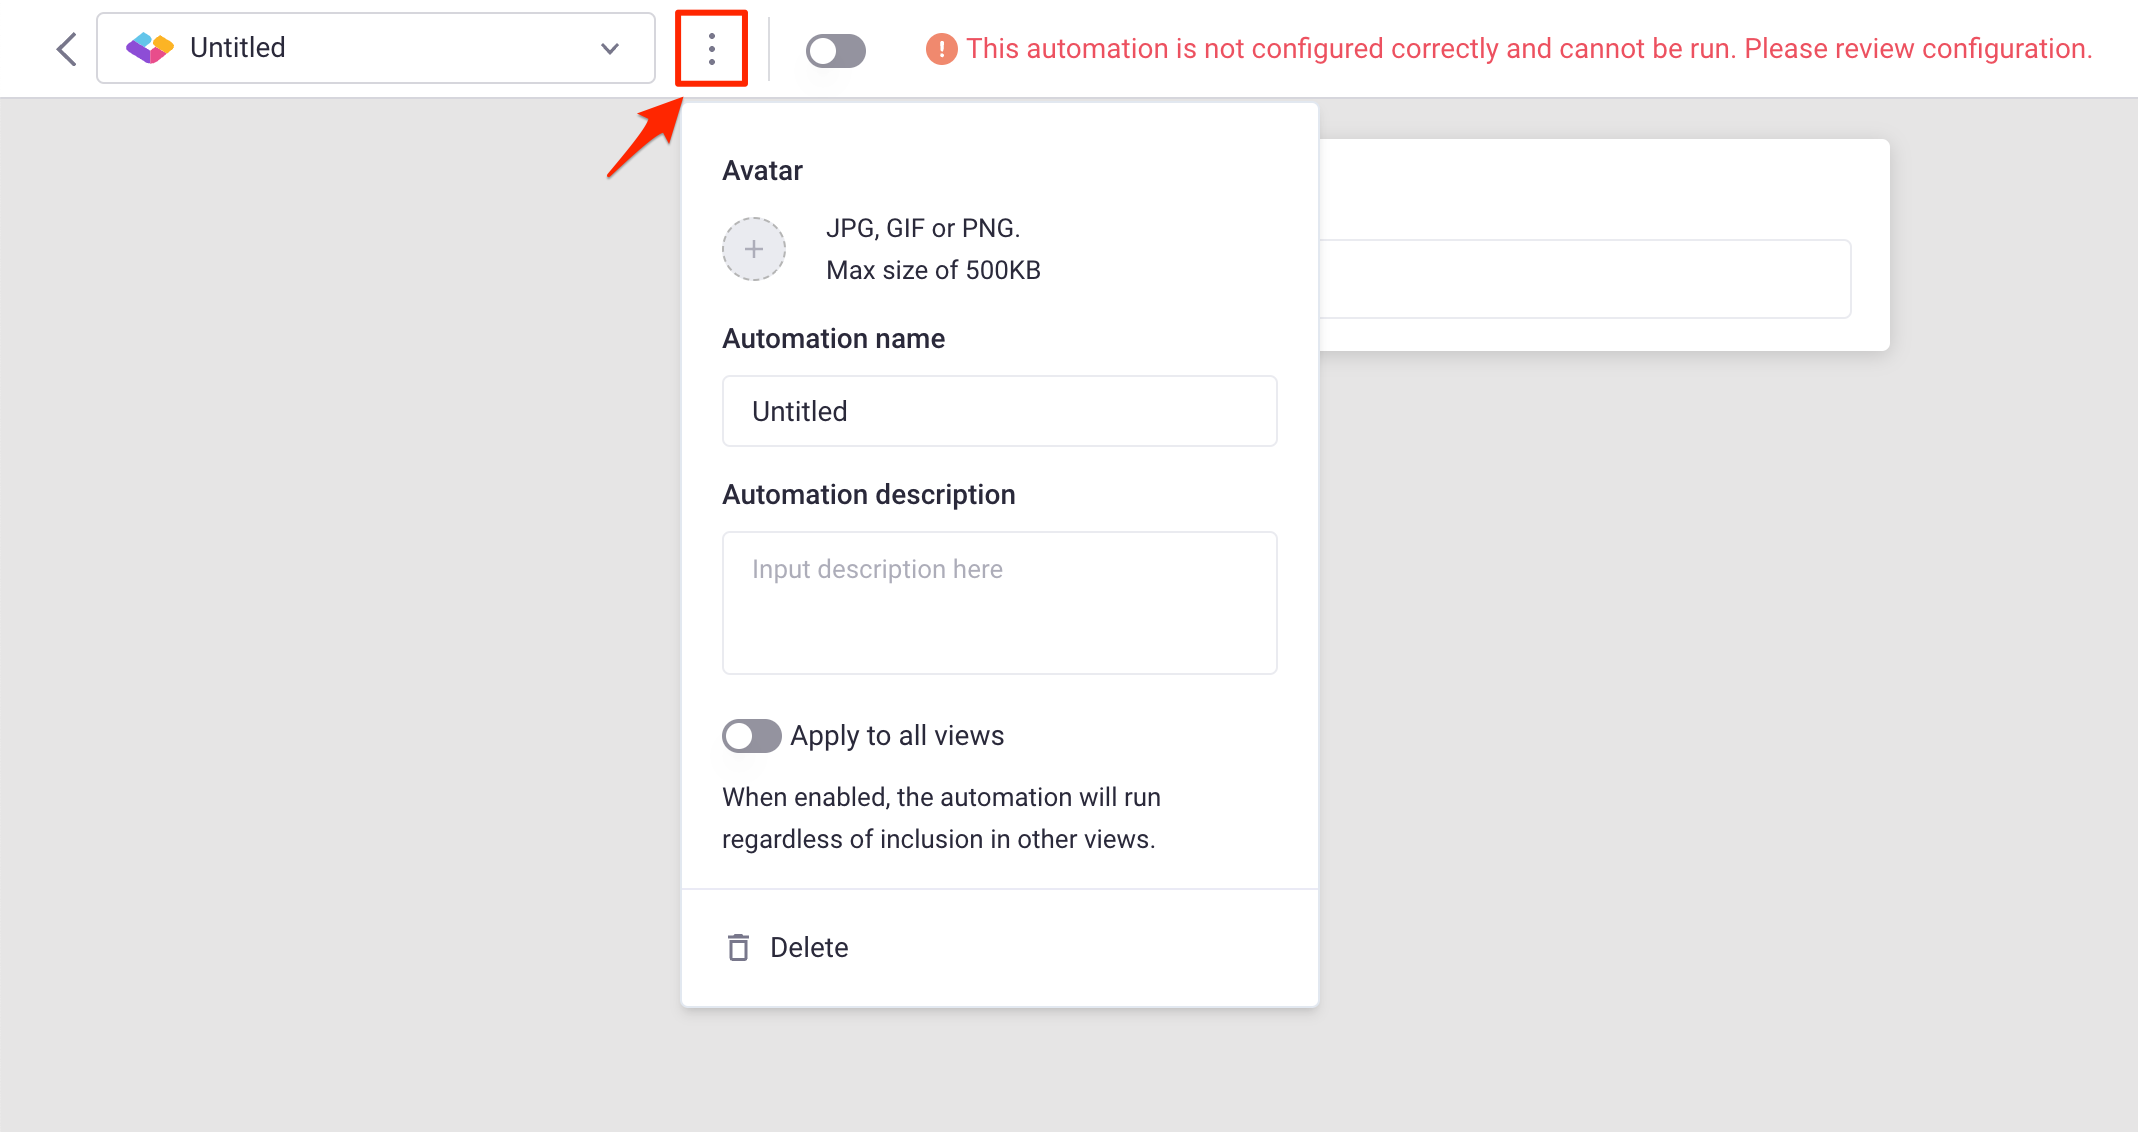
Note
Gridly accepts images in PNG, SVG, JPG, JPEG formats. The maximum size is 500kb.
Invoke Automation for all records
If you want to run the Automation on all records without waiting for a Trigger’s condition, select Invoke records.
Duplicate an Automation to current View
From the Automations sidebar, click next to the Automation name and select Duplicate.
Duplicate an Automation to another Branch or View
-
From the Automations sidebar, click
next to the Automation name and select Duplicate to…
- Select the branch and/or view, and update the name of the Automation if needed. Once done, click Next.
- Select the corresponding columns for the duplicated automation. If you don't have any similar columns in the selected branch or view, click + Add new column.

Delete an Automation
From the Automations sidebar, click next to the Automation name and select Delete, and confirm the deletion
Rename an Automation
From the Automations sidebar, click next to the Automation name and type in the new Automation name.
Reorder an Automation
Drag and drop the  icon before Automation name to reorder it.
Manage Automations by Views
Switch to the All Views tab to see the list of all Automations created in the Grid. Manage your Automations with these filters:
- Click on Created view and select a View to show its Automations.
- Only display automations that apply to all views: Show only Automations that are available in all Views.
- Only display active automations: Show only active Automations (those with toggles enabled).
You cannot edit or activate/disable Automations in this list. Clicking on an Automation will take you to the respective View where you can edit it.
