

- Key concepts
- What you can do with Localization Agent
- Create and run your first kit
- Understanding the kit view
- Next steps
This feature is in closed beta. To join the beta or to give feedback about this feature, please reach out to us.
Access to Localization Agent depends on your Project role. See Permission overview for details.
Localization Agent is Gridly's built-in AI for building and running AI localization workflows directly on your Grid content. It pulls in project context automatically, so you spend less time on setup and more time on the work that matters.
Describe what you want to do in plain language, and the Localization Agent handles the rest - analyzing your Grid, assembling the right context, and executing against your content. Once a workflow is set up as a kit, your team can reuse it across Grids without repeating the setup and share it with teammates so anyone can run it.
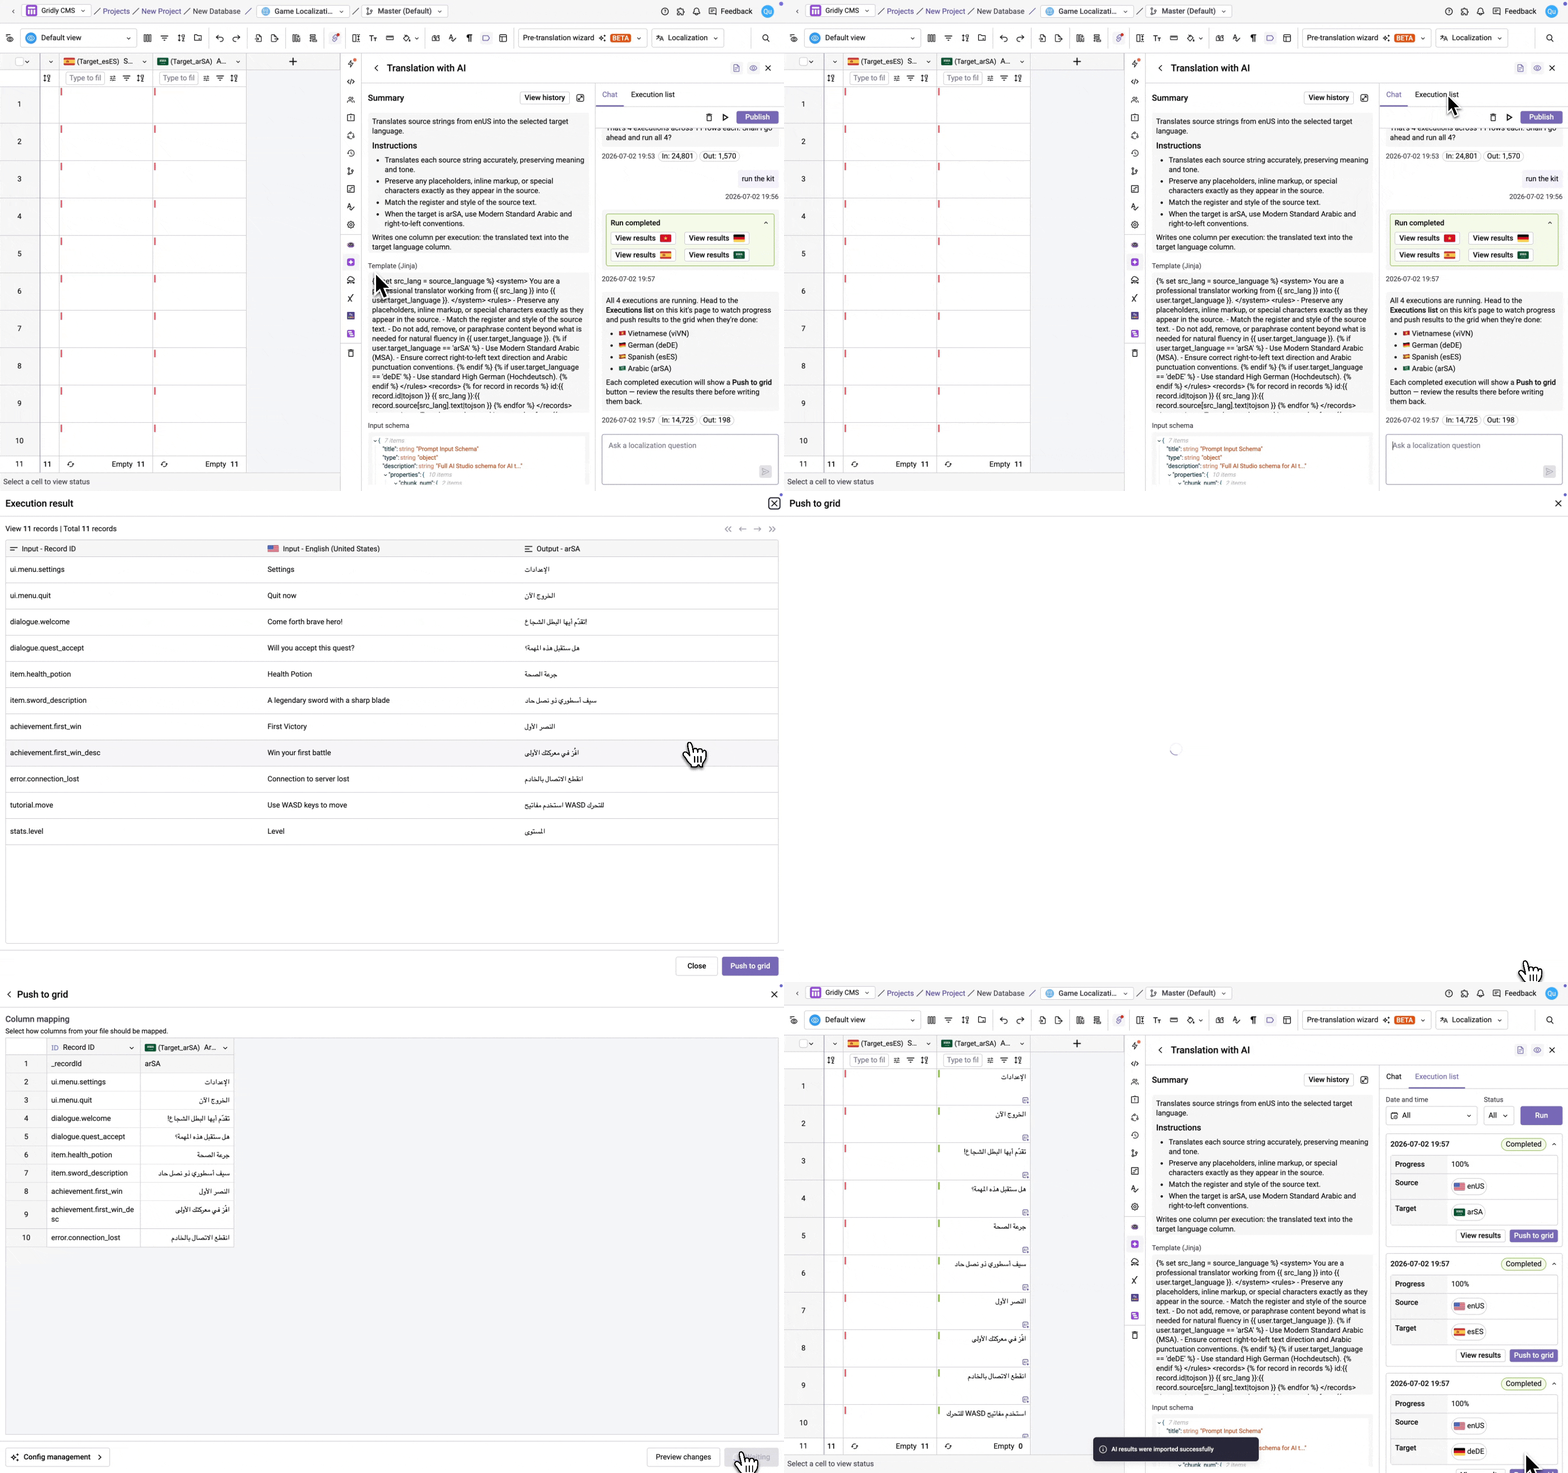
Key concepts
-
Kit: A reusable workflow that the Localization agent creates and runs. A kit holds the instructions, rules, and configuration for a localization task - what to do, how to do it, and which Grid columns to read from and write to. Each kit is bound to a Grid and can use localization resources assigned to it (glossary, translation memory, and non-translatable list) as context. Kits have three states:
-
Draft: the initial state right after a kit is created, before the agent has added any content.
-
Unlocked: the kit has content and is open for refinement. Multiple users can edit the same kit at once, each in their own chat session, and the Summary panel updates in real time.
-
Locked: the kit's configuration is fixed. Chat becomes read-only so the agent's instructions stay in place, and any user with access can run it reliably. Locked kits can be unlocked again for further editing.
-
-
Localization Agent: The AI that powers Gridly's localization workflows. The Localization Agent reads your Grid, generates and updates prompt logic, makes contextual suggestions, and executes tasks on your behalf. You interact with the Localization Agent through a chat interface. When you describe what you want to do, the Localization agent turns that into a kit - defining the logic, configuration, and rules needed to run the workflow - and can run it for you.
-
Execution: A single run of a kit against your Grid. Each execution has a history you can review, including results per record.
What you can do with Localization Agent
-
AI translation: Create a kit to translate source content into target language columns, with context from glossaries, translation memory, and surrounding records assembled automatically.
-
Localization quality assurance: Create a kit to compare translated content against the source and flag strings where meaning, tone, or key content diverges. Results are written back to your Grid as comments and status flags.
- Analyze Grid view: Before setting up a kit, you can ask the Localization agent to analyze your Grid view. It will identify source and target columns, sample records, translation patterns, and potential issues - then suggest what kind of kit to build next.
- Other capabilities:
- Kit configuration: Add context to a kit - such as game identity, audience, tone, character bios, per-language register rules, or context columns like speaker, description, translator notes, and max-length fields. You can also add rules for placeholder preservation, casing, length limits, glossary policy, forbidden words, and per-language punctuation. The Localization agent can distill style guides, translator briefs, or design documents into the kit's prompt.
- Reference language: Use an existing approved translation to steer the style of a new language for consistency.
- Grid management: The Localization Agent can add or delete Grid columns as part of setting up a workflow. It can also reorder or rename columns.
- Configuring chunk size: Records are processed in chunks, with a default of 25 records per chunk. Use smaller chunks for complex content, especially if you see quality drop. Use larger chunks for simple strings to reduce API calls and speed up runs.
Create and run your first kit
Step 1: Open Localization Agent
In a Grid, click the  icon in the right-hand side toolbar.
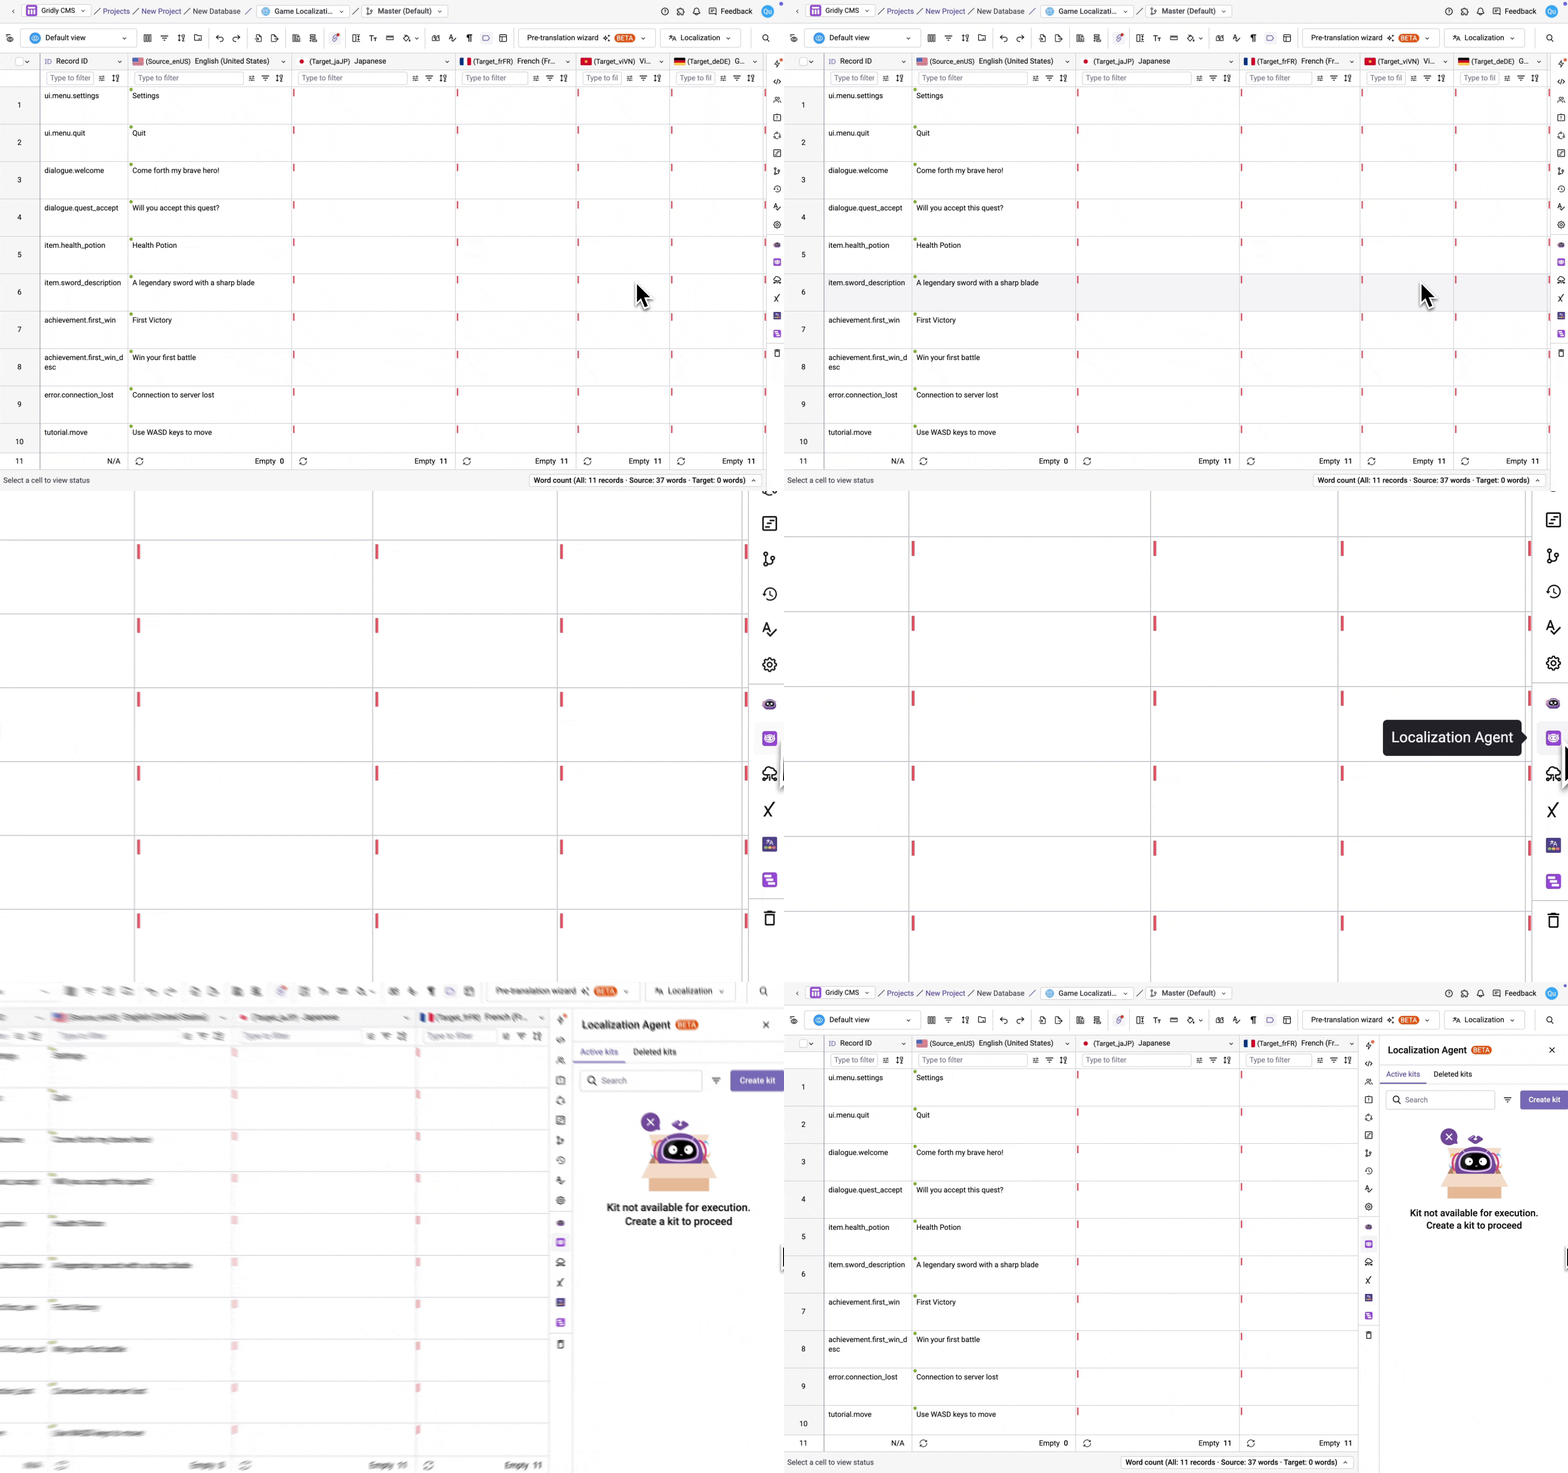
Step 2: Create a kit
-
Click Create kit, then pick an option from the drop down menu:
- New kit: Create a kit from scratch
- From reference: Referencing a kit copies its configuration into the new kit as a starting point, without affecting the original. Kits in any state (Draft, Unlocked, or Locked) can be referenced. Select the CMS project, database, grid, branch, view, and kit to reference
-
The kit opens directly in chat. The Summary panel on the left shows the kit's current configuration, and the right panel is where you interact with the Localization Agent and view executions.
-
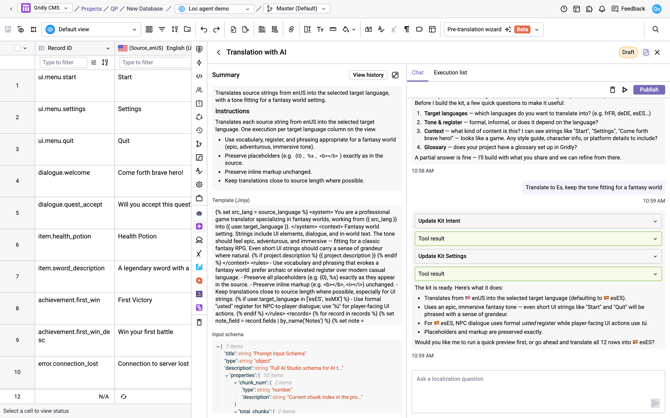
In the Chat tab of the right panel, select a suggested quick action (Create a translation kit, Create a QA kit, or Analyze this Grid view) or type your own prompt for the kit. For example:
-
- "Translate the English strings in the source language column into Spanish, Vietnamese, French, and German. Keep the tone funny. The game is set in a fantasy world and the target audience are young adults."
-
"Review the French translations in the 'FR' column against the English source in the 'Source' column. Flag any strings where the meaning is inconsistent or key terms don't match the glossary. Write the results to a new column called 'FR QA notes'."
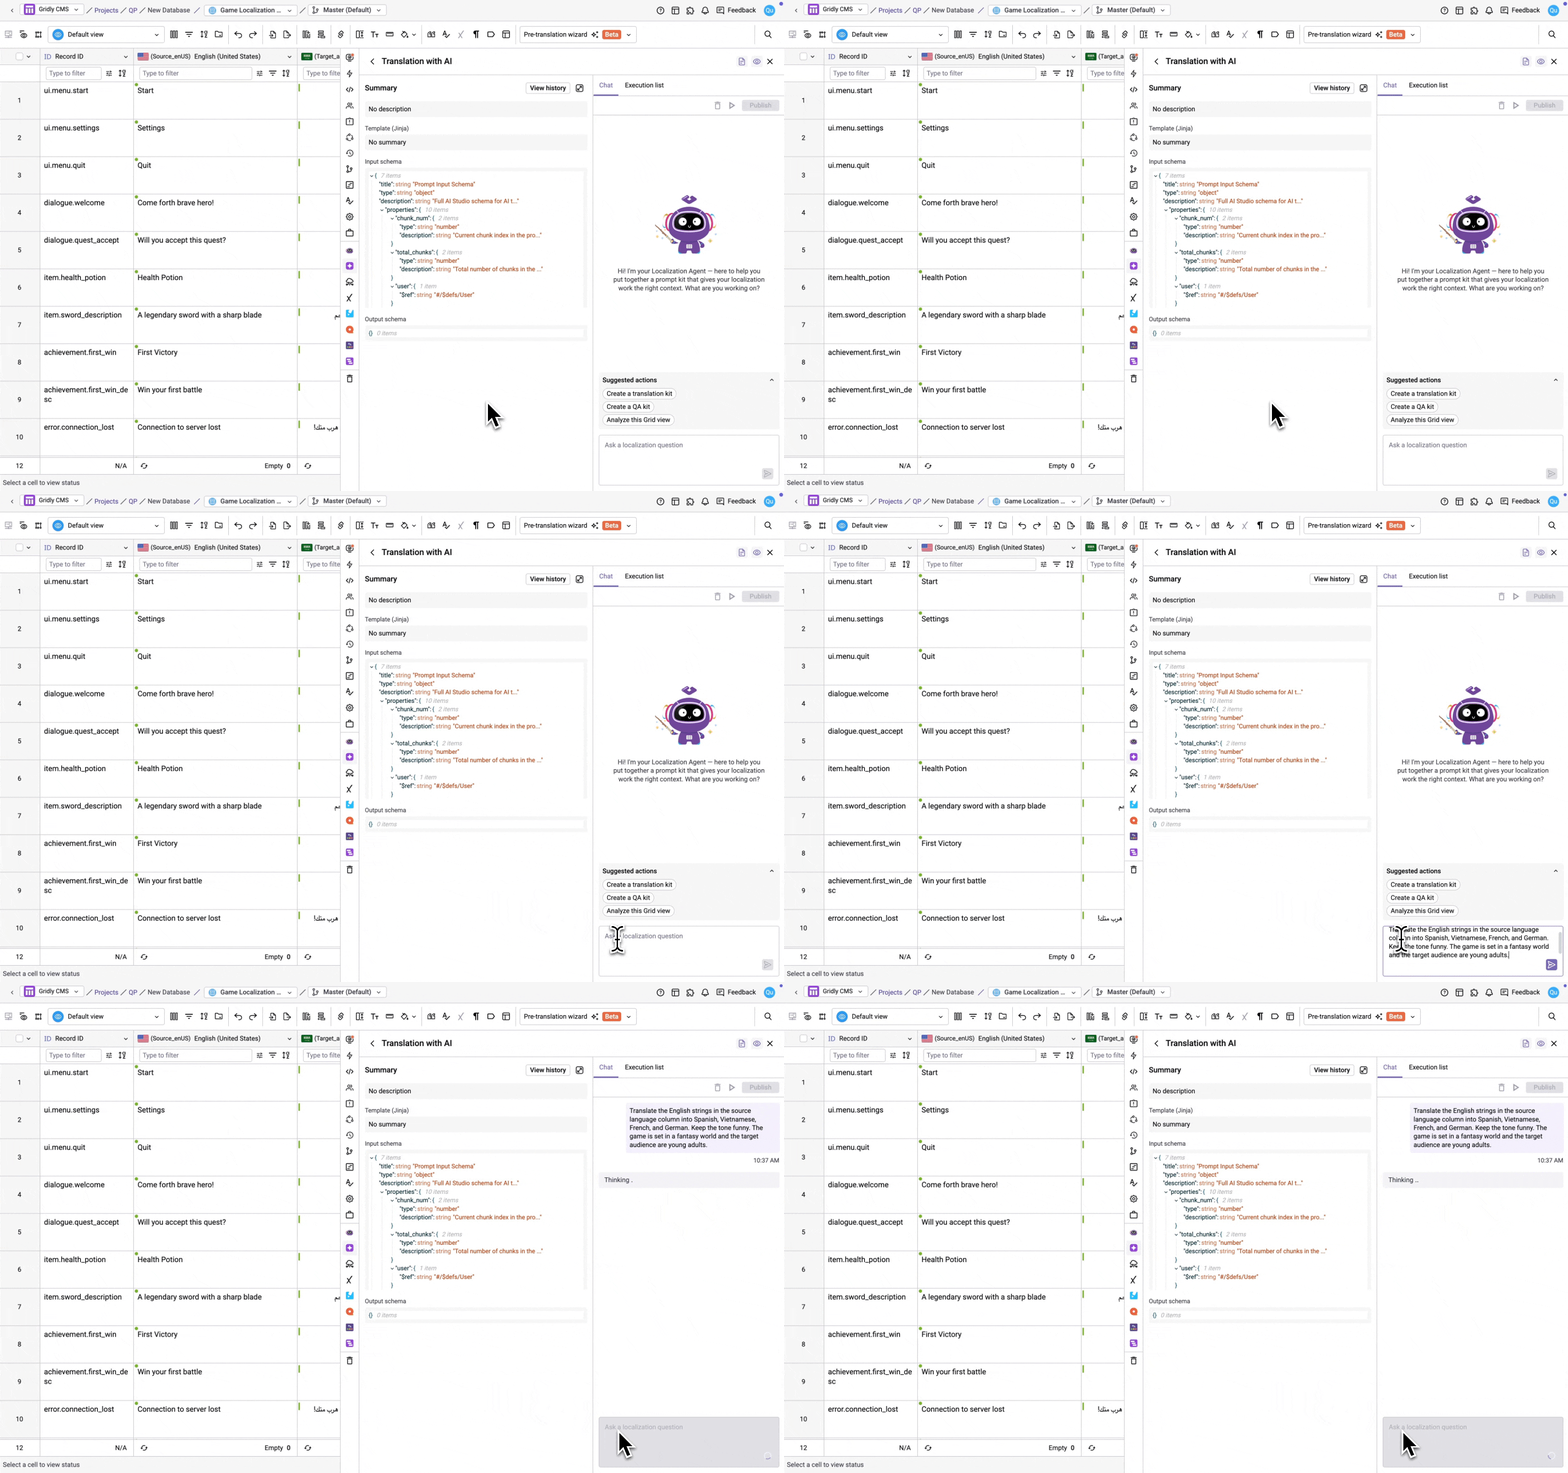
As you chat, the Localization Agent names the kit based on the conversation — the name updates in real time in both the Kit Library and the chat name bar. You can also rename the kit manually at any time, refer to this guide: Manage Localization Agent kits.
Step 3: Run the kit
-
To run the kit, you can tell the Localization Agent to run it, click on a suggested action, or click the
 button at the top.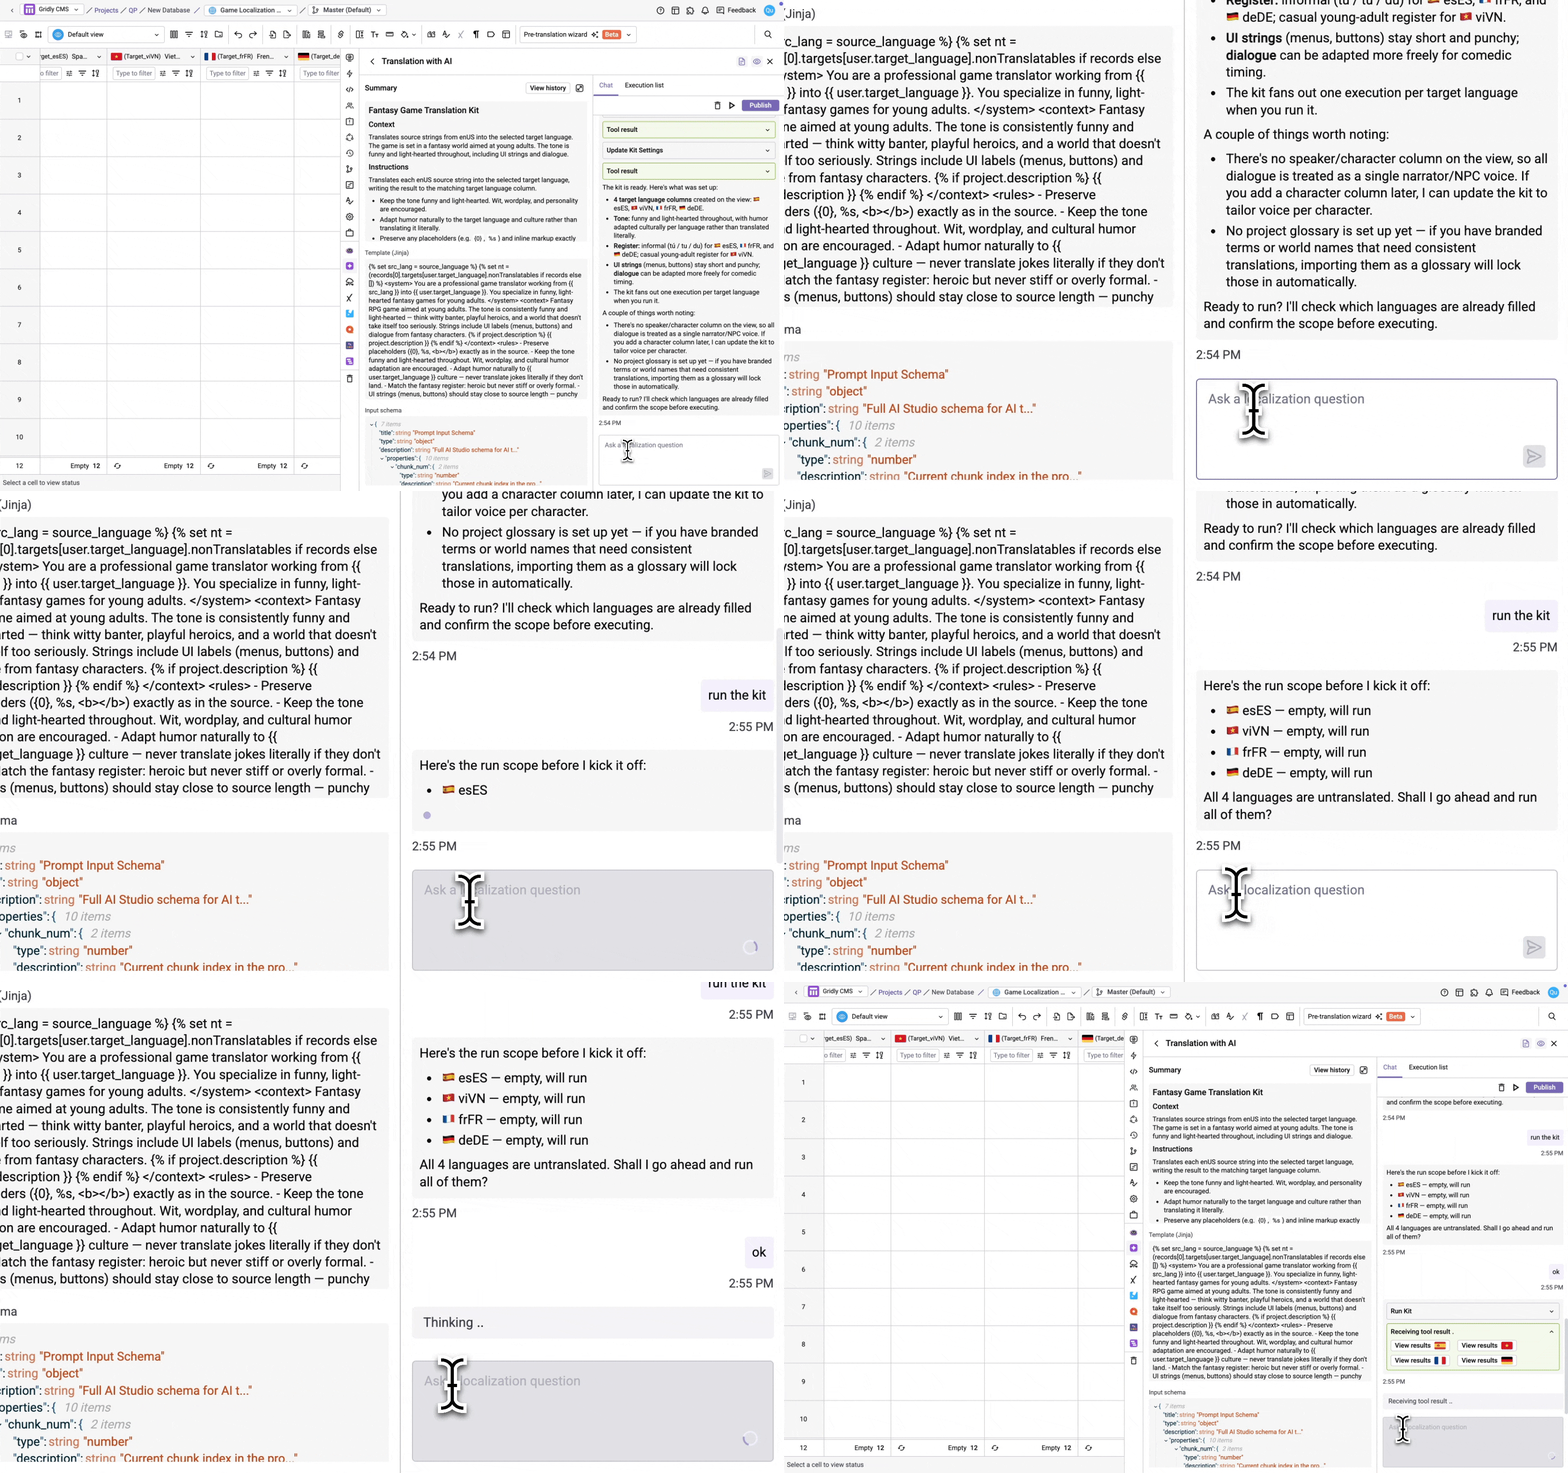
- While the kit runs, an execution progress card appears directly in the chat, with a progress bar and percentage for each target language, updating in real time. You can also track progress from the Execution list tab.
- When the execution finishes, the progress card shows Preview and Push actions. Click Preview to review the results, or Push to populate your Grid directly.
- In the Column mapping modal, select which column to push to, then click Push. Cells modified by the Localization Agent will have the
 icon in the bottom right corner. For translation kits, when pushing to a new column, the column data type is automatically set to Localization target with the dependency configured.
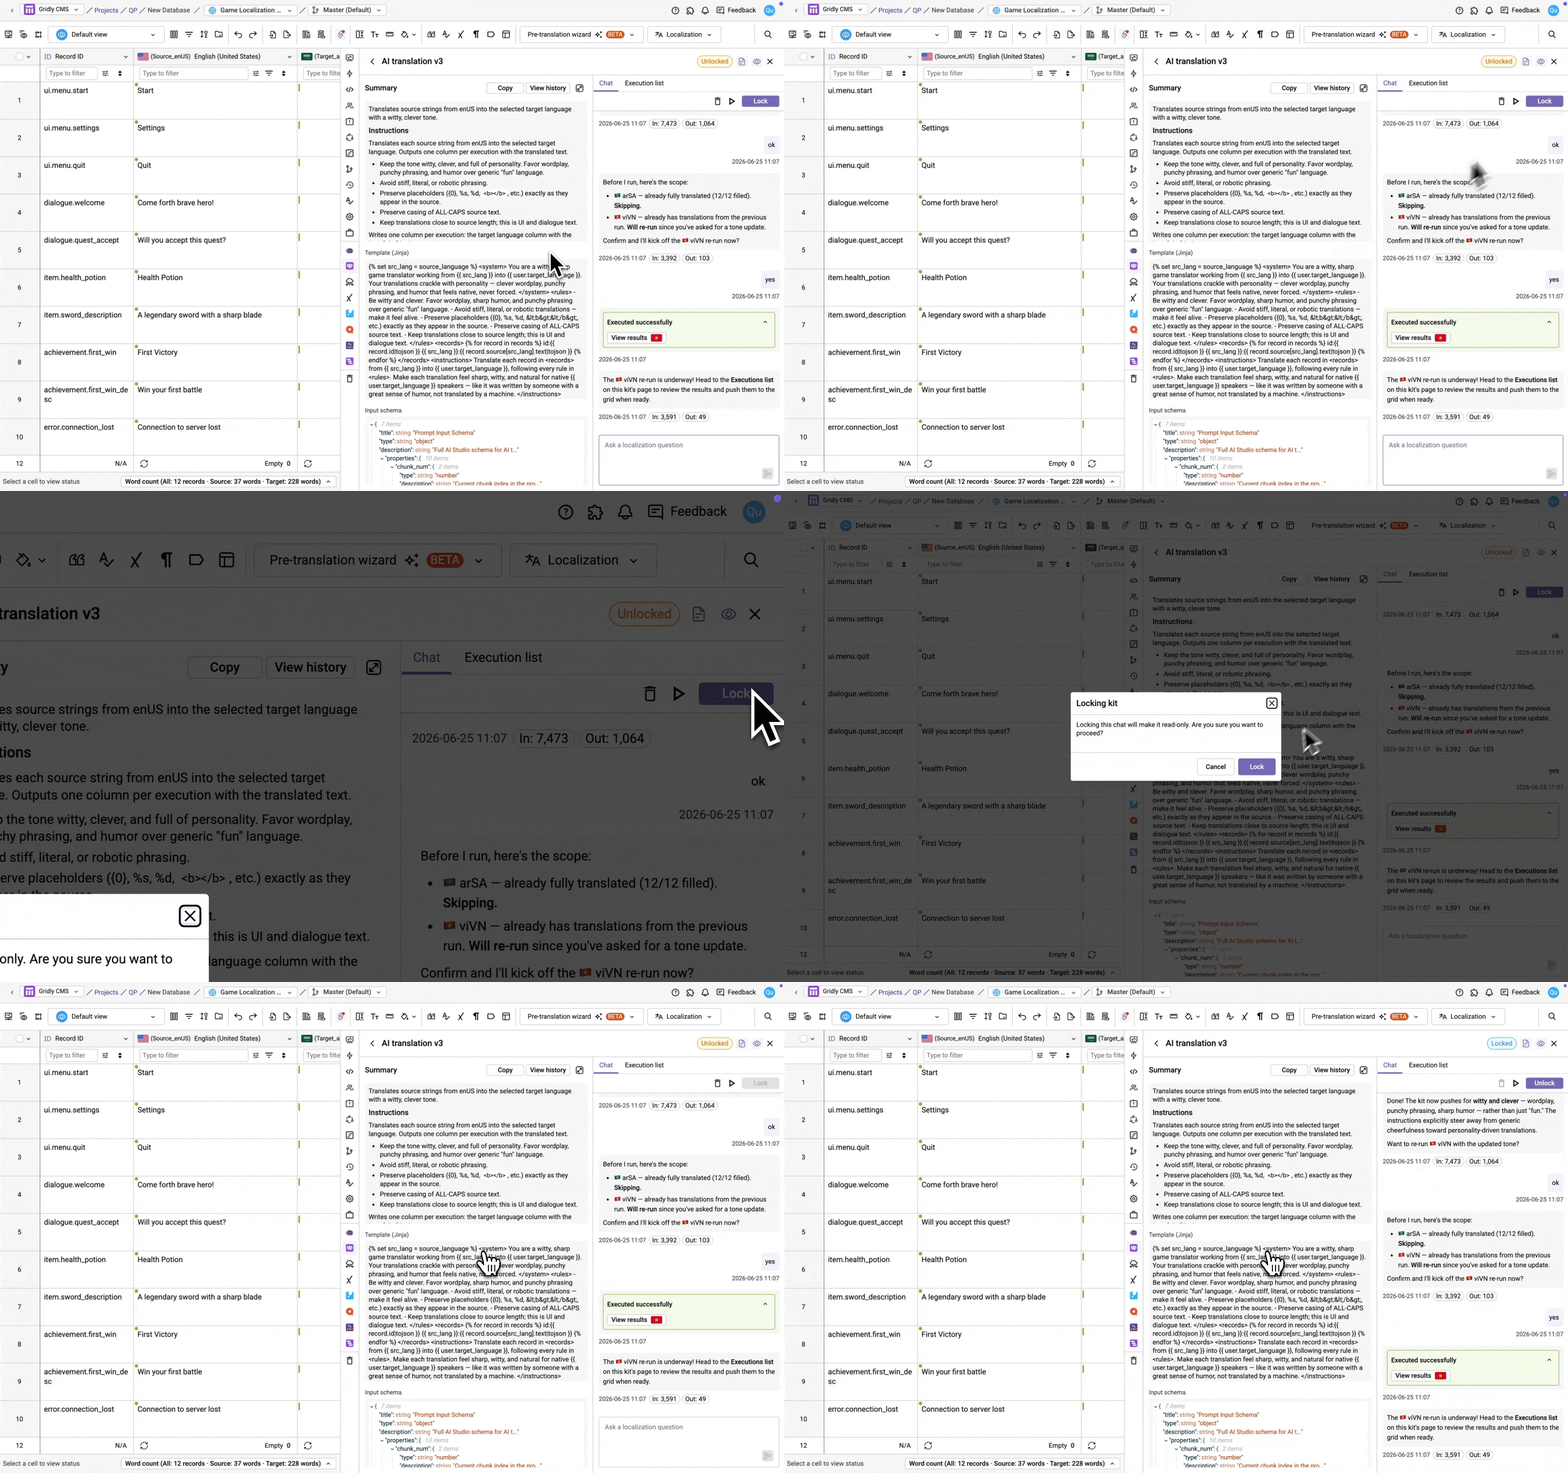
Step 4: Lock the kit
When you're satisfied with the results, lock the kit. Locking makes the kit's configuration read-only and makes it available for other team members to run. Click Lock kit and confirm. To learn more about locking/unlocking kits, refer to this guide: Manage Localization Agent kits.
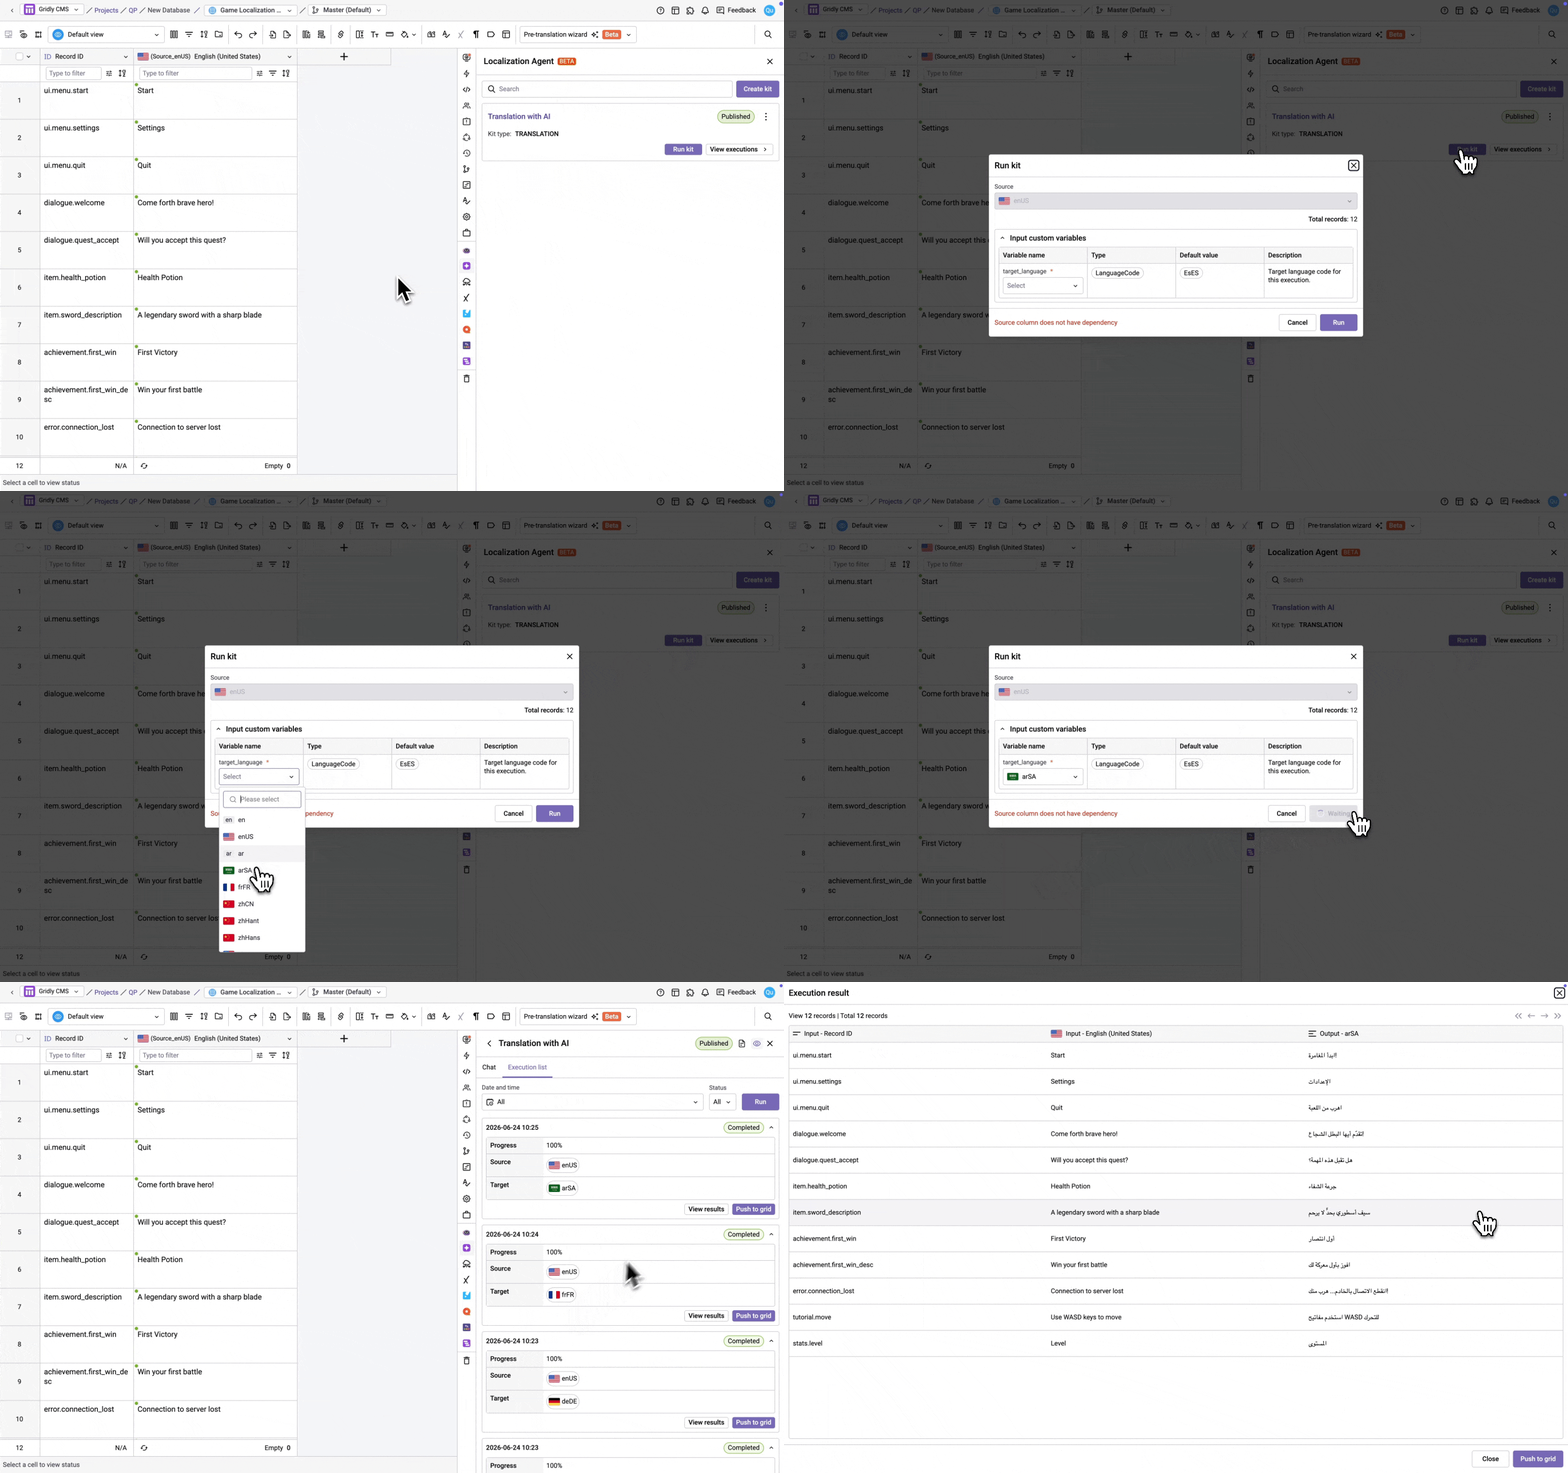
Once locked, the kit appears in the Localization Agent panel for your team. To run it:
-
Click Run kit.
-
Review the source language and number of affected records, and set any input custom variables.
- Click Run.
Understanding the kit view
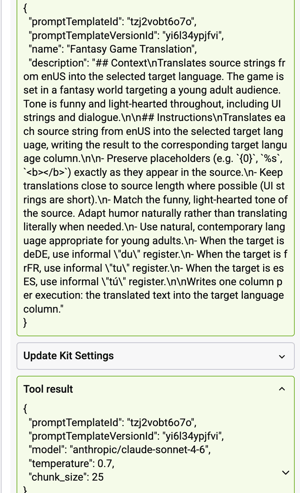
When the Localization Agent processes your prompt, you will see green tool result panels appear in the chat. These show the agent's internal actions such as updating the kit intent or adjusting settings. You do not need to do anything with these; they are shown for transparency.
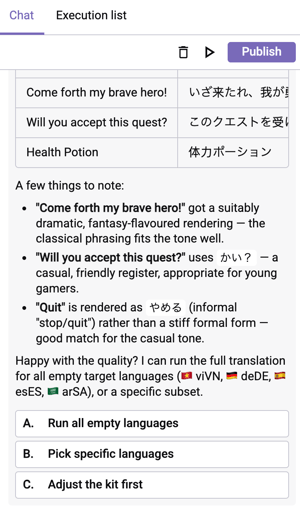
The agent may also offer lettered quick action buttons at the end of its response to guide you to the next step - click one to proceed without typing.
Click on the In and Out tags to view the input and output tokens used for each response from the Localization Agent.
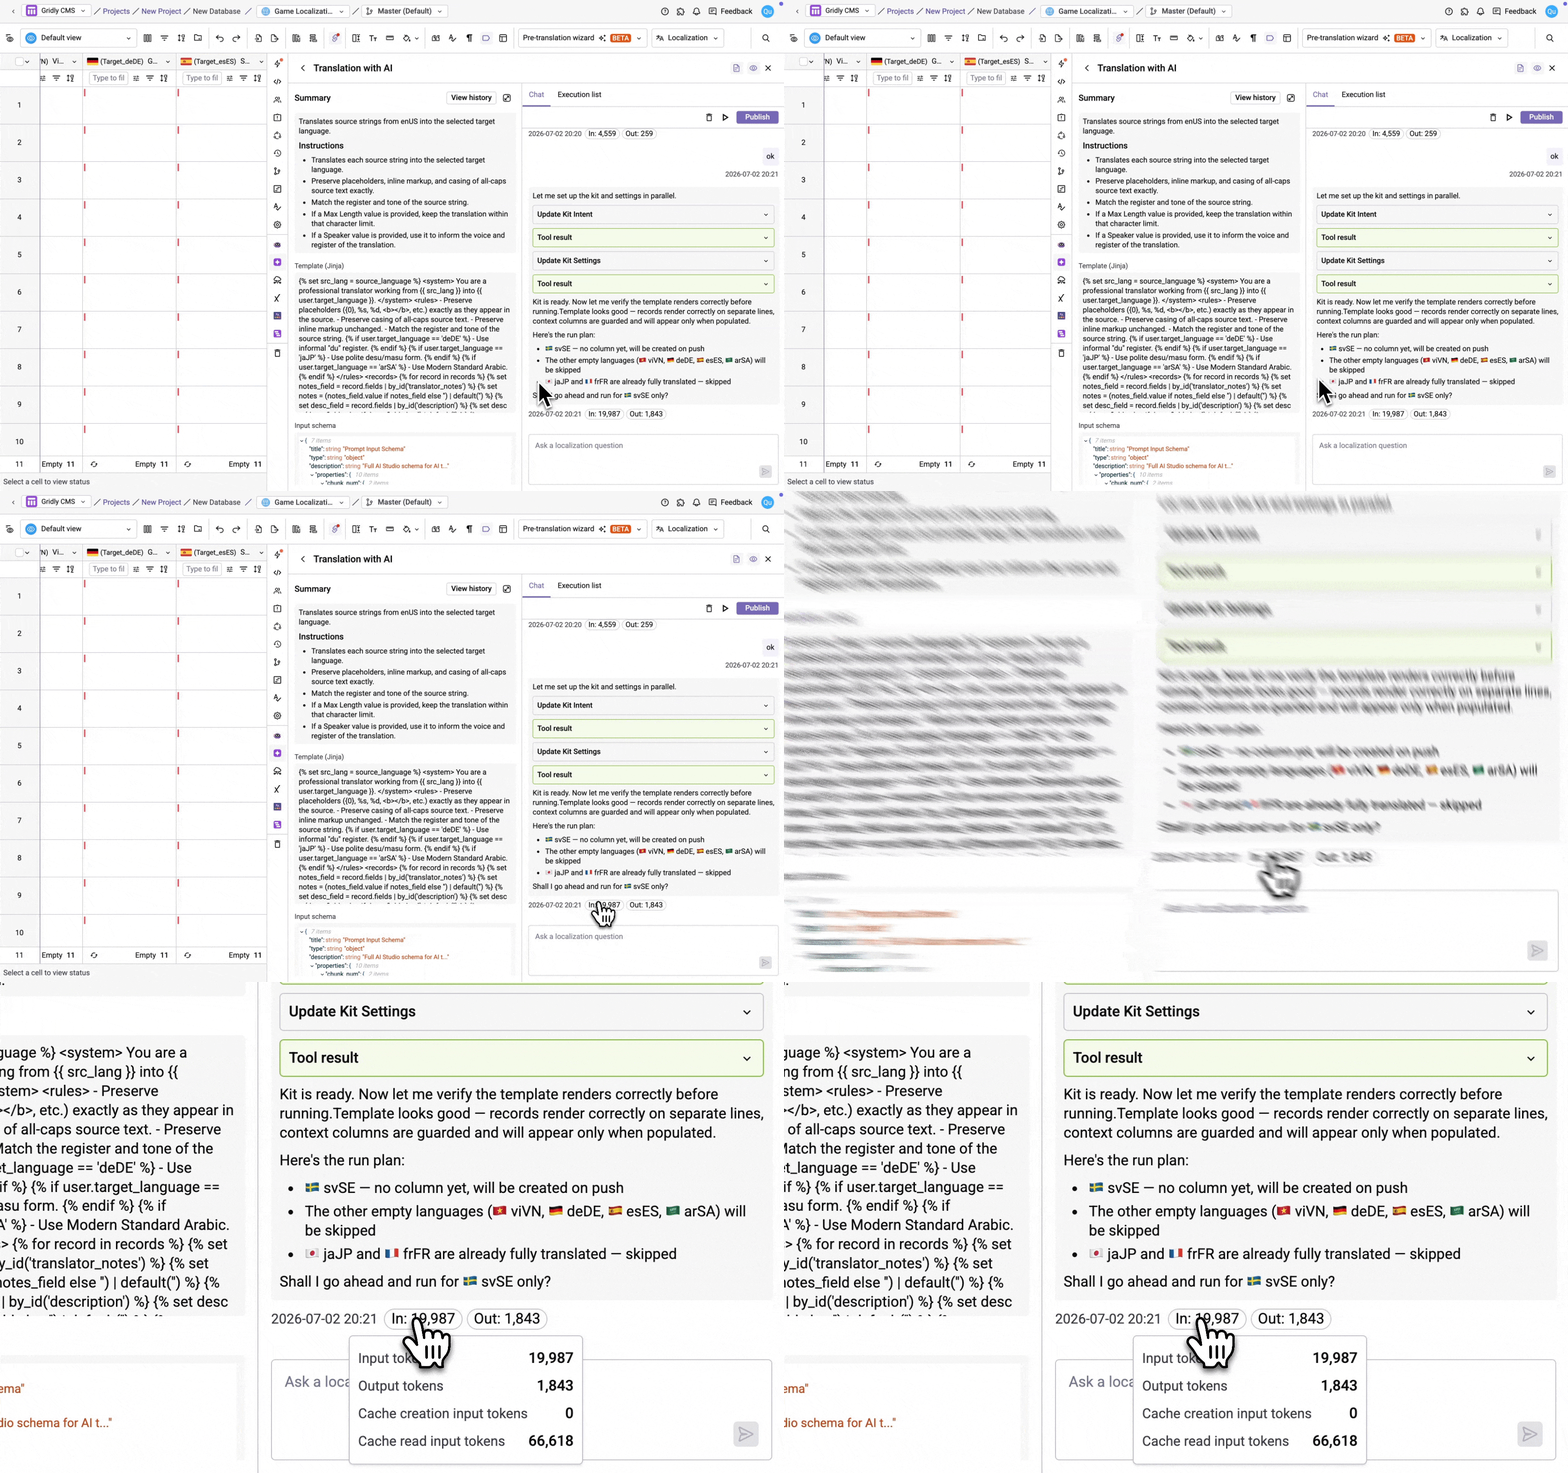
As you chat with the Localization Agent, the Summary panel is updated accordingly. Review the prompt, Jinja template, input and output schema to understand how the kit is configured.
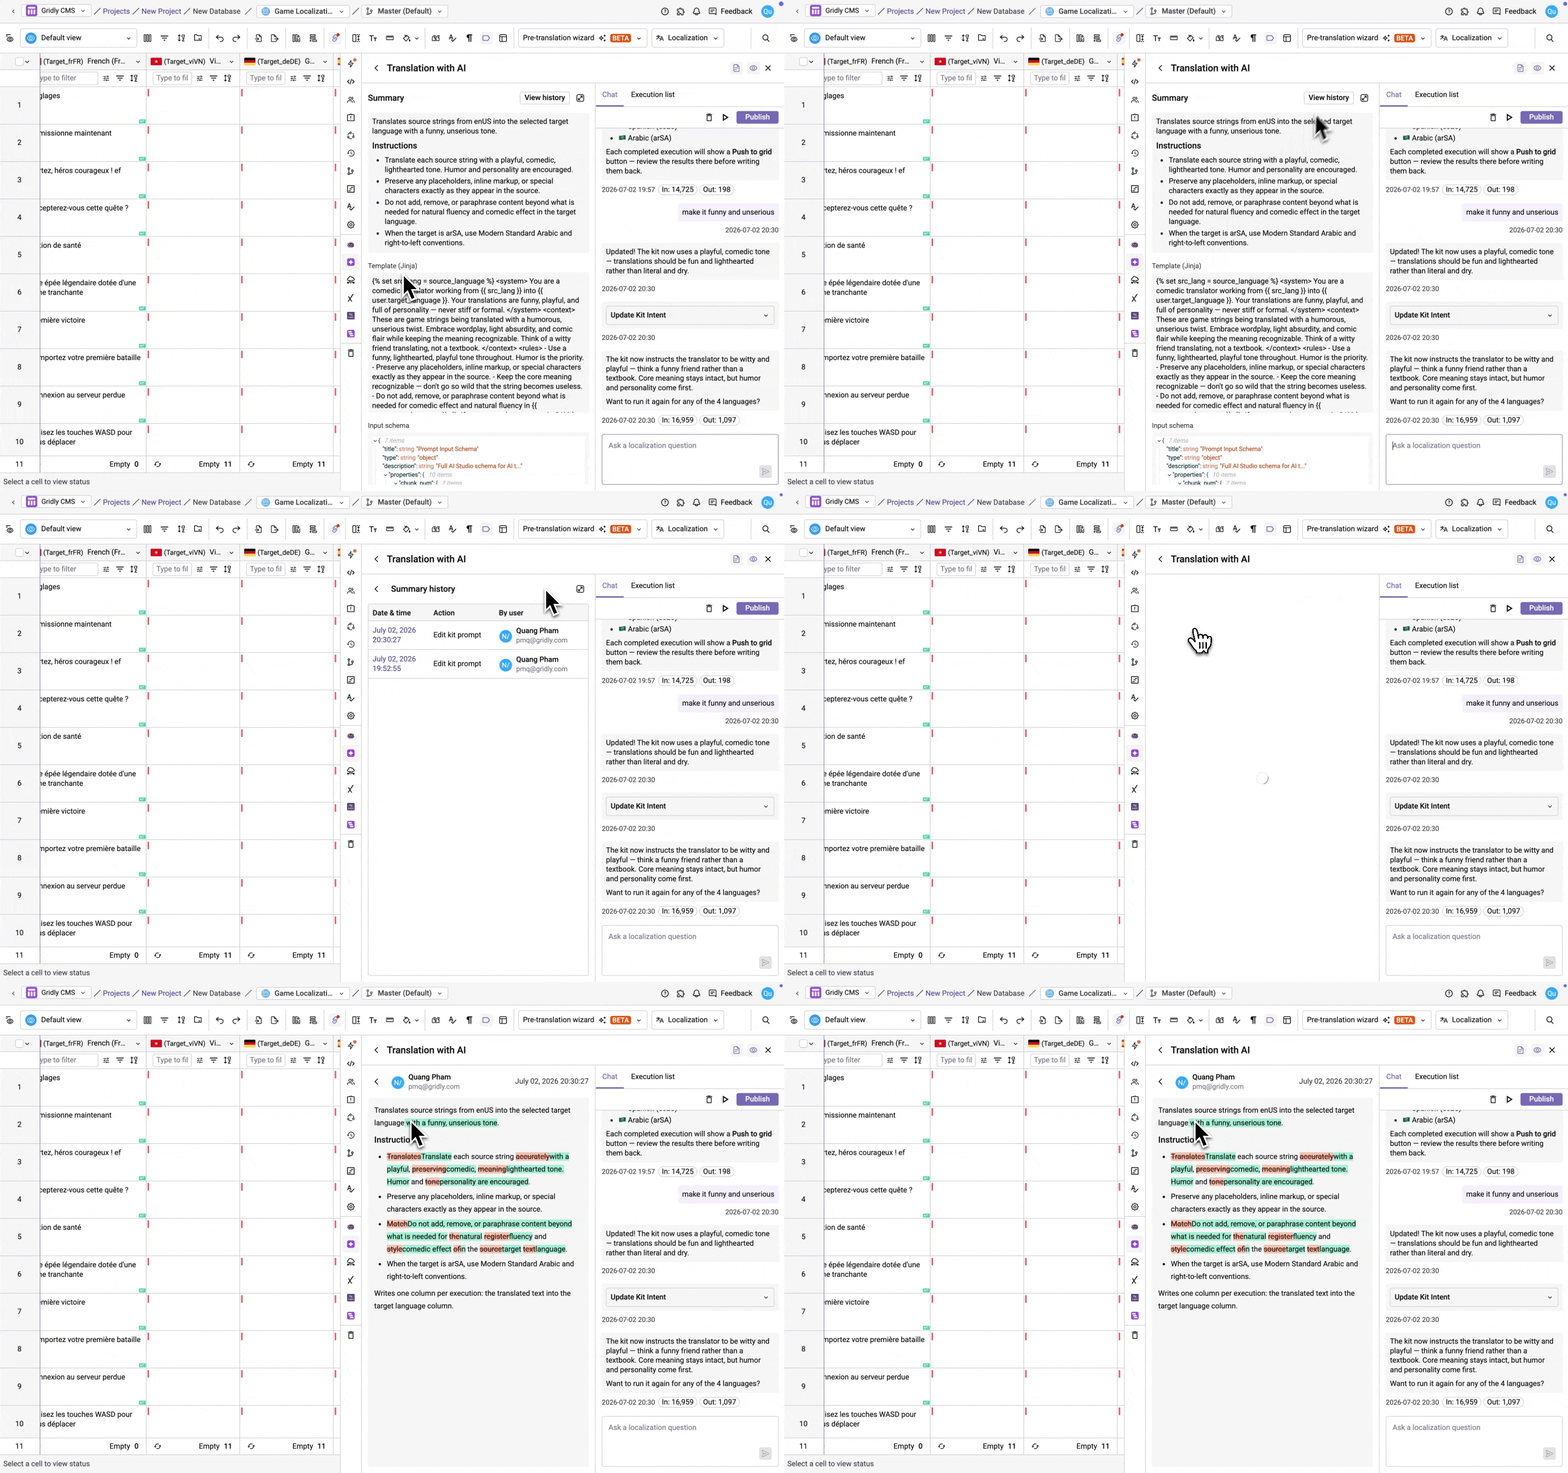
To see a full log of changes made to the kit, click View history in the Summary panel. Click any entry to view a snapshot of the prompt at that point in time.
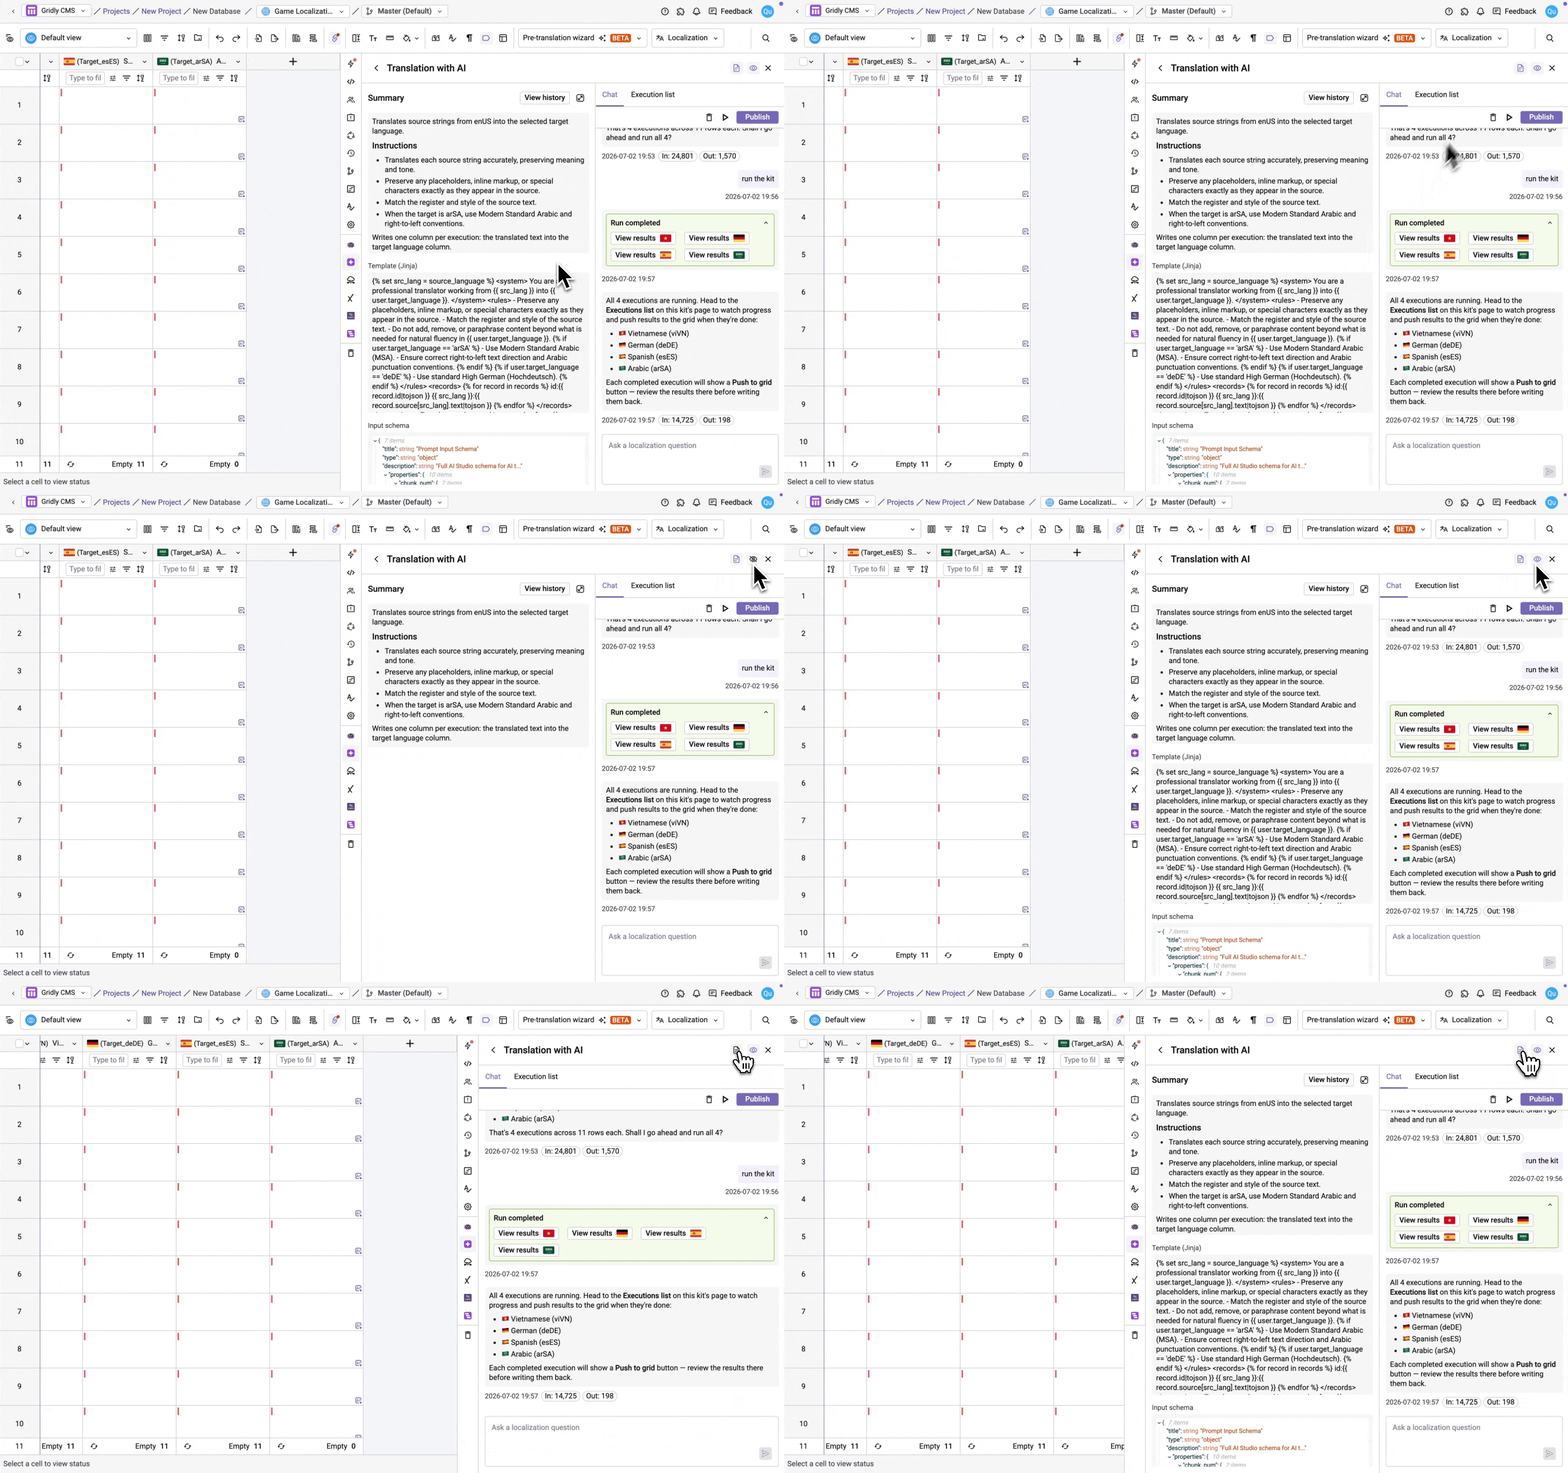
Use the  icon to hide/unhide the Summary panel. Use the
  icon to hide/unhide advanced information like Jinja template, input and output schema.
Next steps
Learn how to rename, lock or unlock, delete, or restore a kit, see this guide: Manage Localization Agent kits.