
Table of contents:
lexiQA helps you detect localization errors. With lexiQA, you can reduce the time spent on the LQA process, and reduce labor costs for manual QA checks.
lexiQA is only available in the CMS module and works in localization Grids with dependencies for all language pairs set up. Check out the list of languages supported by lexiQA.
- Click the
 icon in the top right corner to open the Integrations modal.
 - Select lexiQA.
- Click Subscribe and confirm.
- Click Install and confirm.


Run lexiQA
- In a Grid, click the
 icon on the right-side toolbar.
 - Select lexiQA settings (optional).
- Select source language and target languages.
- Click Run Auto QA by lexiqa. It might take some time depending on the data volume.
Showing errors
There are different types of errors highlighted in different colors. When lexiQA runs successfully, the errors will be highlighted in the Grid. Use the switches in the bottom right corner of your Grid to toggle the display of error types.
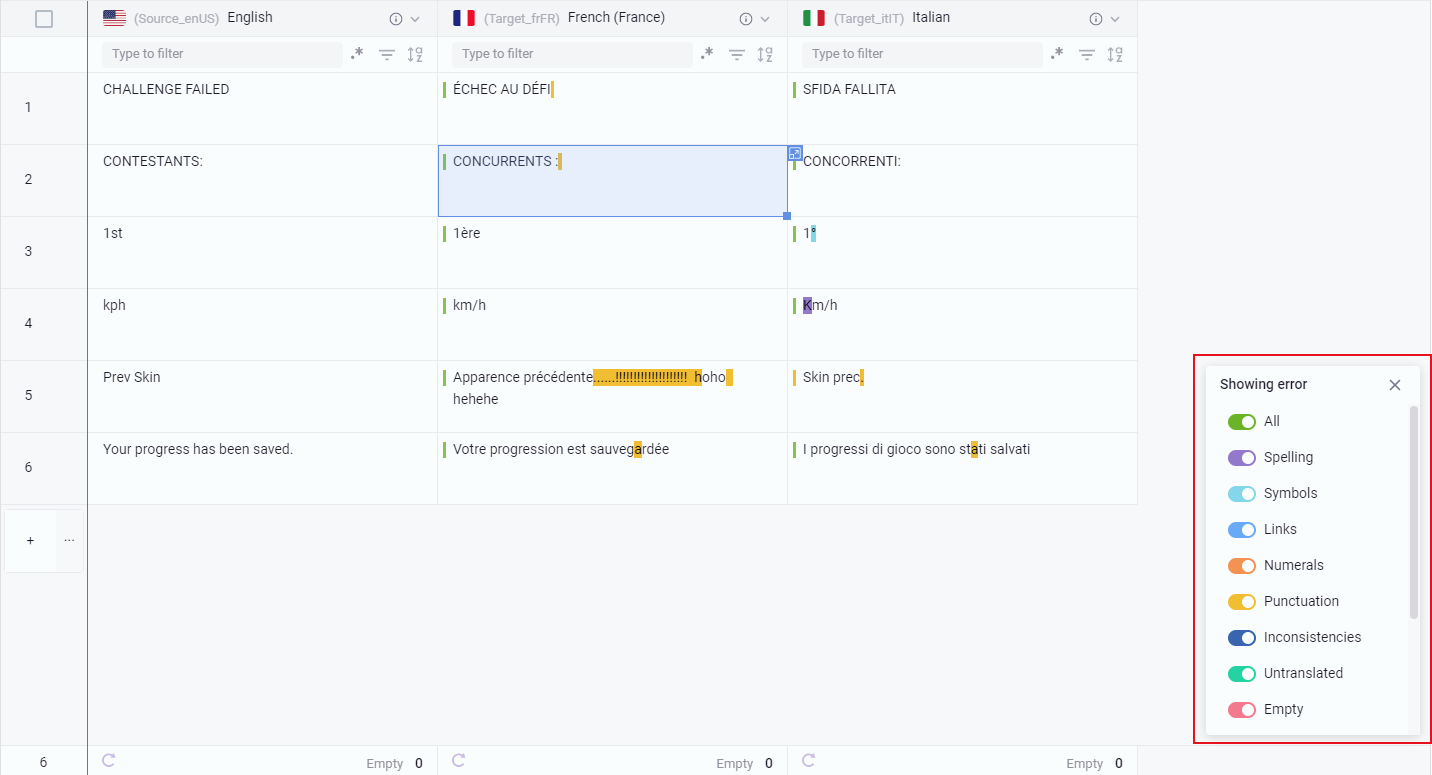
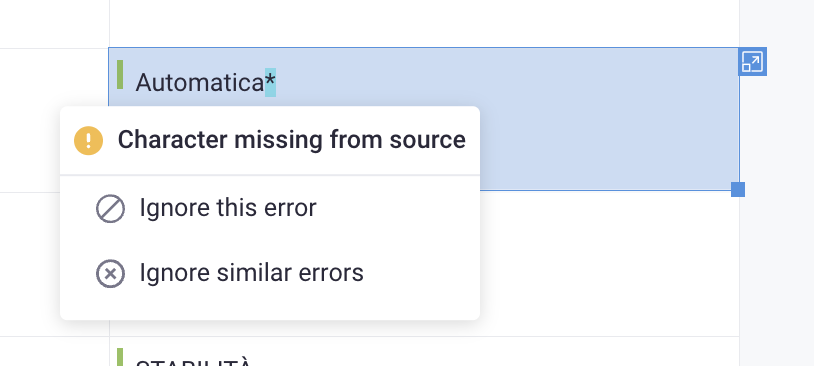
Hover over the highlighted parts to check the details of the error. Click Ignore this error if you do not want this to be highlighted anymore.
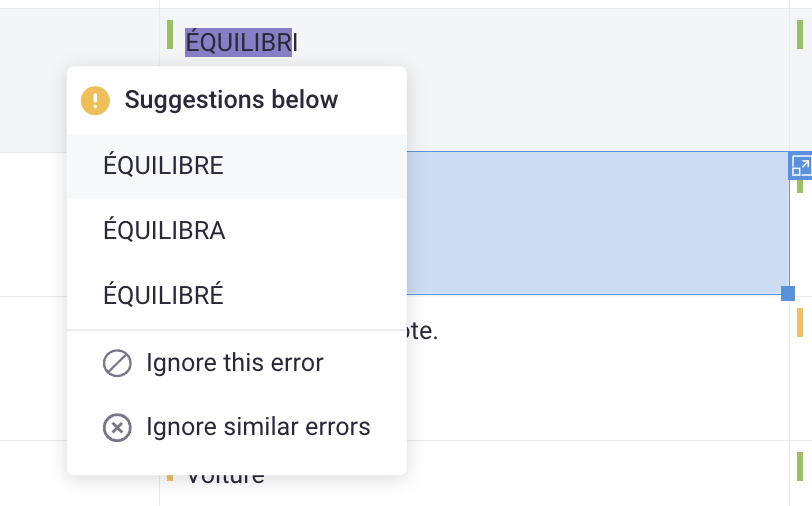
With some special warnings like spell checking (module “d1g”), you will get replacement suggestions in a tooltip.
Check statistics
Open the lexiQA on the side panel then select the Statistics tab.

In the Statistics tab, you can check the language pair, last updated, and total errors in each language pair. The statistics will be shown for each language pair, so you can run lexiQA in each language pair or run it all at once.
Re-run lexiQA
After adding new records to your Grid, you need to run lexiQA again to apply the check to new records. Open lexiQA from the side toolbar in the Grid, and click Run Auto QA by lexiqa.
Configure your own lexiQA setting to use advanced functions like Glossaries, checking length, and enabling/disabling the spell checking mechanism.
Create lexiQA settings
- Click the
 icon next to your Company name and select Localization settings.
 - Open lexiQA tab, click Create New Setting.
- Configure these settings:
- Setting name
- Glossary files: the Glossary files you’ve created in Gridly. You can select multiple Glossaries.
- Spellchecking
- Length check: Enter your character limit by percentage or number of characters.
- Click Save.

- Click on the Assign this setting to a Project field and select a project

Apply lexiQA settings
- Open a translation Grid in a project which has lexiQA settings assigned.
- Open lexiQA, select the new settings in the Settings field.

FAQs
How does lexiQA work with views?
lexiQA is still applied for newly created views. You don't need to re-run lexiQA after creating a new view.
How does lexiQA work with branches?
After creating a new branch, please run lexiQA again to get results for that branch.