
Table of contents:
- Billing Overview page in Gridly
- Change tier
- Manage seats
- Manage modules
- Manage auto-renewal
- Manage billing information
Only Owner or custom company Roles that have the Manage billing privilege can access Billing options. Learn more.
To find in-depth details about Gridly billing, refer to this article: Billing overview.
Billing Overview page in Gridly
From Gridly homepage, select Billing from the left-hand side menu (under Company settings), or use this link: https://app.gridly.com/settings/billing/overview.

Under Overview, you will find these sections:
- Monthly total: Your monthly total (before and after tax) and billing cycle.
- Platform tier: Your current tier, the number of platform and translator seats available, and price per seat.
- Modules (CMS, TMS, CAT)
- Pay-as-you-go services

Change tier
- Open Billing overview.
- In the Platform tier section, click Change tier.

- Click Select under the tier you want.

- Fill in your payment information, then click Save.
- Fill in your billing information (optional).
- Each tier includes a number of free seats, add more seats if needed:
- Platform seats: Grant users full access to all Gridly modules.
- Translator seats: Grant users access to the CAT module only.
- Check the subscription preview, then click Purchase.

Manage seats
- Open Billing overview.
- In the Platform tier section, click Manage seats.

Add seats
- Click
 on the seat type you want to increase.
 - Click Purchase.

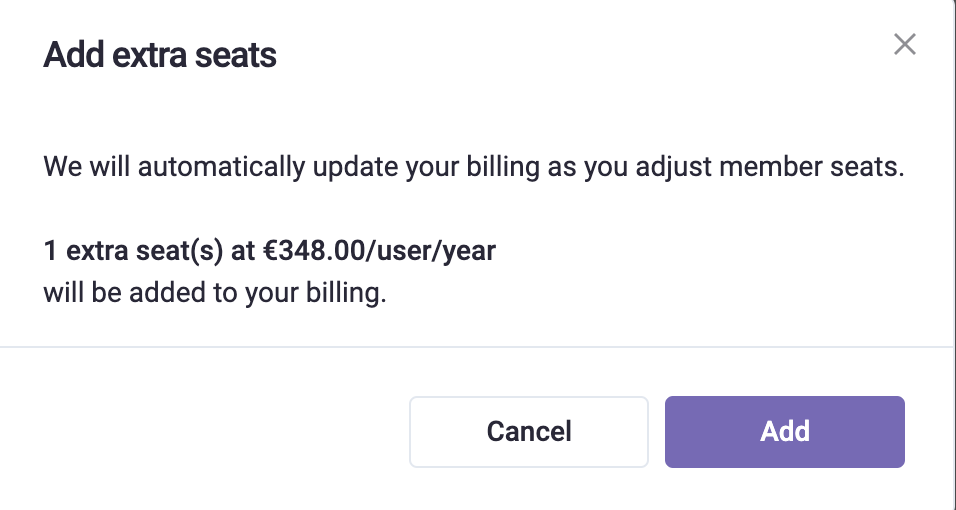
If you invite more members beyond the current number of seats, your billing will be automatically updated. You'll receive a confirmation pop-up:
Remove seats
To remove seats, you first need to deactivate members. The number of seats needs to be greater than the number of active members.
- Click
 on the seat type you want to decrease.
 - Click Purchase.
Manage modules
Subscribe to a module
- Open Billing overview.
- Scroll to the module, click Subscribe.

Unsubscribe from a module
Unsubscribing from a module will also remove the seats included in that module. Please deactivate some members first to ensure the number of remaining seats is greater than the number of active members.
- Open Billing overview.
- Scroll to the module, click Unsubscribe.

- Review the number of seats that will be removed and click Unsubscribe.

Manage auto-renewal
By default, your Gridly subscription is set to automatically renew at the end of each billing cycle. You can turn off auto-renewal or turn it back on as needed.
If your subscription expires due to auto-renewal being turned off, your data will become read-only until you renew your subscription.
Turn off auto-renewal
- Open Billing overview.
- In the Monthly total section, next to your billing cycle information, click Turn off auto renew.
- Click Turn off to confirm, or Keep plan to cancel and maintain auto-renewal.

Turn on auto-renewal
If you've previously turned off auto-renewal and want to re-enable it:
- Open Billing overview.
- In the Monthly total section, click Turn on auto renew.
- Click Turn on to enable auto-renewal, or Keep to maintain the current non-renewing status.

Manage billing information
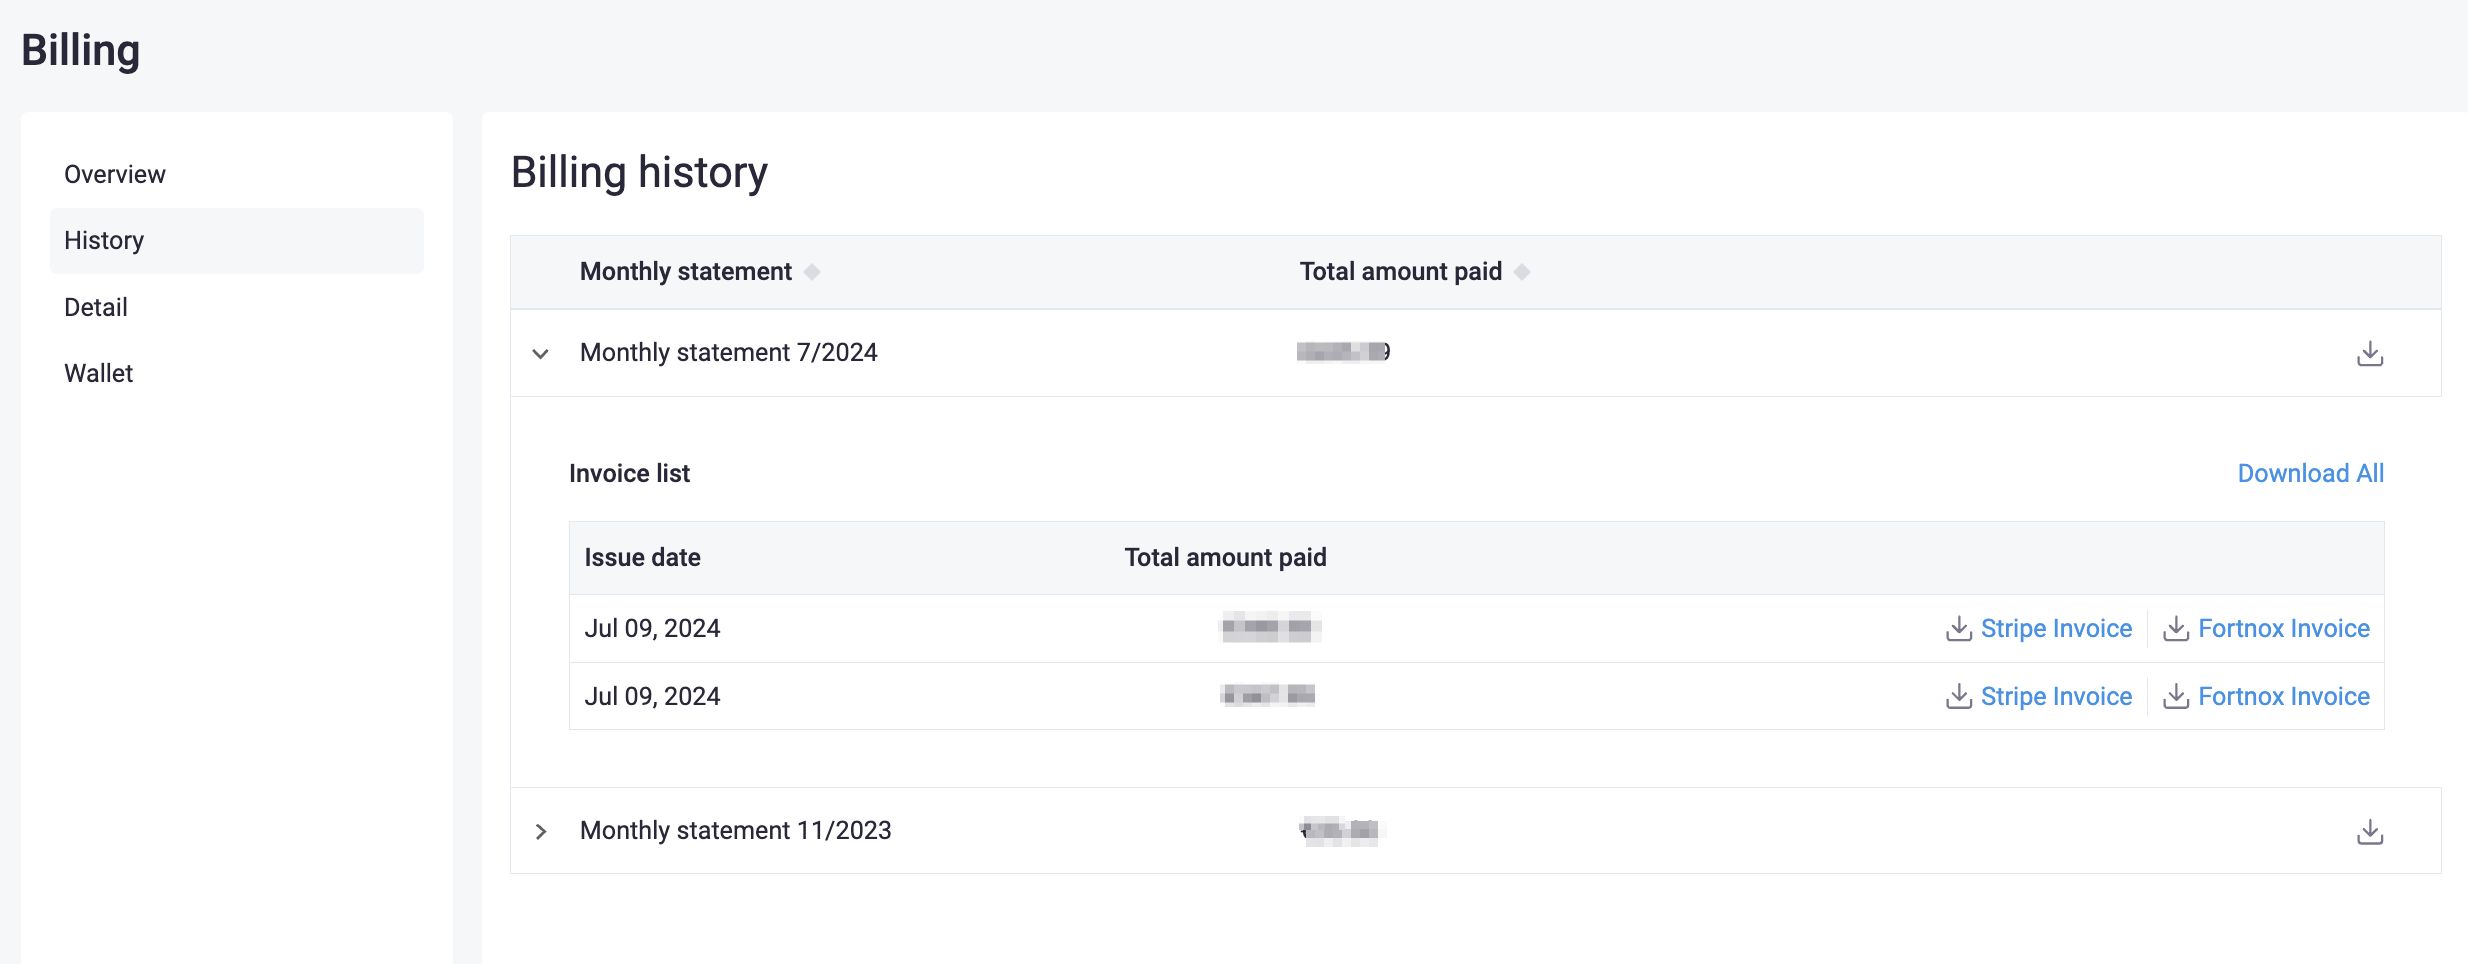
Download monthly statement/invoice
You can find all your invoices and receipts in the Billing menu. You'll also receive invoices and receipts in your Gridly billing email.
- Open Billing history.
- Click
 to download a monthly statement.
 - To download invoices (Stripe, Fortnox), click
 or
or  .
. - To download all invoices within the month, click Download all.
Update payment information
- Open Billing details.
- Click Change, update your card details and click Save.

Update billing information
- Open Billing details.
- Select Edit to add Billing Information.
- Click Save when done.
