
This feature is available for both the CMS and CAT modules.
To use tickets in reporting LQA (Linguistic Quality Assurance) issues, please check out this article: Linguistic Quality Assurance (LQA).
Create tickets in the CMS module
Cell ticket
A cell ticket is directly linked to a cell.
- Right-click on a cell and choose Add ticket.
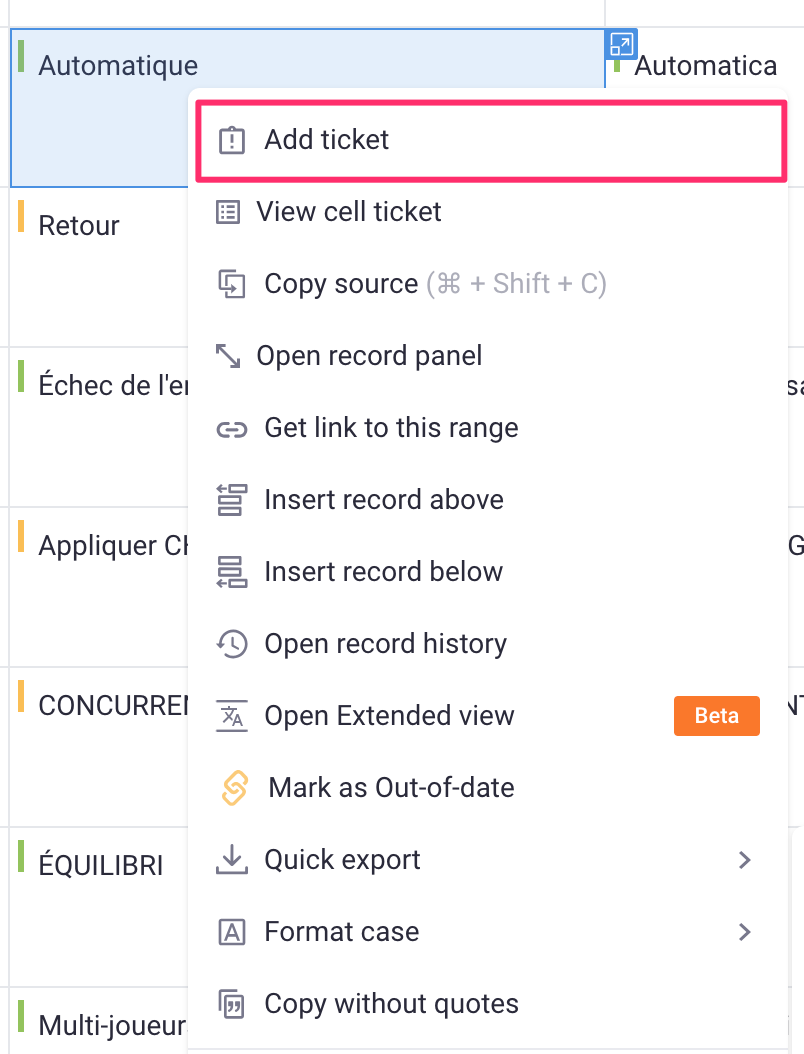
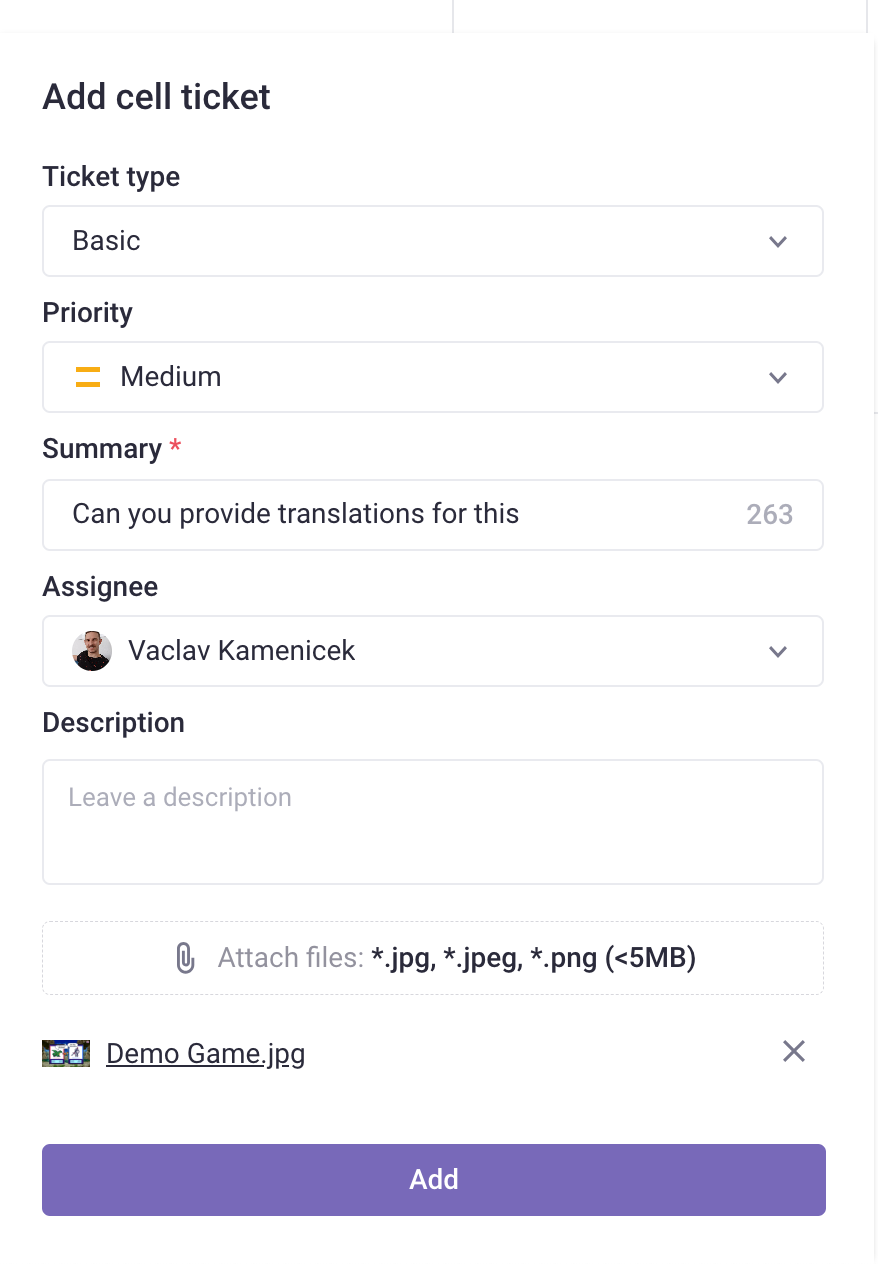
- Select ticket type: Basic or LQA issue (Note: The LQA ticket type is customized for running LQA processes).
- Type a summary for the issue.
- (Optional) Add Assignee, set Priority, attach images (under 5MB) and leave a Description.
- When you're finished, click Add.
- Click View ticket in the pop-up window to view the details.
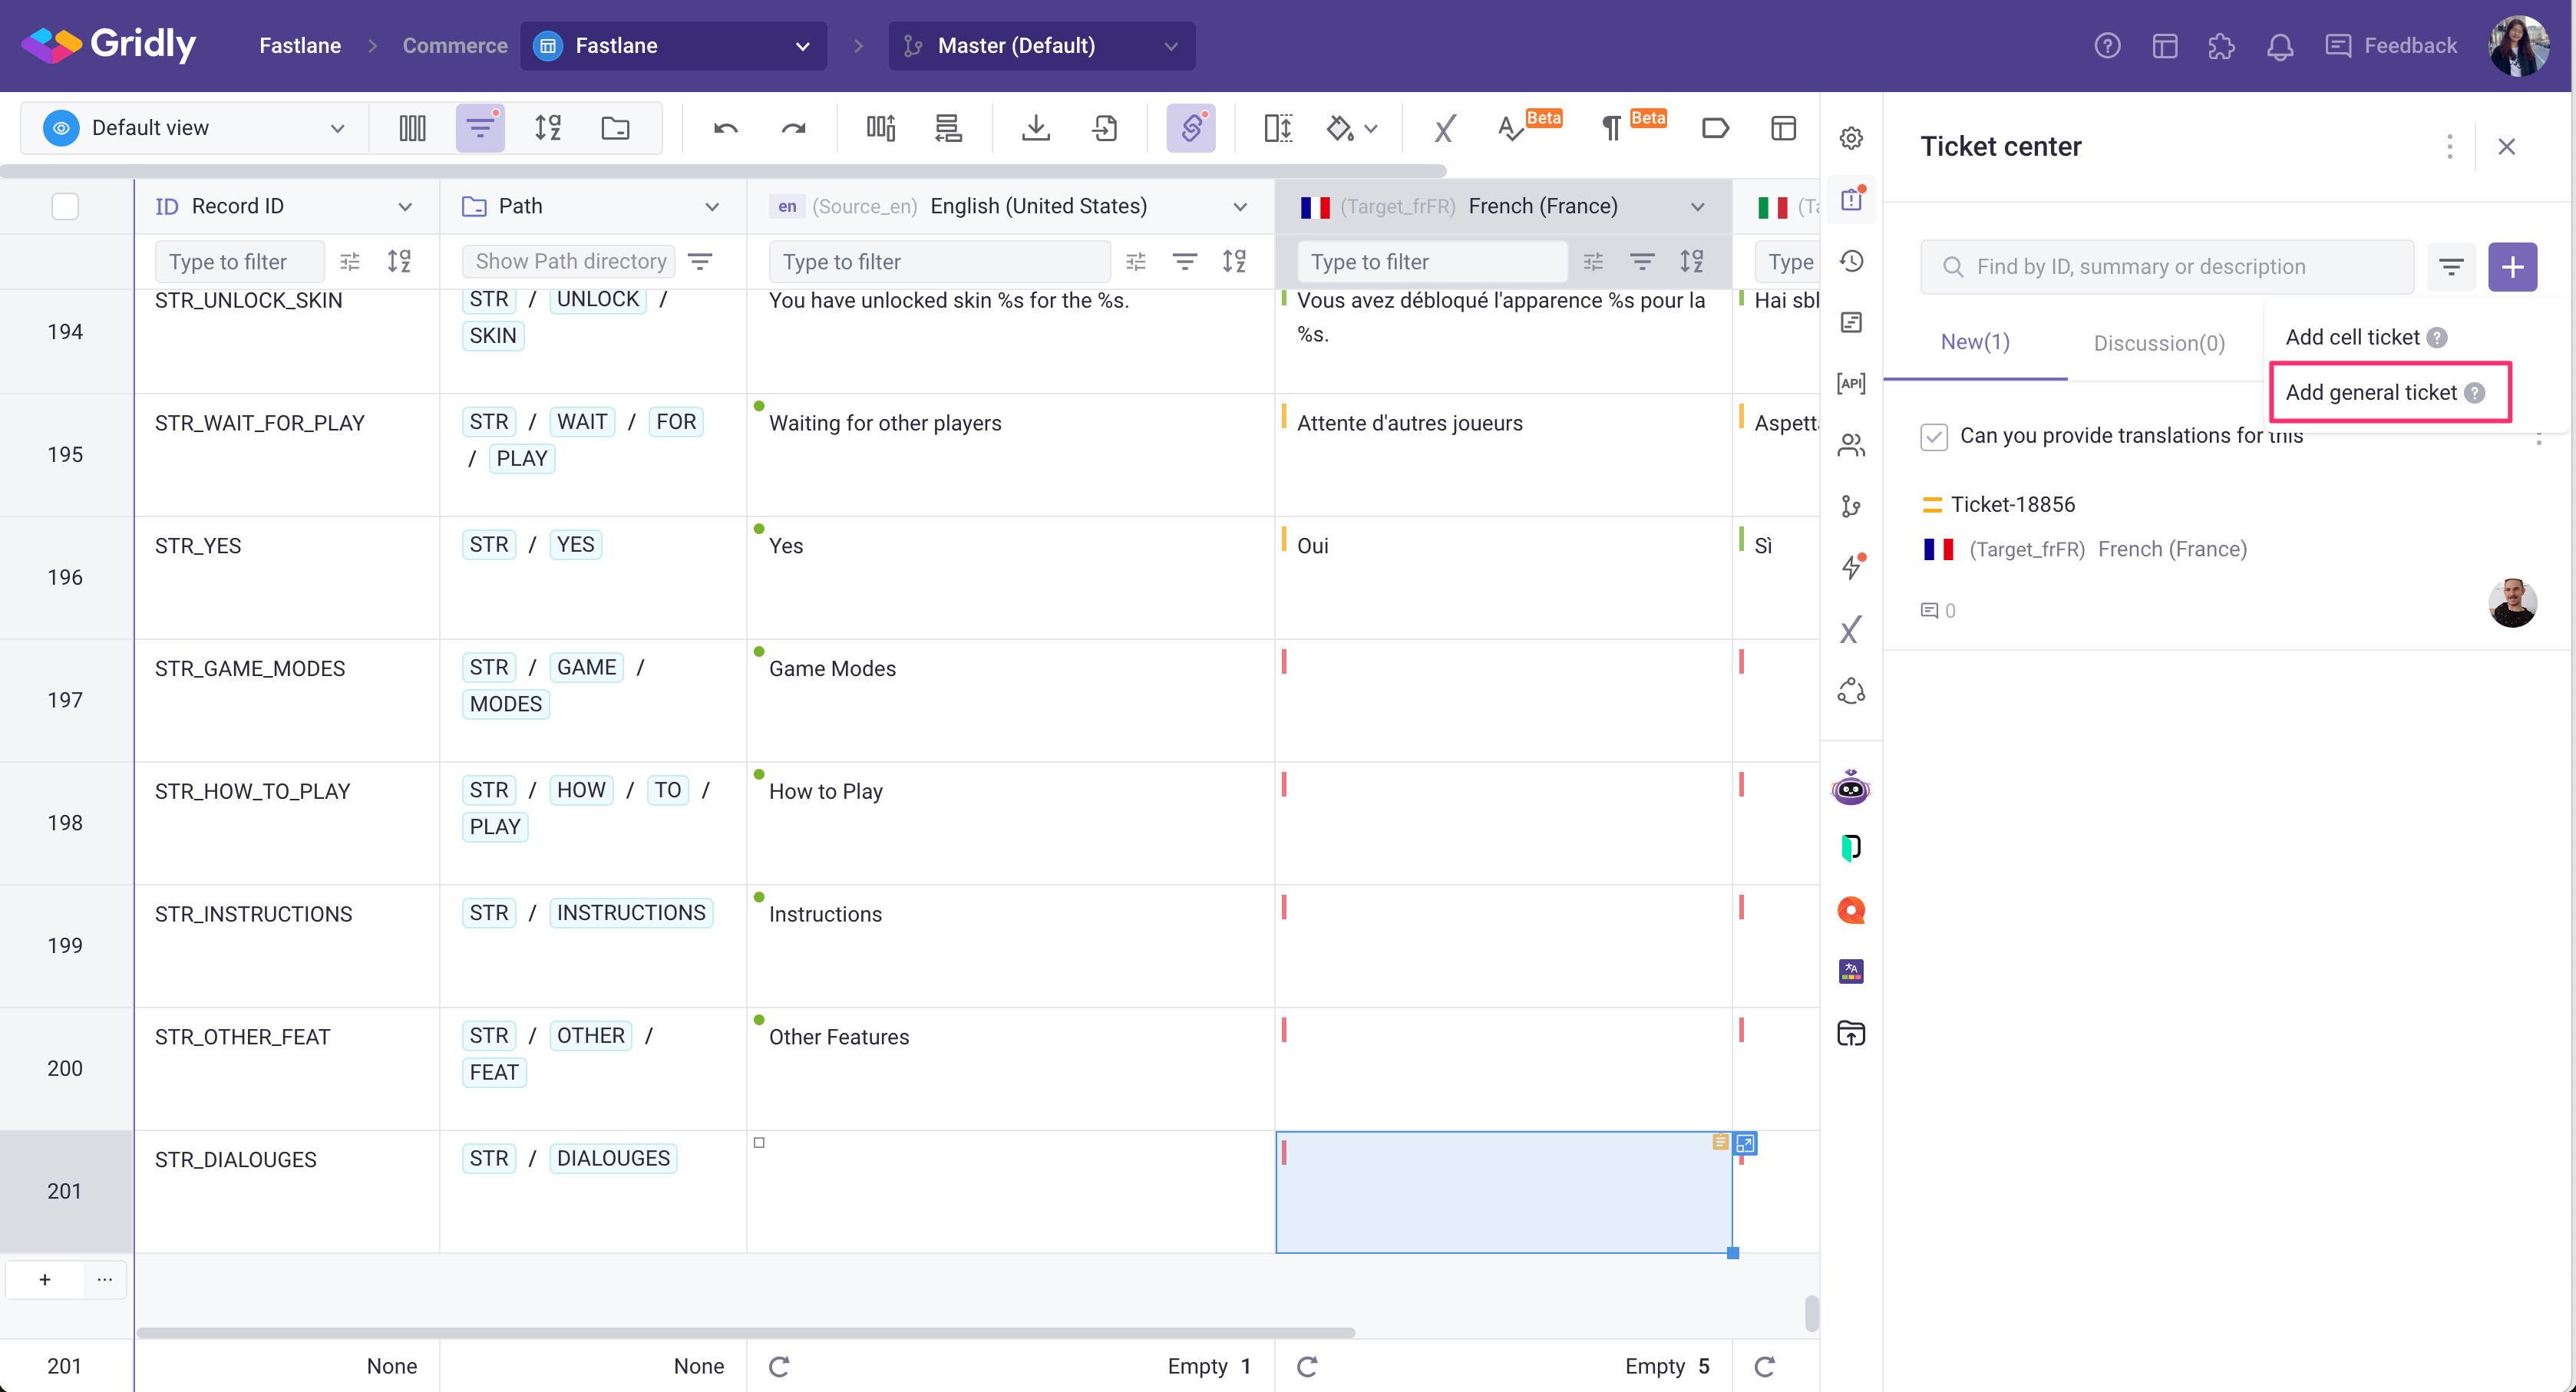
General ticket
You can create a general ticket for general questions or concerns that are not cell-specific.
- Click
 to open Ticket center in the sidebar
 - Click
 and select Add general ticket.
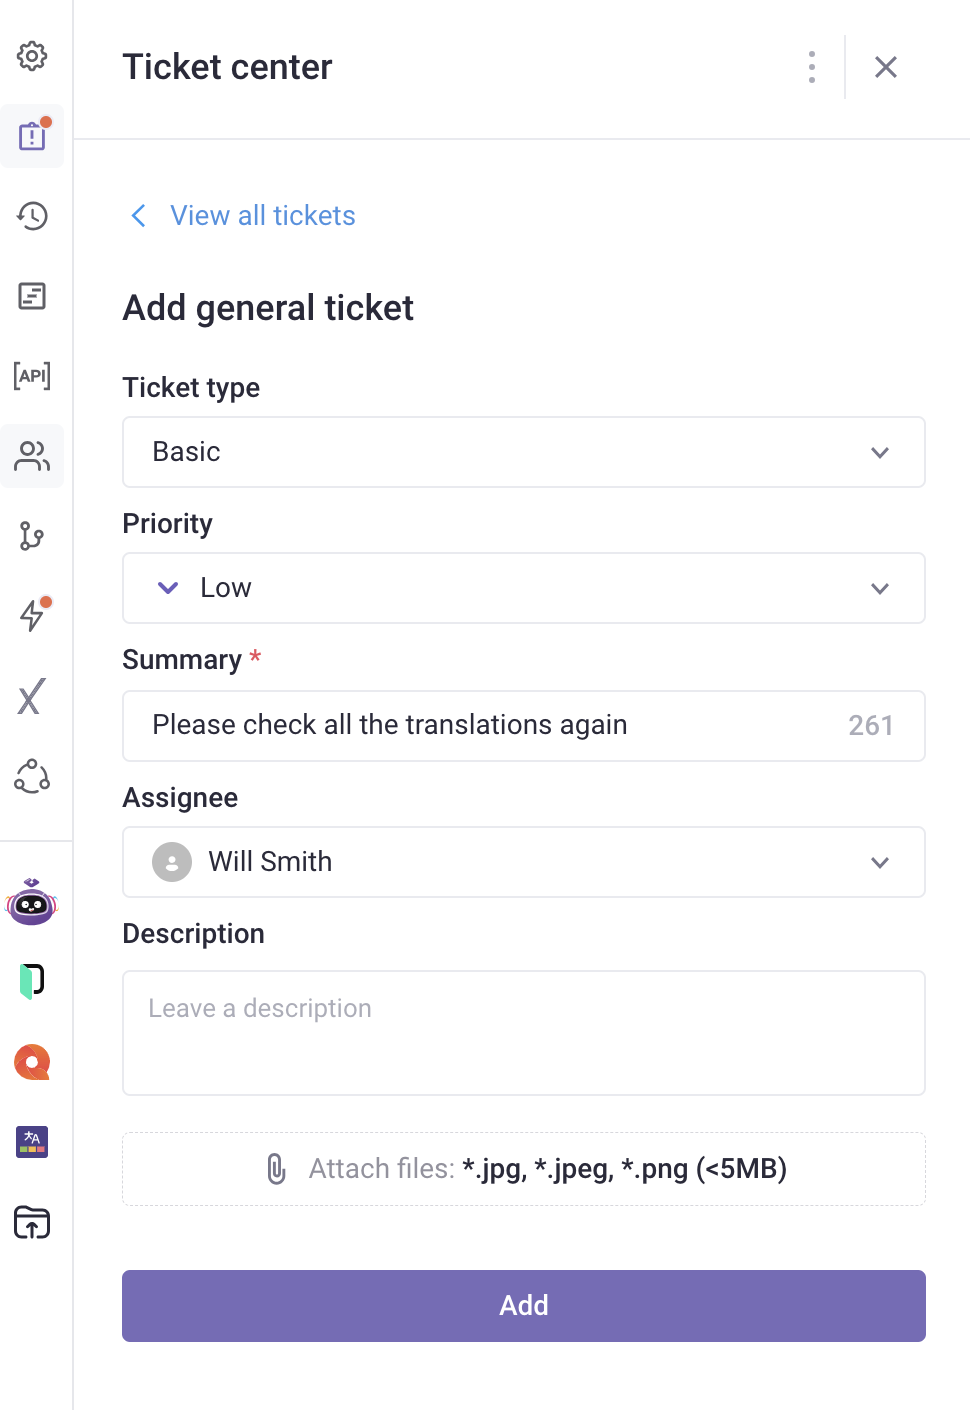
- Select ticket type: Basic or LQA issue (The LQA ticket type is customized for running LQA processes).
- Type a summary for the issue.
- (Optional) Add Assignee, set Priority, attach images (under 5MB) and leave a Description.
- When you're finished, click Add.
Create tickets in the CAT module
In the CAT editor, a ticket must be linked to a segment.
- In the CAT editor, select a segment.
- Click
 on the right-hand side toolbar to open Segment comment.

- Click
 to add a new ticket.
 - Enter ticket details:
- Priority
- Summary (required)
- Assignee
- Description
- Attached images (under 5MB)
- Click Add when you are done.

Manage tickets
Start a discussion in the ticket
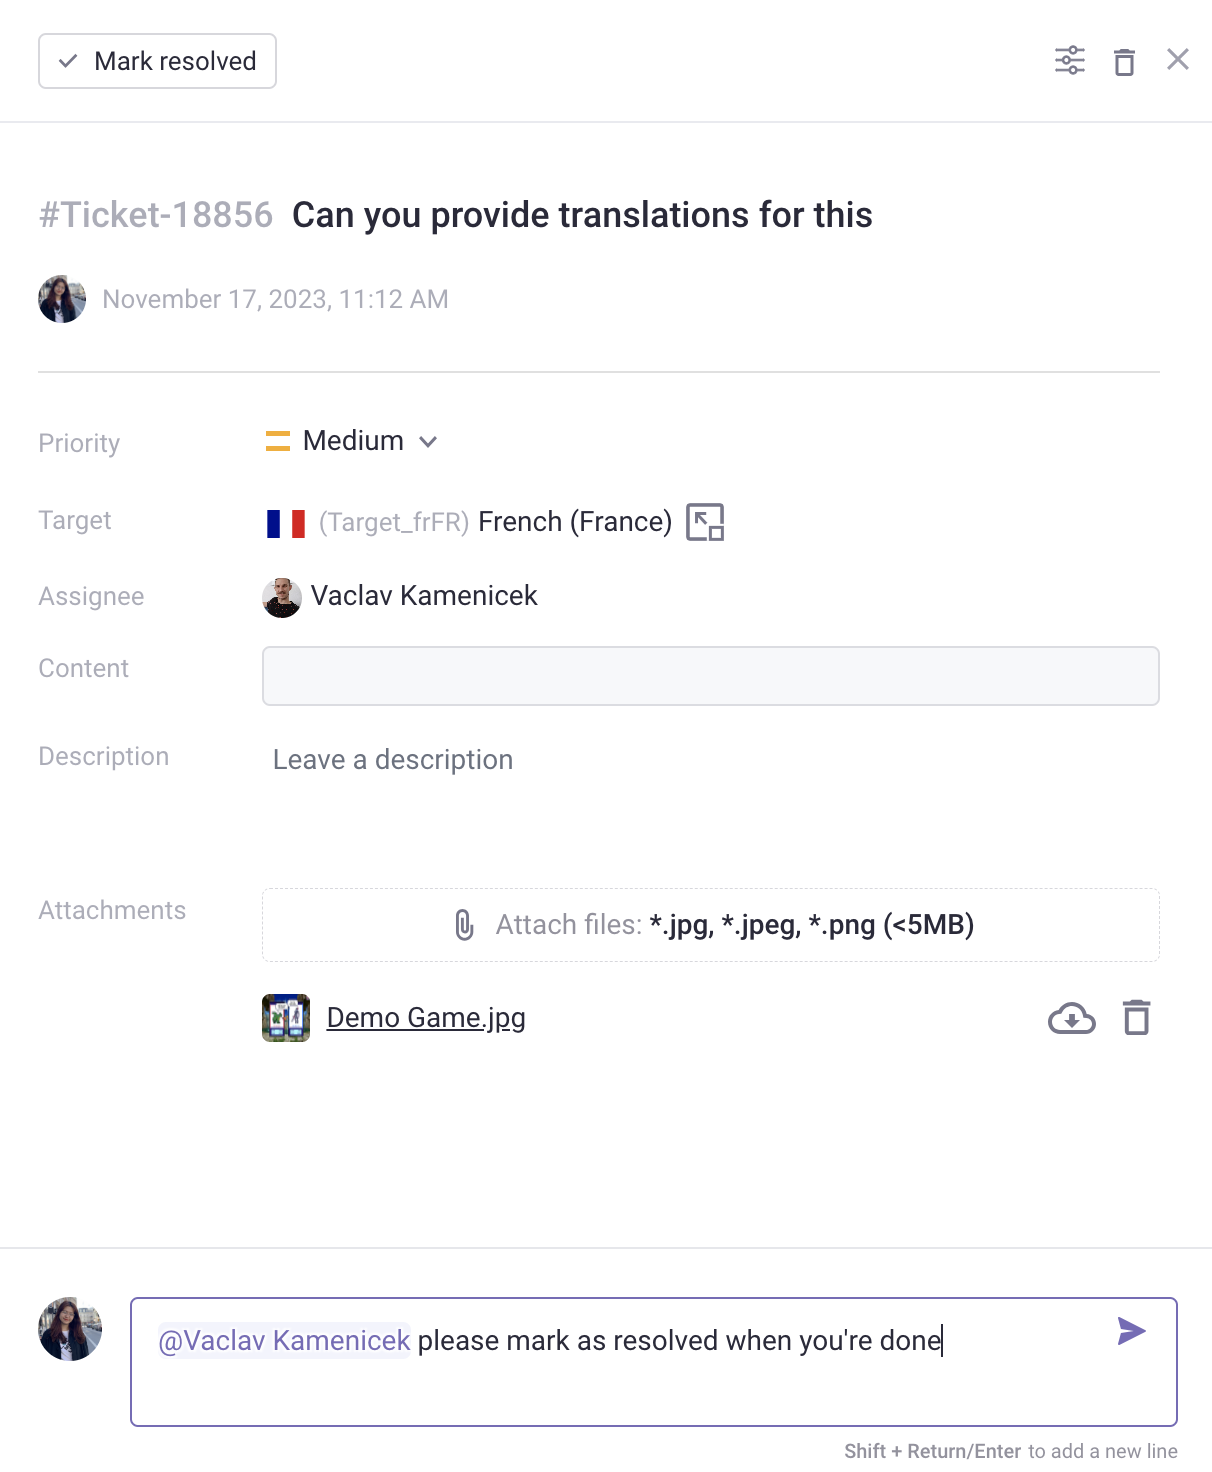
Open a ticket (click ![]() directly on the cell, or open the Ticket center and click on a specific ticket) and leave a comment to start a discussion. You can also tag a person in the comment section of the ticket.
directly on the cell, or open the Ticket center and click on a specific ticket) and leave a comment to start a discussion. You can also tag a person in the comment section of the ticket.
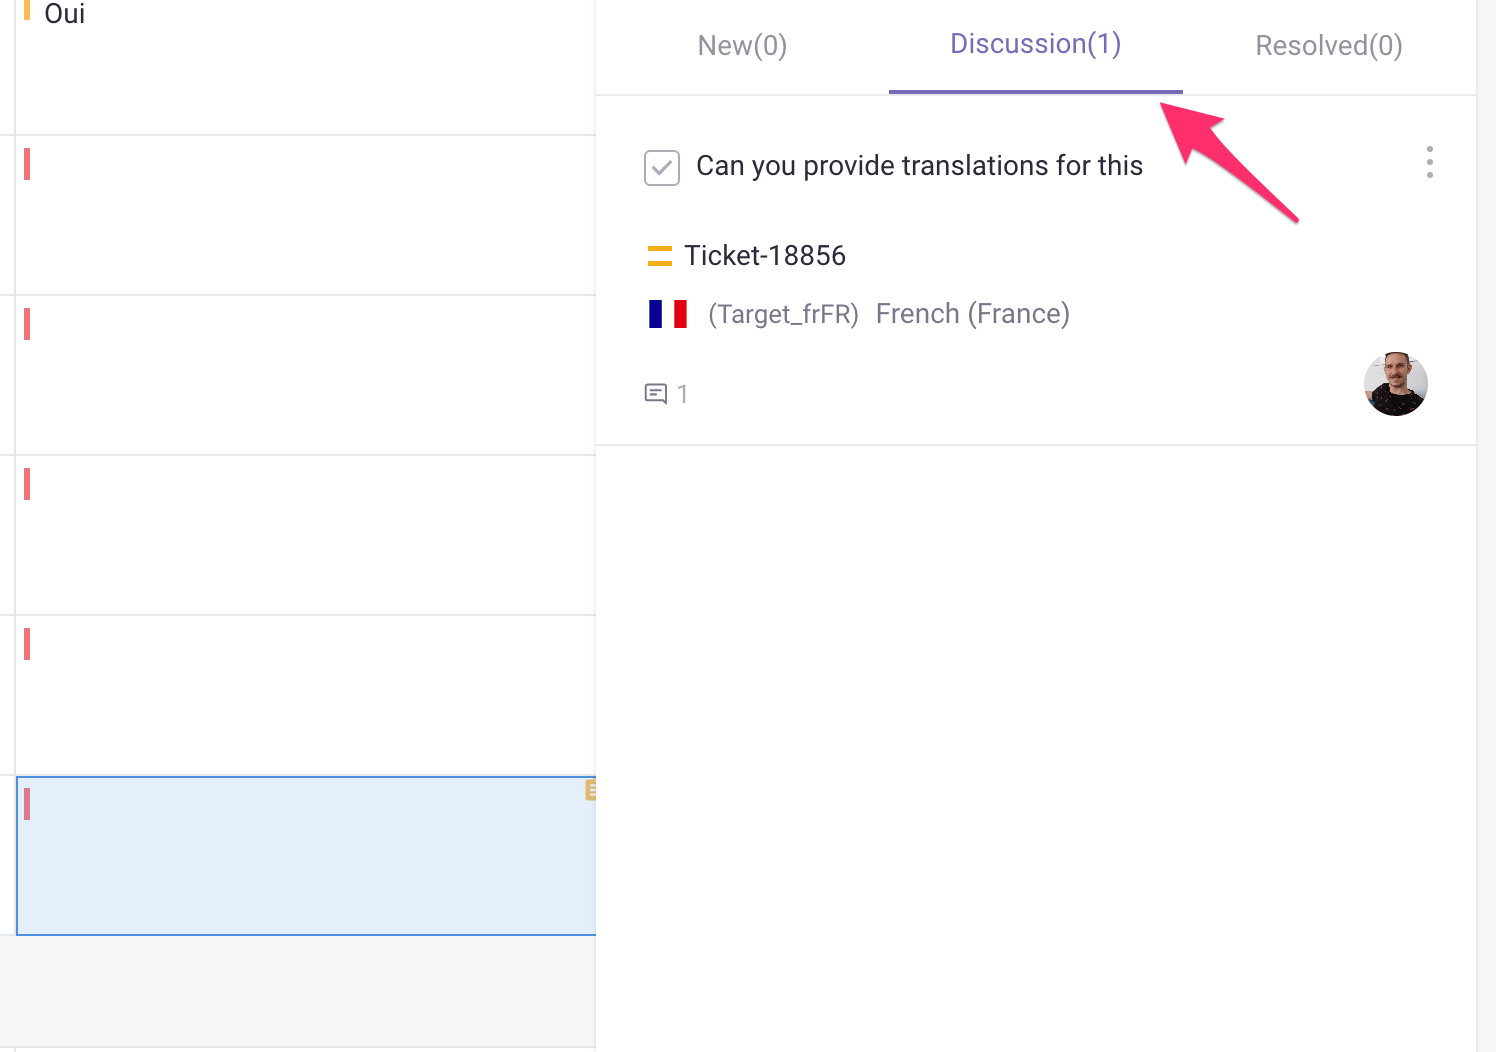
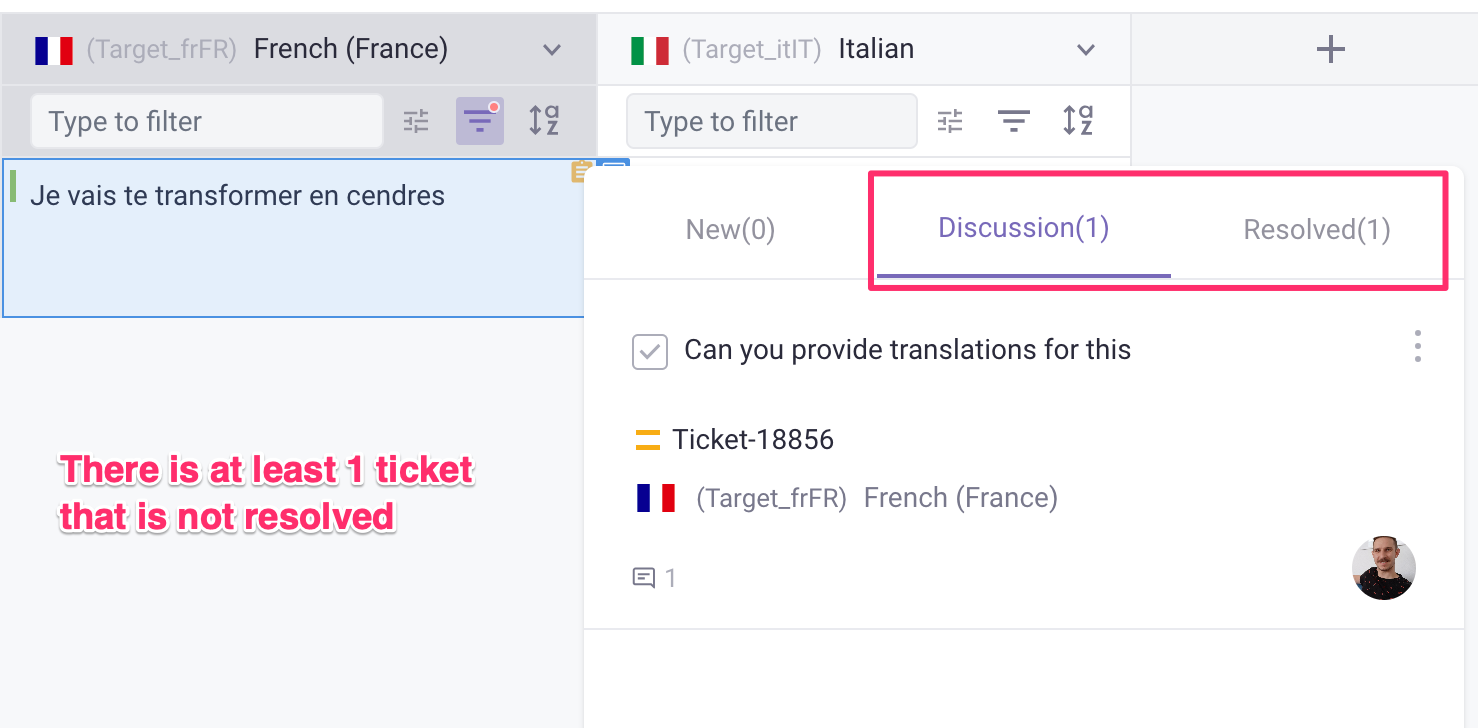
Once a comment is added, the ticket will be transferred to the Discussion tab:
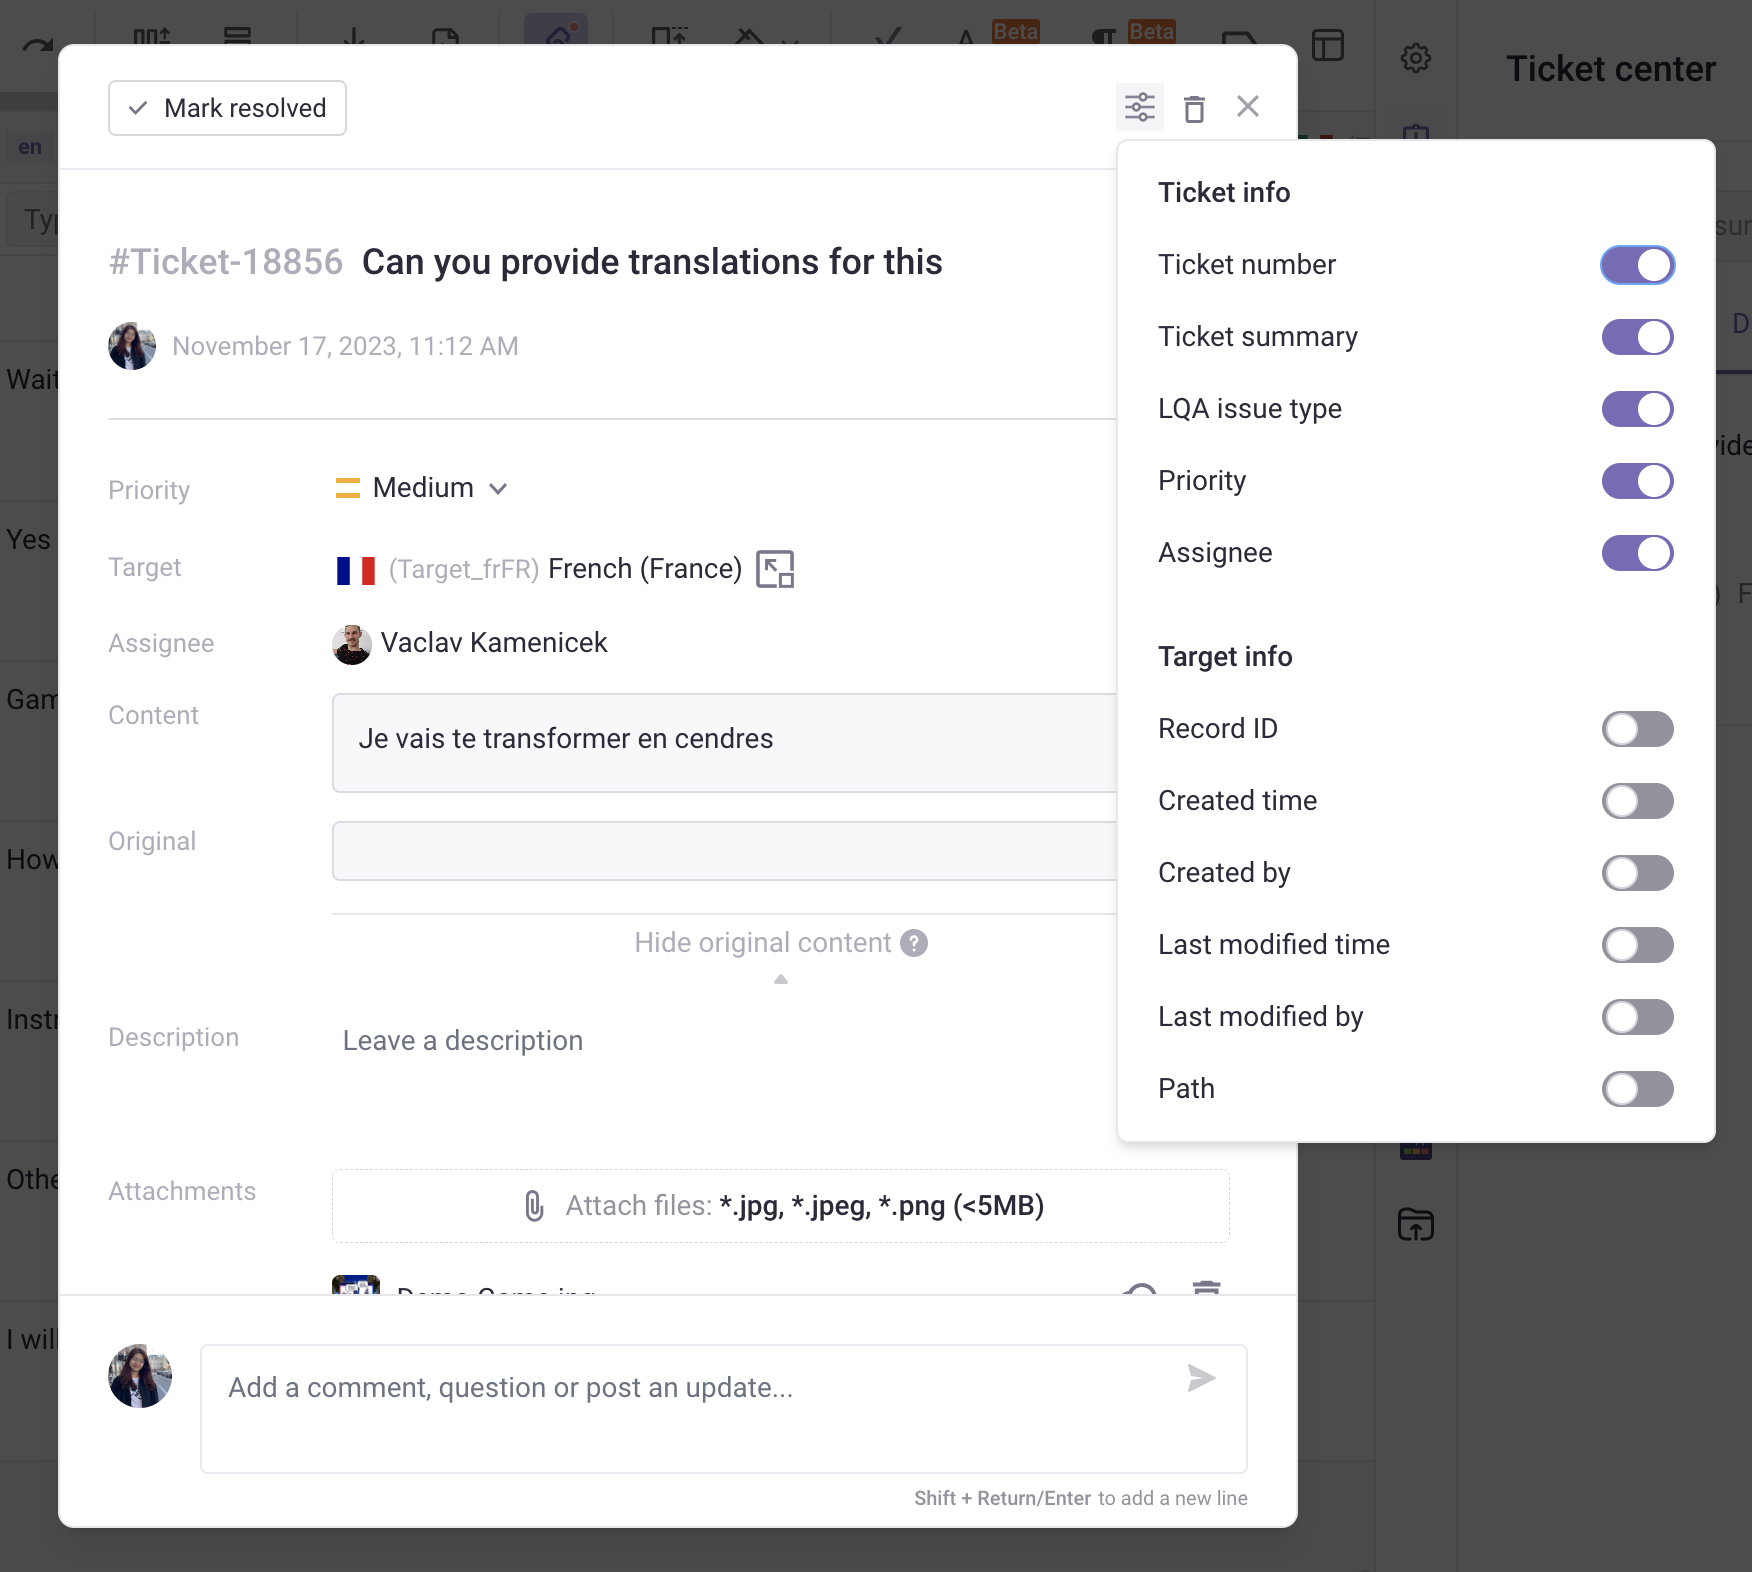
Customize layout when viewing a ticket
Open a ticket, then click ![]() to choose which fields appear on tickets.
to choose which fields appear on tickets.
Search and filter tickets
You can find tickets by using ID, summary, or Description in the Ticket center.
Click ![]() to filter by Author, Assignee, and Ticket type and sort tickets by time.
to filter by Author, Assignee, and Ticket type and sort tickets by time.
![]()
Filter records with open/resolved tickets
You can filter out records by ticket status with Quick filters:
- Click
 in a column to open Column filter.
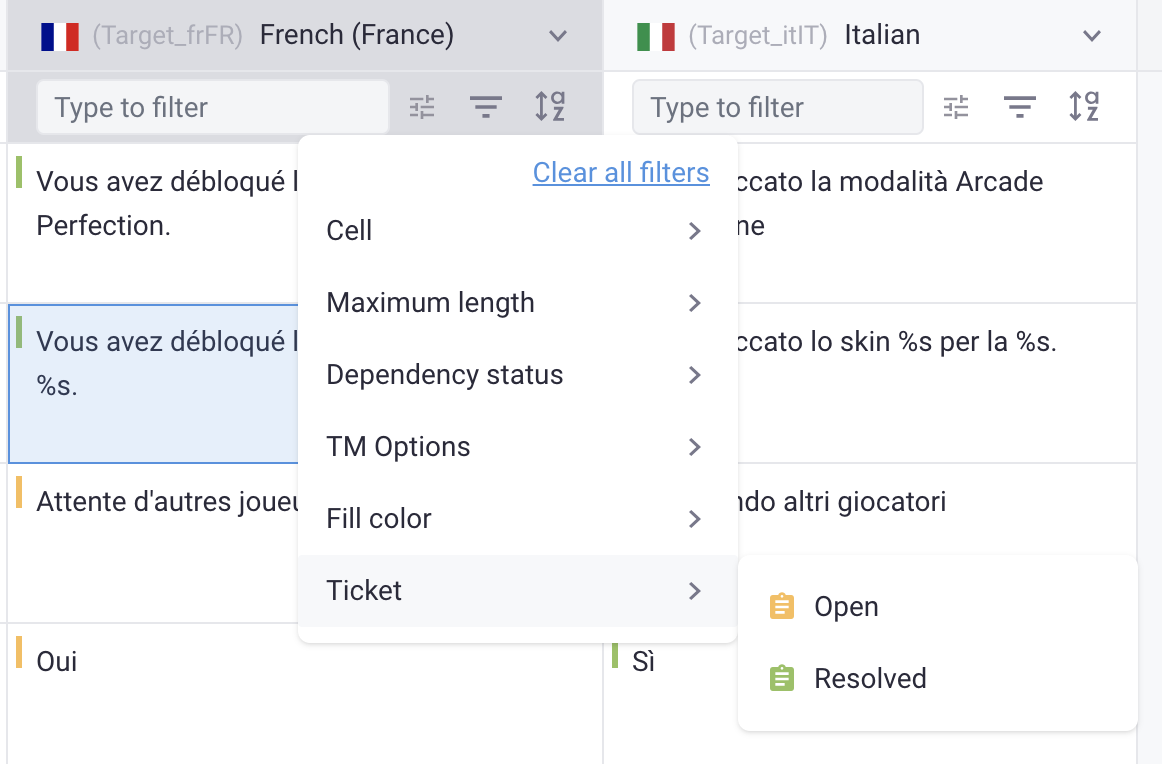
- From the drop-down menu, select Ticket:
- Resolved: All tickets in a cell are marked as resolved. The ticket icon in the cell will be green.

- Open: Cell tickets are marked as new or discussion. The ticket icon in the cell will be yellow.
- Resolved: All tickets in a cell are marked as resolved. The ticket icon in the cell will be green.
Mark a ticket as resolved
Click the checkbox next to the ticket summary in the Ticket center to Mark as resolved.
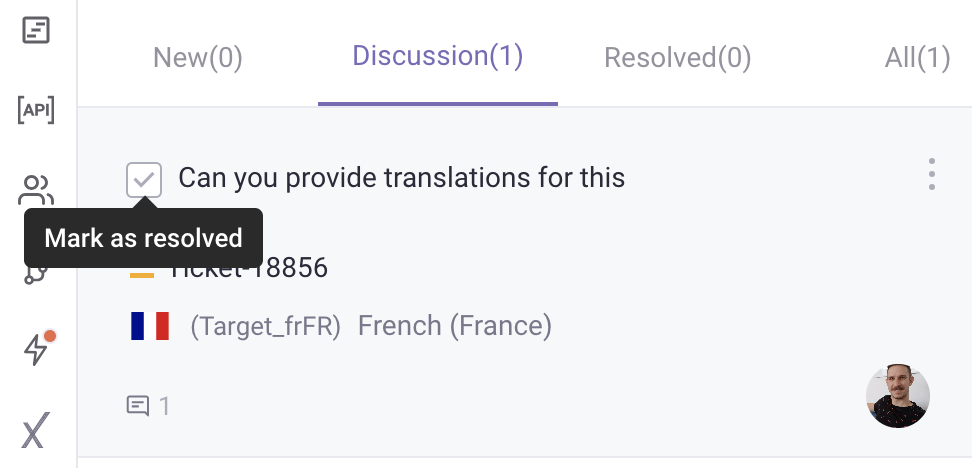
Or you can view the ticket in the expanded window and click "Mark resolved".
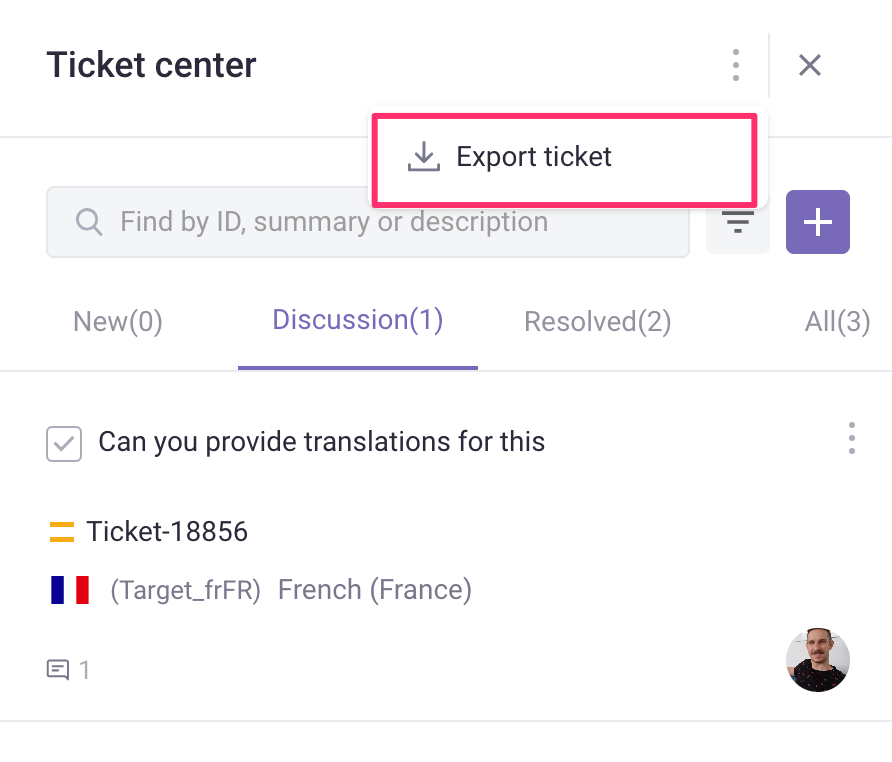
Export ticket (CMS only)
Once in the Ticket center in the sidebar, click ![]() and select Export ticket. Your tickets will be exported to a CSV file format.
and select Export ticket. Your tickets will be exported to a CSV file format.
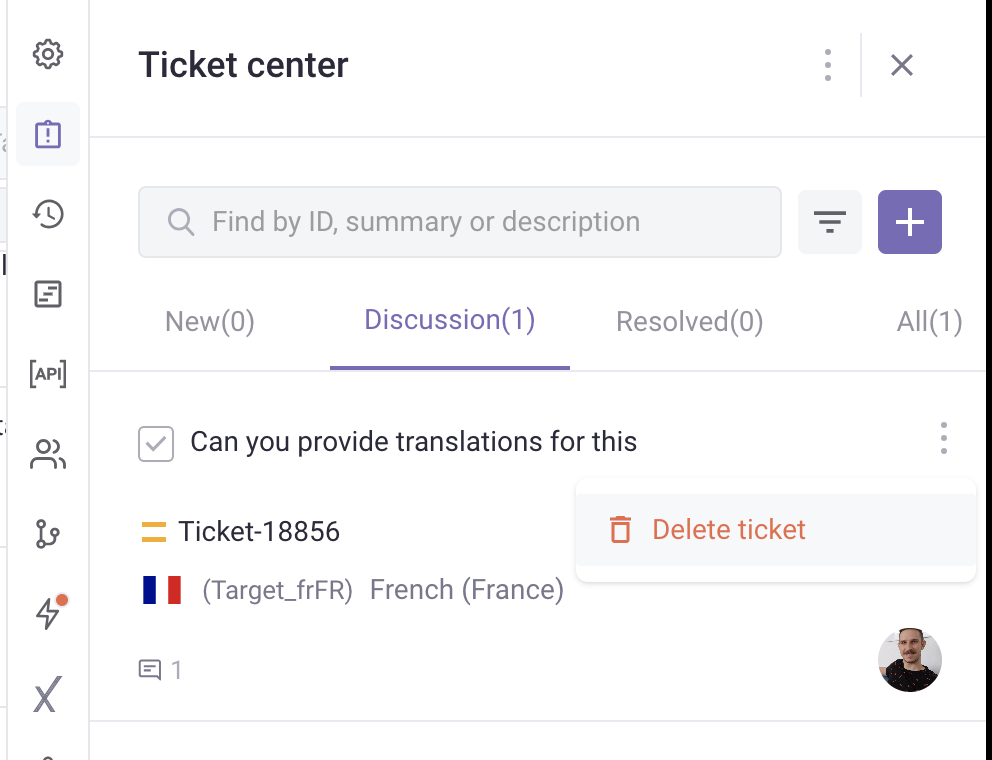
Delete ticket
Click ![]() next to a ticket in the ticket center and select Delete ticket. The user that added the ticket can delete it, as can Admins and Creator user types.
next to a ticket in the ticket center and select Delete ticket. The user that added the ticket can delete it, as can Admins and Creator user types.
You can sync tickets from Gridly to your own project management tools like Jiraand Asana using Automations. Learn more at: