

Table of contents:
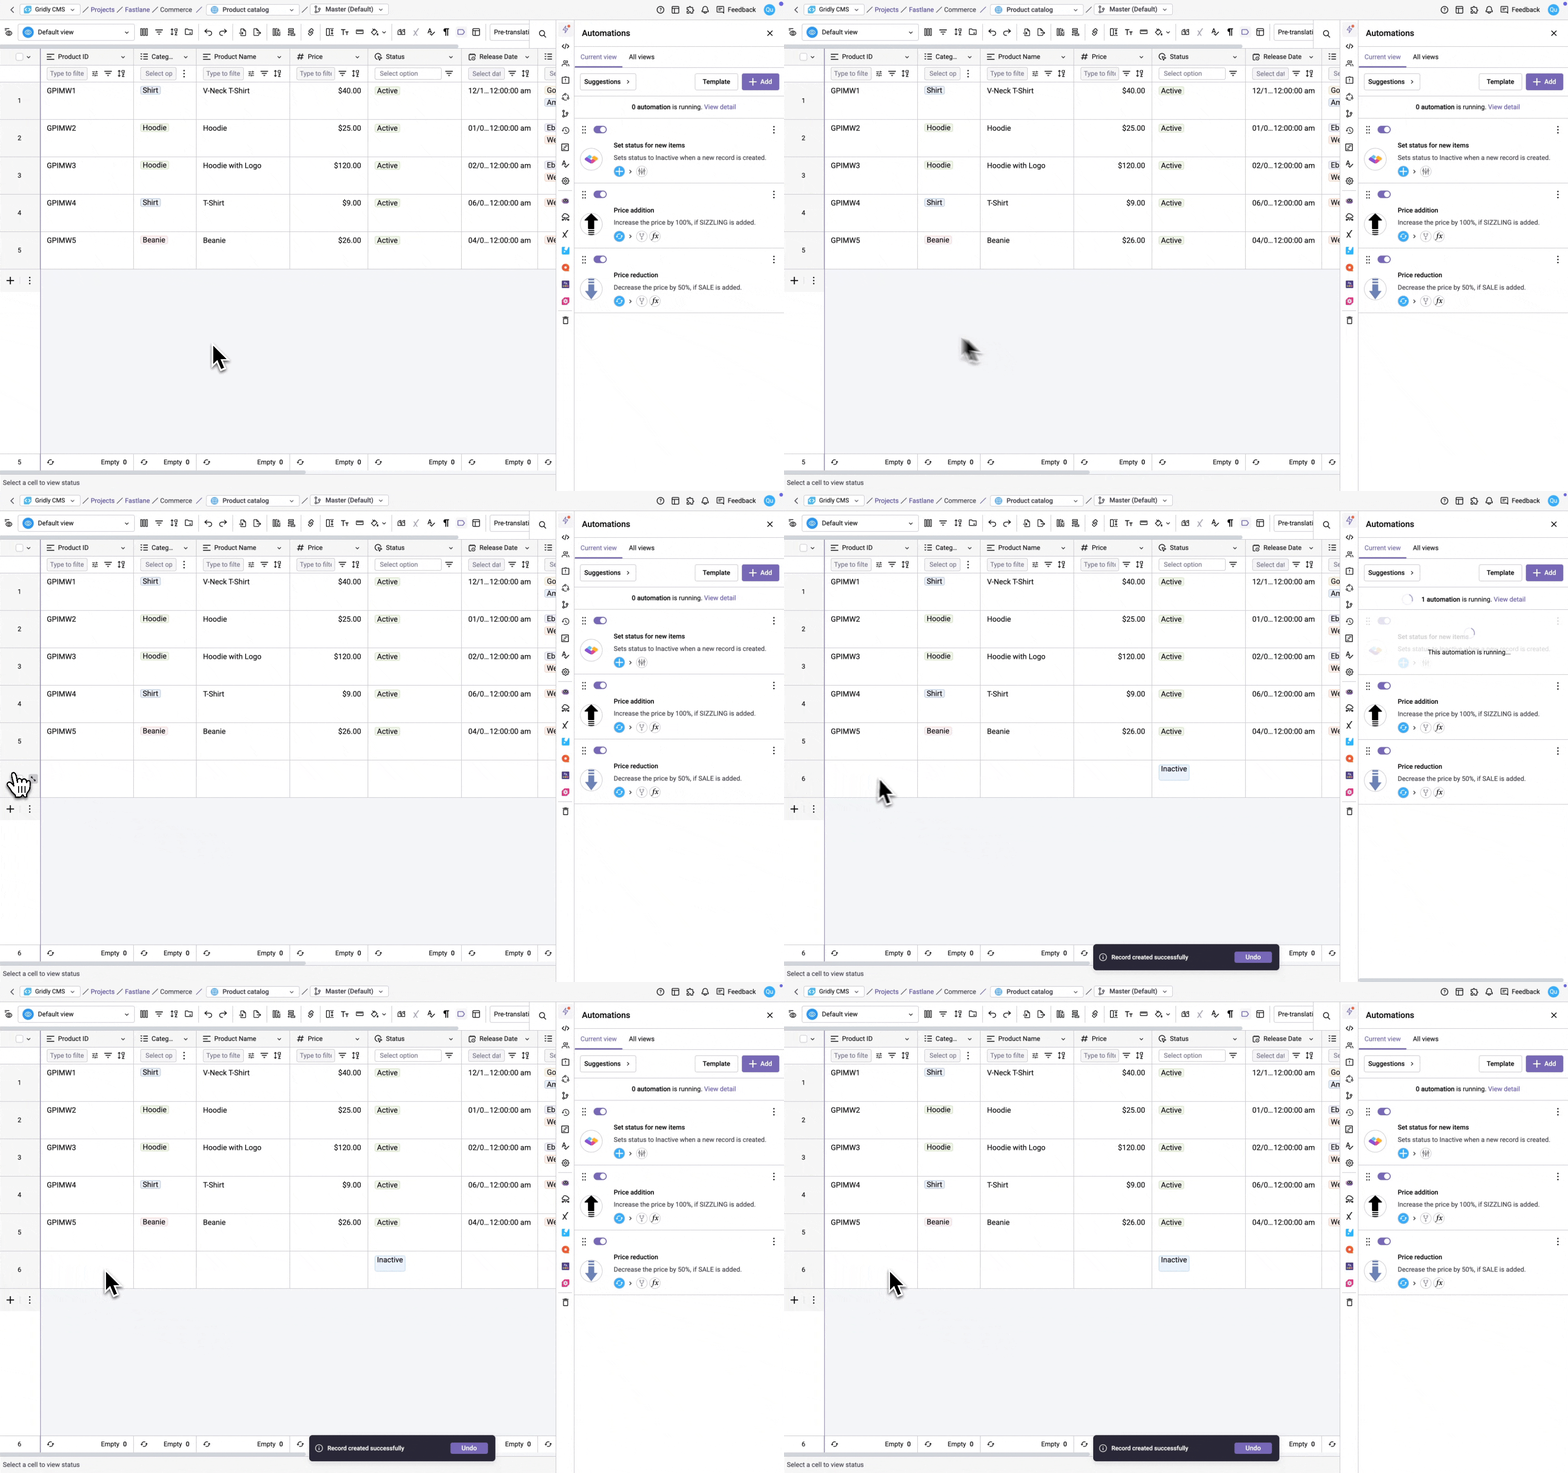
When creating an Automation with the Set value action, it will update a record in the Grid whenever the Automation runs successfully. For each target column, you can set the cell value, lock status, and cell color.
Setup
After creating the Automation, you need to configure the trigger and action.
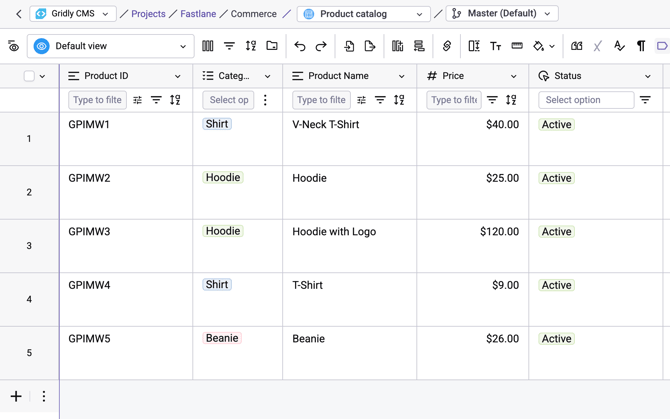
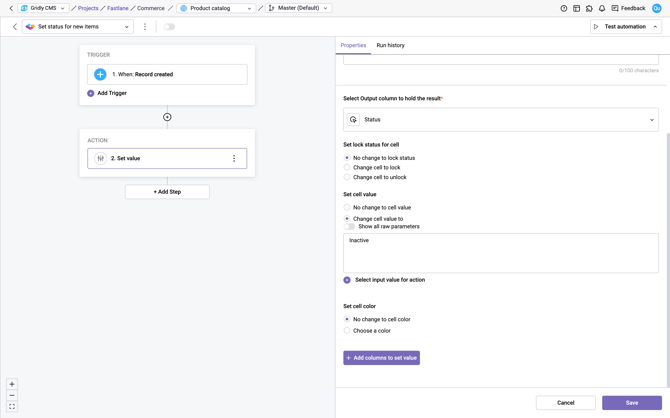
In this example, we’ll create an Automation that assigns any new record created in the "Product catalog" Grid with the status "Inactive".
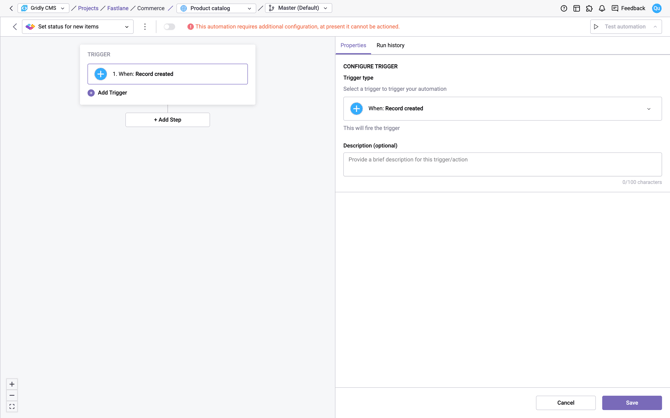
Add trigger
Click Add Trigger, then select Record created from the dropdown list.
Add and configure “Set value” action
- Click Add Step and select Set value in the list of actions.
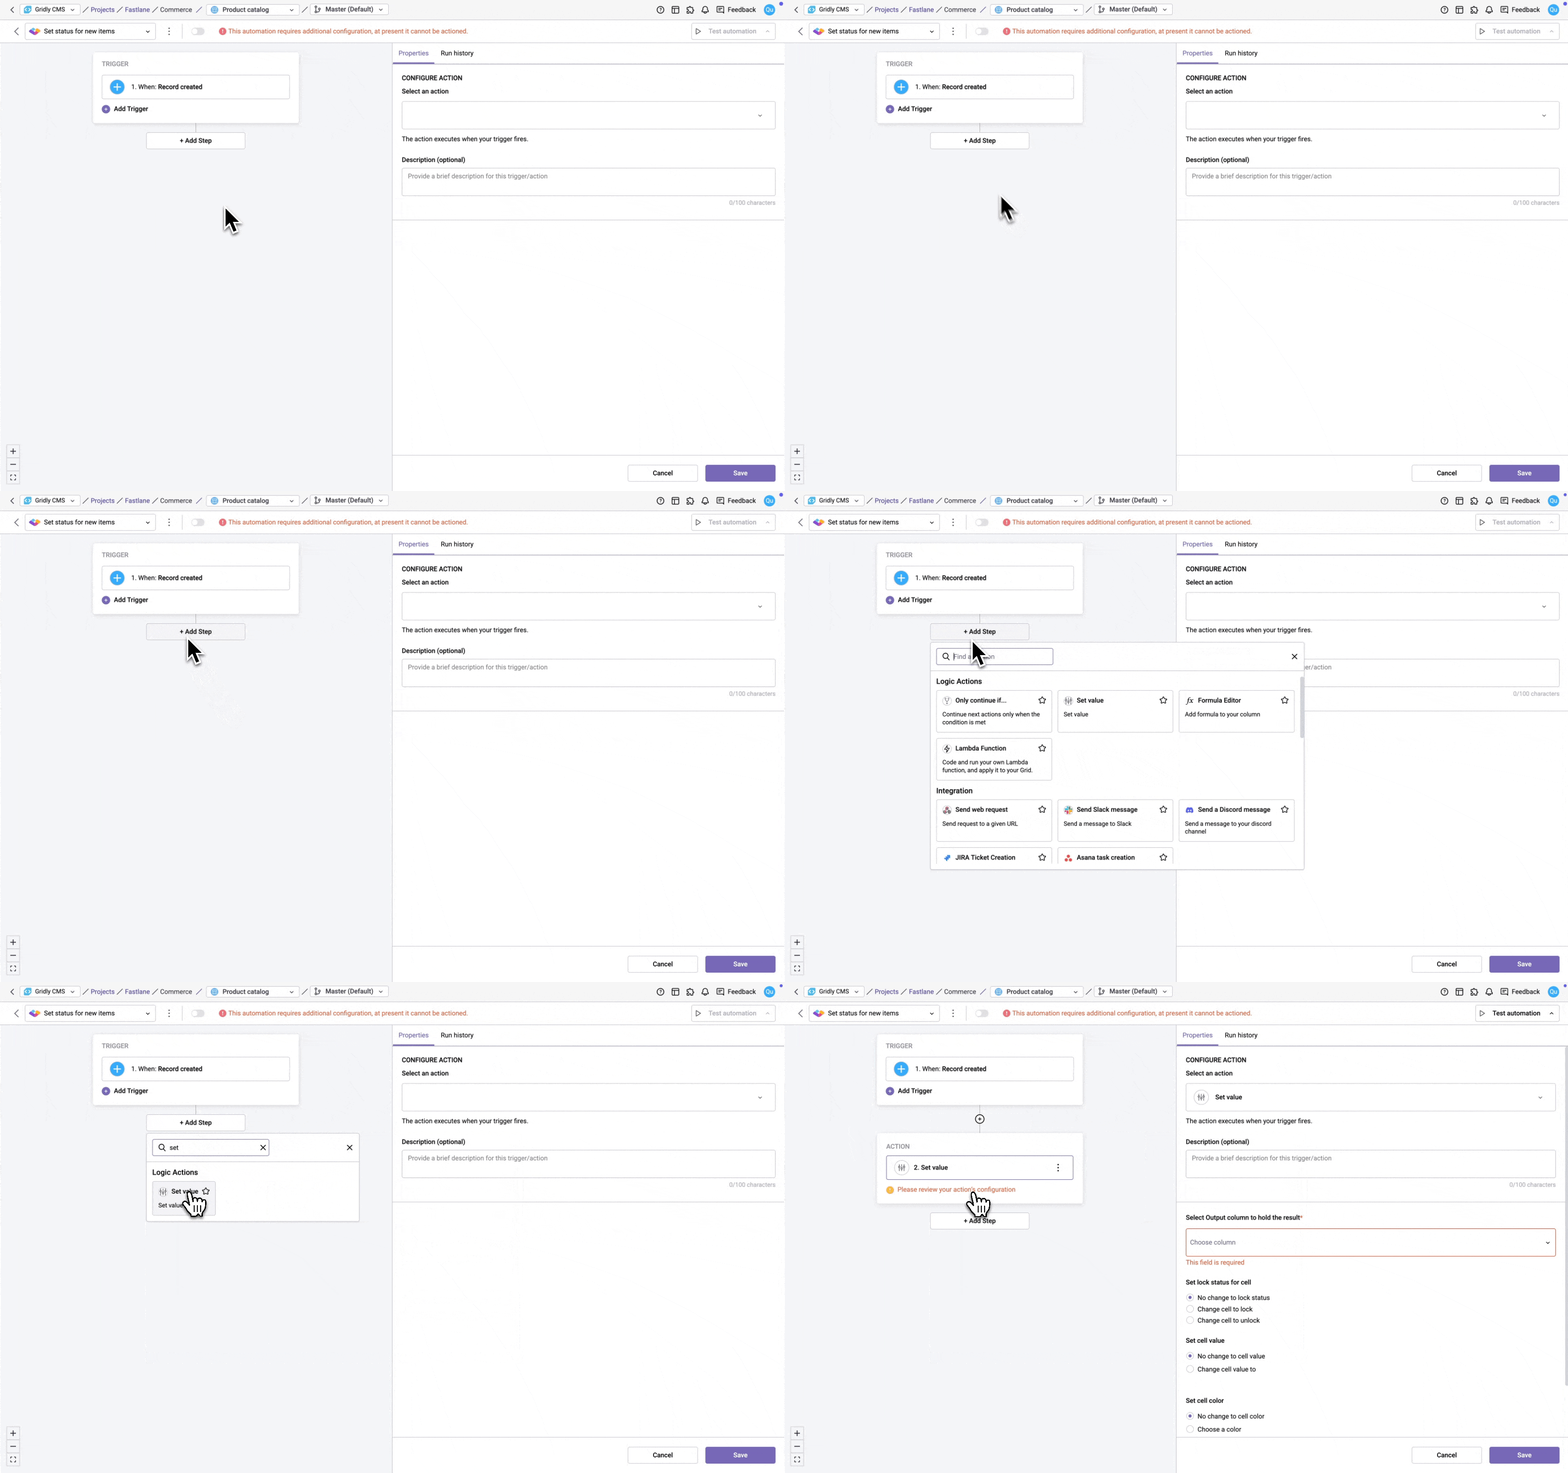
- (Optional) Enter a Description for this action.
- Under Select output column to hold the result, select the column you want to update. Record ID is available as a selectable column.
- Configure the following options for the selected column:
- Set lock status for cell
- No change to lock status (default): the cell's lock status is not affected.
- Change cell to lock: locks the cell after the action runs.
- Change cell to unlock: unlocks the cell after the action runs.
- Set cell value
- No change to cell value (default): the cell's value is not affected.
- Change cell value to: set the cell to a specific value or a value from a previous action.
- Set cell color
- No change to cell color (default): the cell's color is not affected.
- Choose a color: sets the cell to a specific color.
- Set lock status for cell
- (Optional) Click + Add columns to set value to configure additional columns in the same action.
Test your Automation
- Switch the toggle on to turn on the Automation.
- Click Test Automation. If your Automation is not turned on, Gridly will require you to turn on the Automation in the pop-up message. Click on the toggle to turn on and select Test again.
Don't see what you need? Gridly can support custom development for solutions not available out of the box. Contact support@gridly.com to discuss your requirements.