Table of contents:
What is branching?
The development process often requires you to work on multiple branches. Grids can be branched to enable version control and allow testing to be performed in isolation.
When opening a Grid, a single branched called Master is displayed by default (this is displayed in the header).
![]()
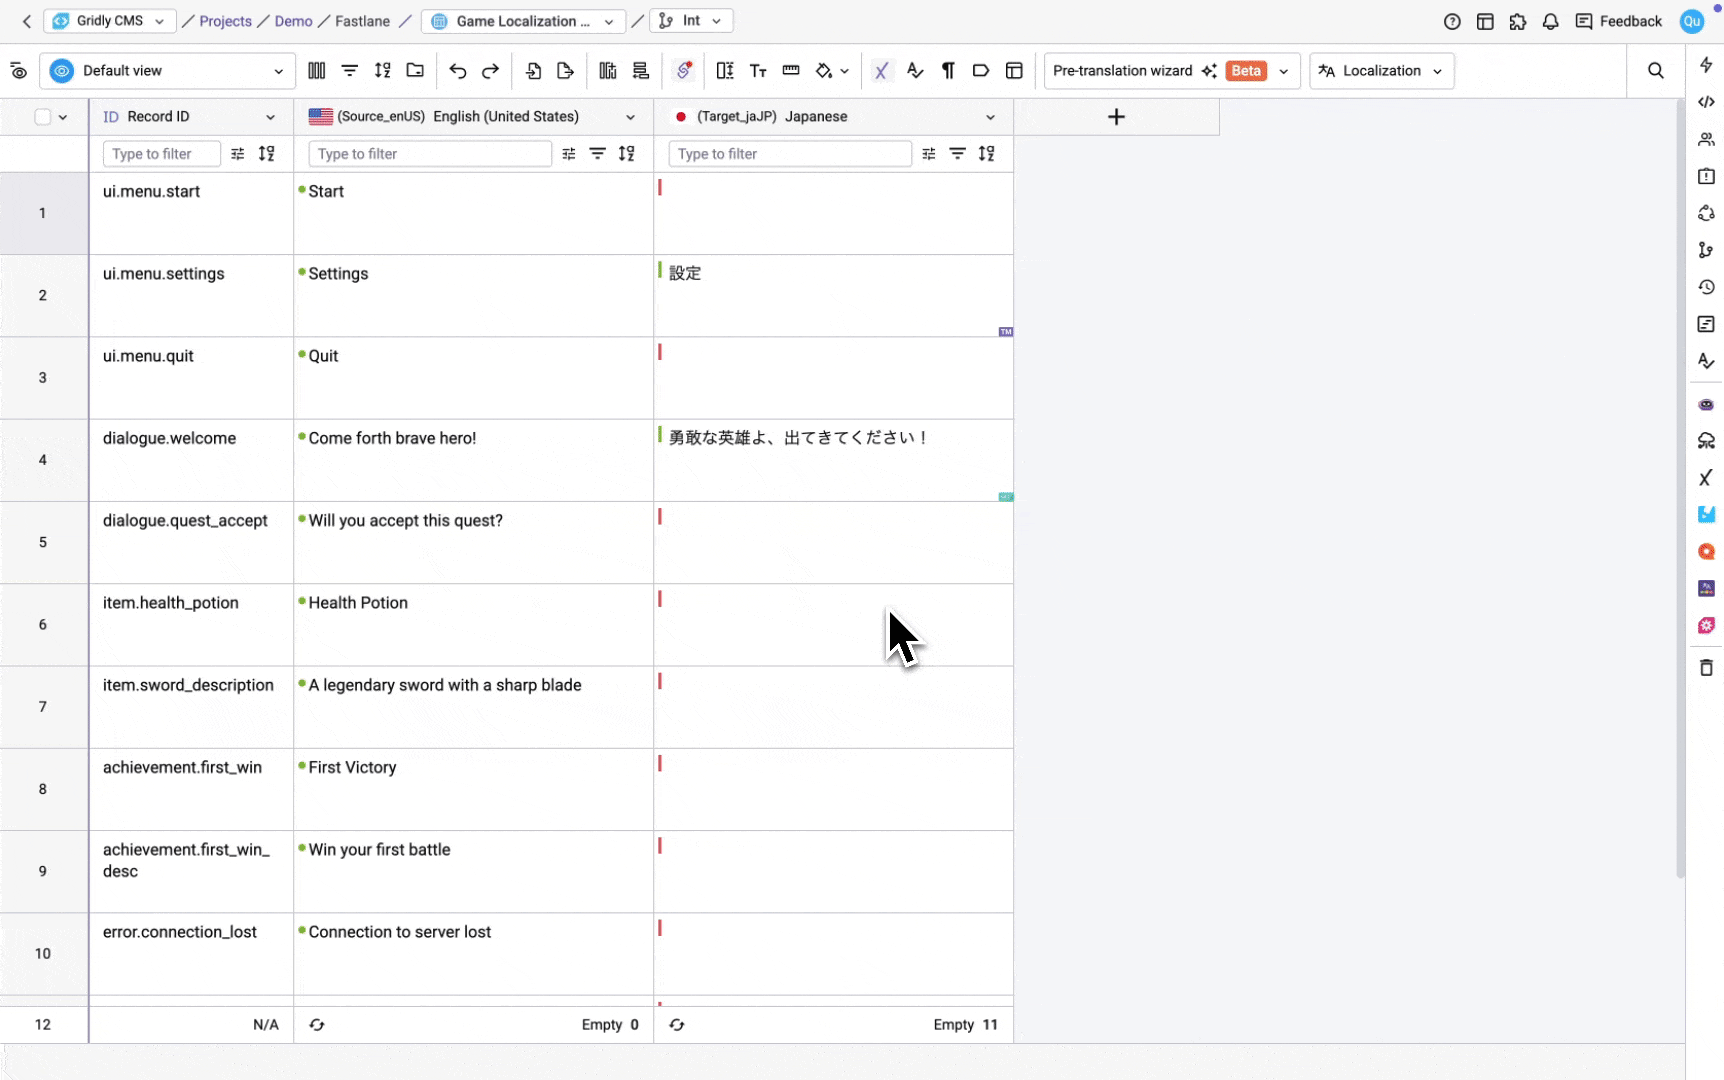
Create a branch
To create a branch:
- In the header, click Master to view the drop-down menu.
- Select Create New Branch. The Create Branch popup box displays the Grid and version this branch will branch from.
- Enter a Branch name.
- Configure advanced settings (optional):
- Include automations: Automations in the original branch will be available in the new branch
- Include records in current view: If selected, only records in the current view are included in the new branch. Otherwise, all columns in the original branch will be available in the new branch.
- Managing branch access for groups
- Click Save.
The new branch will be displayed and will be added to the list of available versions in the header drop-down menu.
The branch selected in the header drop-down menu is the one where changes are being made.
Version control
Merge a branch
Note: When merging, all columns are merged into the target branch, regardless of which View is currently active.
Merge all records in a branch
- Click on the right sidebar and select
 icon.
icon. - Check the Current Branch.
- Select Merge branch to merge changes into another branch.
- Click Compare changes to view changes. The records and the content that have been edited will be highlighted in one of the colors: blue (updated), red (deleted), green (added), yellow (conflict).
- Under Merge options, configure the following:
- Record options:
- Add new records at bottom: Adds records from the source branch that don't exist in the target branch.
- Update existing records: Updates records in the target branch with changes from the source branch.
- Delete existing records: Removes records from the target branch that were deleted in the source branch.
- Overwrite all conflict data: Overwrites conflicting data in the target branch with the source branch values.
- Column options:
- Add new column: Adds columns from the source branch that don't exist in the target branch.
- Update existing column: Updates column settings in the target branch with changes from the source branch.
- Merge cherry-picking:
- Enable record selection for merging: Select specific records to merge instead of all changed records.
- Record options:

Edit branch name
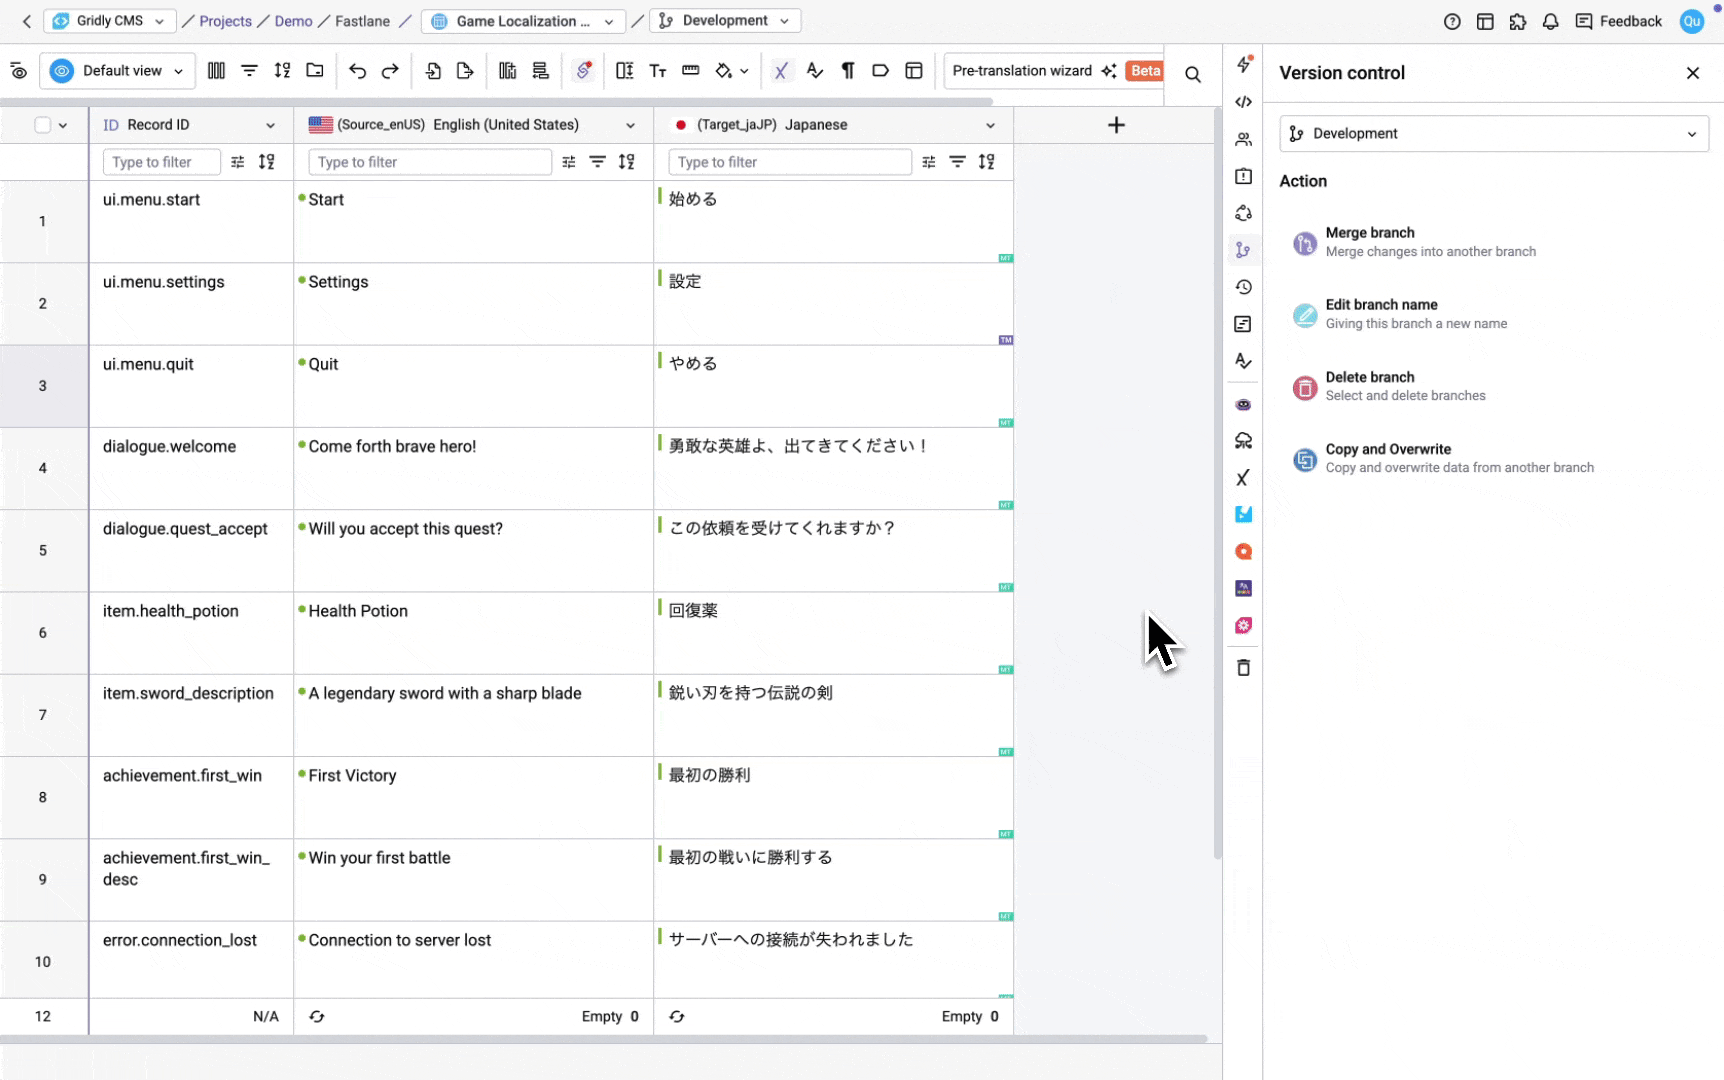
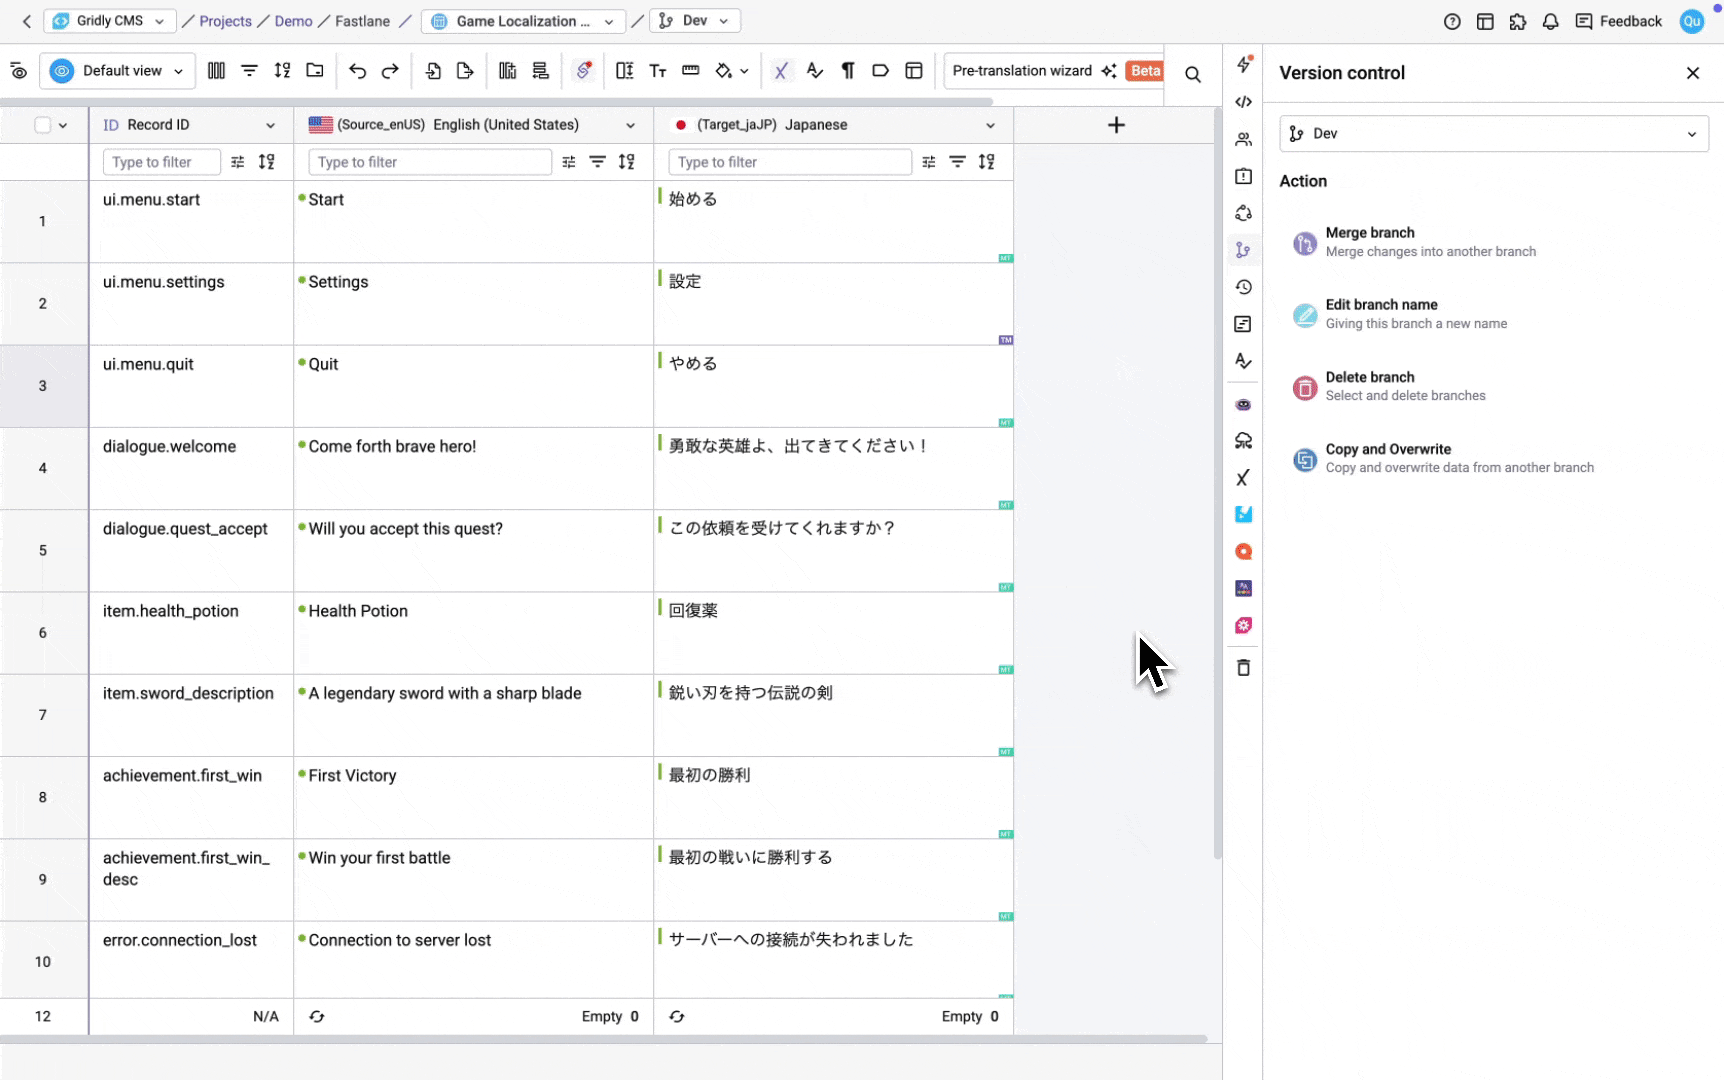
- Click on the right sidebar and select icon.
- Check the Current Branch.
- Click Edit branch name.
- Enter the new branch name and click Save.
Delete branch
- Click on the right sidebar and select icon.
- Select Delete branch.
- Select the branches you want to delete.
- Confirm in the prompt.
Copy and Overwrite
This feature allows you to copy data from another branch into the current branch. All data in the current branch will be overwritten, this includes: View data, Column data, Record data.
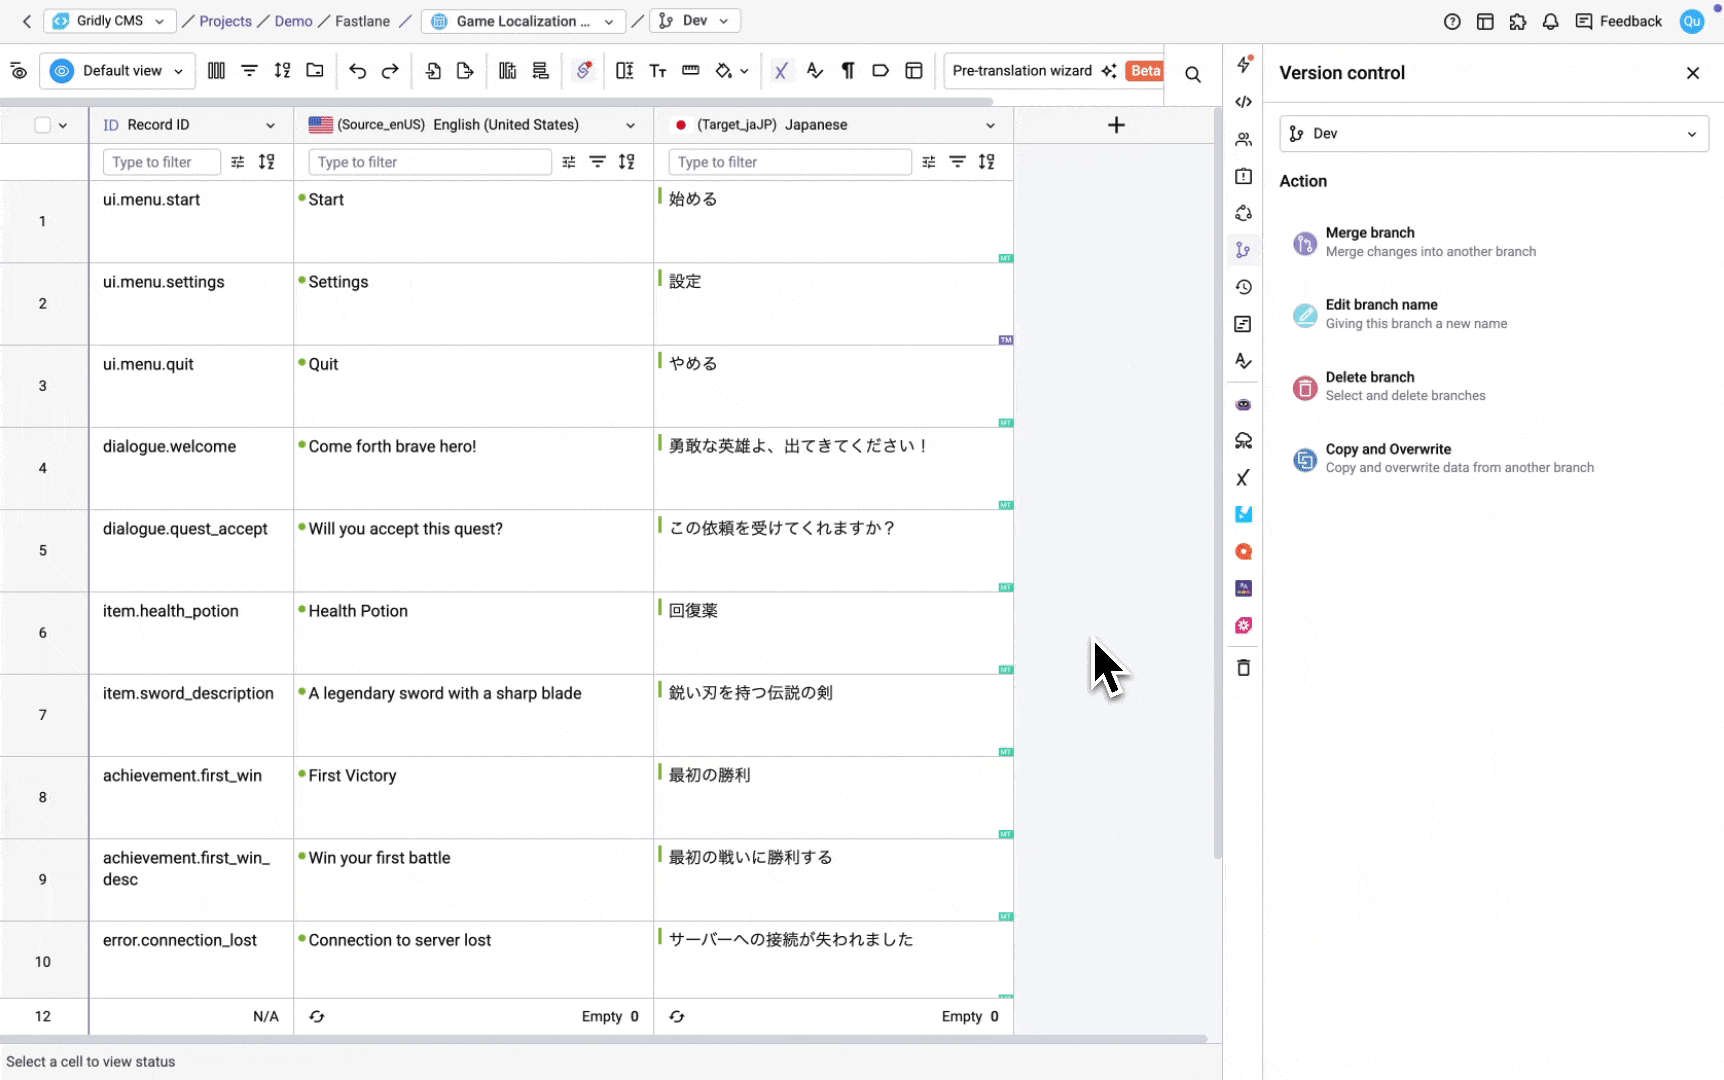
- Click on the right sidebar and select icon.
- Select Copy and Overwrite.
- Select a source branch to copy from.
- Click Clone.